1. Kupu Whakataki
Thank you for choosing the Urmet 1750/4 Mirro Color Monitor. This manual provides essential information for the safe and efficient installation, operation, and maintenance of your new monitor. Please read this manual thoroughly before use and retain it for future reference.
The Urmet 1750/4 Mirro Color Monitor is designed to provide clear video and audio communication for your intercom system. It features intuitive controls for adjusting display settings and can be integrated with Yokis radio series products for enhanced home automation capabilities.
2. Nga korero haumaru
- Haumaru Hiko: Installation and wiring must be performed by a qualified electrician in accordance with local electrical codes. Disconnect power before performing any installation or maintenance.
- Taiao: Do not expose the monitor to extreme temperatures, humidity, or direct sunlight. Avoid installing in areas with excessive dust or vibrations.
- Te horoi: Whakamahia he kakahu ngohengohe, maroke mo te horoi. Kaua e whakamahi i nga kai horoi me nga whakarewa.
- Whakarerekētanga: Do not attempt to open or modify the monitor. Unauthorized modifications can void the warranty and pose safety risks.
3. Ihirangi mokete
Tena koa tirohia nga ihirangi o te kete kia mohio kei te noho katoa nga taonga:
- Urmet 1750/4 Mirro Color Monitor
- Maunga tuahua
- Tiu me te whakapiri taiepa
- Pukapuka Kaiwhakamahi (tenei tuhinga)
- (Note: Additional accessories like power supply or specific wiring may be sold separately depending on your system configuration.)
4. Tatūnga me te Tāuta
4.1 Te Whakamau i te Aroturuki
- Choose a suitable location for the monitor, typically near the entrance or in a central living area, ensuring it is at an appropriate viewte teitei.
- Secure the mounting bracket to the wall using the provided screws and wall plugs. Ensure the bracket is level and firmly attached.
- Refer to the wiring diagram provided with your intercom system for connecting the monitor. Connect all necessary cables (power, video, audio, data) to the terminals on the back of the monitor.
- Carefully attach the monitor to the mounting bracket, ensuring it clicks securely into place.
4.2 Hiko-Whakaahua Tuatahi
Once installation is complete and all connections are secure, restore power to the intercom system. The monitor should power on and display a standby screen or the video feed from the outdoor unit.
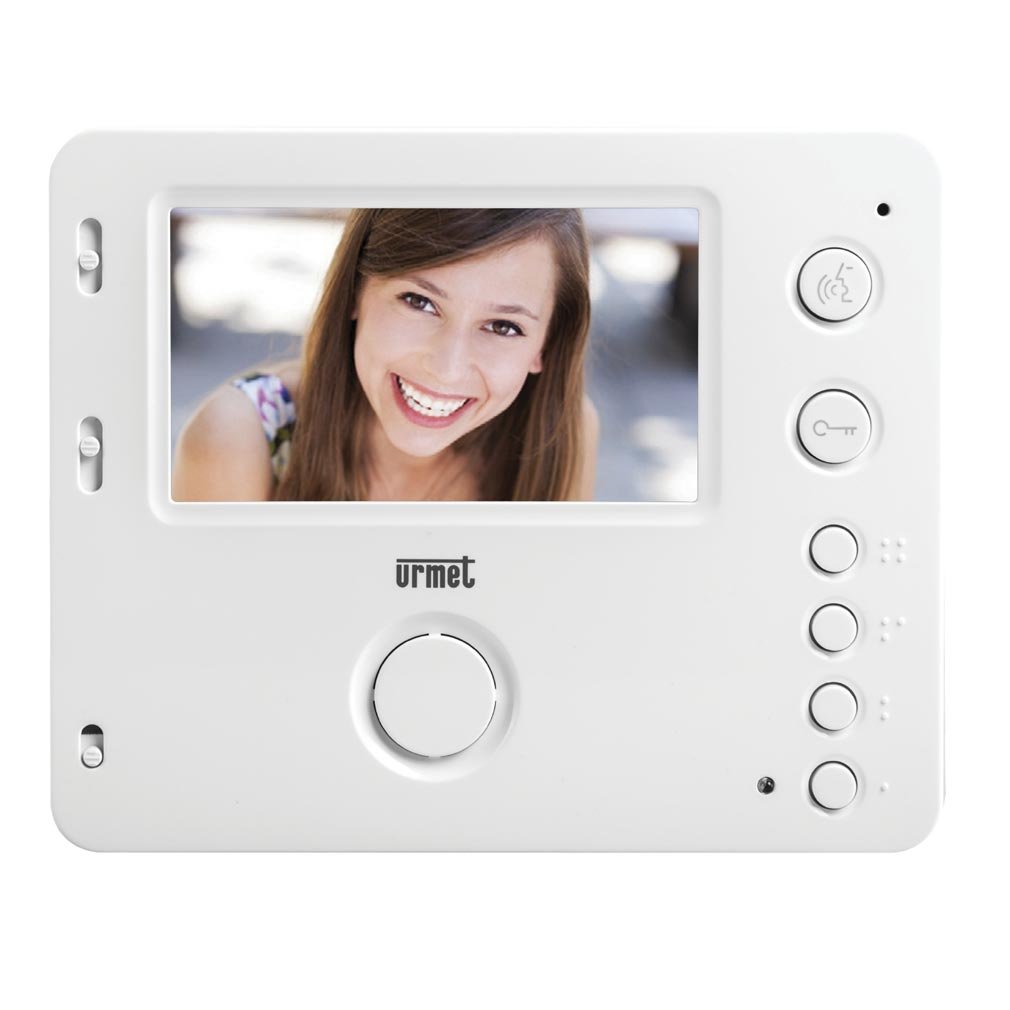
Whakaahua 1: Mua view of the Urmet 1750/4 Mirro Color Monitor. This image shows the display screen and control buttons, illustrating the sleek design and user interface.
5. Nga Tohutohu Whakahaere
The Urmet 1750/4 Mirro Color Monitor offers straightforward operation for daily use.
5.1 Nga Mahi Taketake
- Whakautu i te Karanga: When a visitor presses the call button on the outdoor unit, the monitor will ring and display the visitor's image. Press the Whakautu button (typically marked with a telephone icon) to establish communication.
- Te whakatuwhera i te tatau: I te wa e piihia ana, paatohia te Tuku Puka button (typically marked with a key icon) to unlock the entrance.
- Aroturuki: Pehia te Aroturuki button (typically marked with a camera icon) to view the outdoor camera feed without an incoming call.
5.2 Adjusting Display and Ringtones
The monitor features scroll wheels, usually located on the side or bottom edge, for adjusting settings:
- Ringtone Volume: Use the dedicated scroll wheel to increase or decrease the ringtone volume.
- Pūrata: Adjust the contrast scroll wheel to modify the difference between light and dark areas on the screen.
- Tirohanga: Adjust the brightness scroll wheel to control the overall luminance of the display.
5.3 Yokis Radio Series Integration (Optional)
The Urmet 1750/4 monitor is compatible with products from the Yokis radio series. By adding a wireless e4bpp transmitter (sold separately), you can initiate home automation commands directly from the monitor.
- e4bpp Transmitter: Connect the e4bpp transmitter according to its specific installation guide.
- Patene Tono: Once integrated, two separate buttons on the monitor can be configured to trigger specific Yokis scenarios, such as turning lights on/off or activating a central control for home entry/exit. Refer to the e4bpp transmitter manual for configuration details.
6. Tiaki
Regular maintenance ensures the longevity and optimal performance of your Urmet 1750/4 Mirro Color Monitor.
- Te horoi i te Mata: Me ata horoia te mata ki te kakahu ngohengohe, kore-puru. Mo nga tohu pakeke, paku dampHoroia te kakahu ki te wai. Kaua e rehu tika ngā wai horoi ki runga i te mata.
- Te horoi i te Casing: Whakamahia he kakahu ngohengohe, maroke hei horoi i te aroturuki casing. A ape i te whakamahi i nga matū kino, i nga taonga abrasive ranei.
- Whakahau: Ensure that the ventilation openings on the monitor (if any) are not blocked to prevent overheating.
7. Te Raru
Mena ka raru koe ki to kaitutei, tirohia nga raru me nga otinga e whai ake nei:
| Raruraru | Take pea | Rongoā |
|---|---|---|
| Kaore he ahua o te mata | No power; loose video cable; outdoor unit not functioning. | Check power supply; ensure video cable is securely connected; check outdoor unit. |
| No sound during call | Loose audio cable; speaker/microphone issue; volume too low. | Check audio cable connections; adjust volume scroll wheel; contact support if issue persists. |
| Te kounga whakaahua kounga | Incorrect brightness/contrast settings; dirty camera lens (outdoor unit); faulty cable. | Adjust brightness and contrast scroll wheels; clean outdoor camera lens; check video cable integrity. |
| Kāore e mahi te tukunga tatau | Faulty wiring to door lock; door release mechanism issue. | Verify wiring to the door lock; test the door release mechanism independently; consult an electrician. |
If the problem persists after attempting these solutions, please contact Urmet technical support or a qualified service technician.
8. Whakatakotoranga
Below are the technical specifications for the Urmet 1750/4 Mirro Color Monitor:
- Waitohu: Urmet
- Tau tauira: 1750/4
- Rahi Mata: 4.3 Inihi
- Display Surface Description: Moataata
- Rere tāmata: 120 Hz
- Nga waahanga motuhake: Home automation integration, high refresh rate
- Hangarau Hononga: HDMI (Note: This might refer to internal components or specific system connections, not necessarily a user-facing HDMI port for external devices.)
- Te maha o nga Tauranga HDMI: 1
- Atanga Pūmārō: HDMI
- Whakaatu Tae: Ae
- Taumaha Tūemi: 330.69 Pounds (Note: This weight seems unusually high for a monitor. Please verify product specifications if this is critical. It might be a data entry error.)
9. Pūtāhui me te Tautoko
Urmet products are manufactured to high-quality standards and are covered by a limited warranty. For specific warranty terms and conditions, please refer to the warranty card included with your product or visit the official Urmet webpae.
For technical assistance, troubleshooting, or service inquiries, please contact Urmet customer support. Contact information can typically be found on the Urmet webpae, i runga ranei i to putunga hua.
Urmet Official Webpae: www.urmet.com