1. Nga Tohutohu Haumaru Nui
Please read all instructions carefully before using the Midea MJ-60JM01B juicer. Keep this manual for future reference.
- Me whakarite kia tika te whakaurunga o te taputapu i mua i te whakamahinga.
- Kaua e rukuhia te turanga motuka ki te wai, ki etahi atu wai ranei.
- Momotuhia te mono o te mīhini wai mai i te putanga hiko ina kore e whakamahia, i mua i te huihui, i te wetewete rānei i ngā wāhanga, me mua hoki i te horoi.
- Avoid contact with moving parts. Ensure the lid is securely locked in place before operating.
- Kaua e whakahaere i te taputapu me te taura pakaru, te mono ranei, i muri ranei i nga mahi kino o te taputapu, kua pakaru ranei i tetahi ahuatanga.
- This appliance is not suitable for dishwashers. Refer to the cleaning section for proper care.
- Kaua ngā ringaringa me ngā taputapu e uru ki te paipa whāngai i te wā e whakamahia ana hei ārai i te whara.
- Me whakarite kia noho te taputapu ki runga i te mata mau, papatahi, maroke hoki.
2. Hua Neke Atuview
The Midea MJ-60JM01B is a 600W stainless steel juicer designed for efficient juice extraction from various fruits.
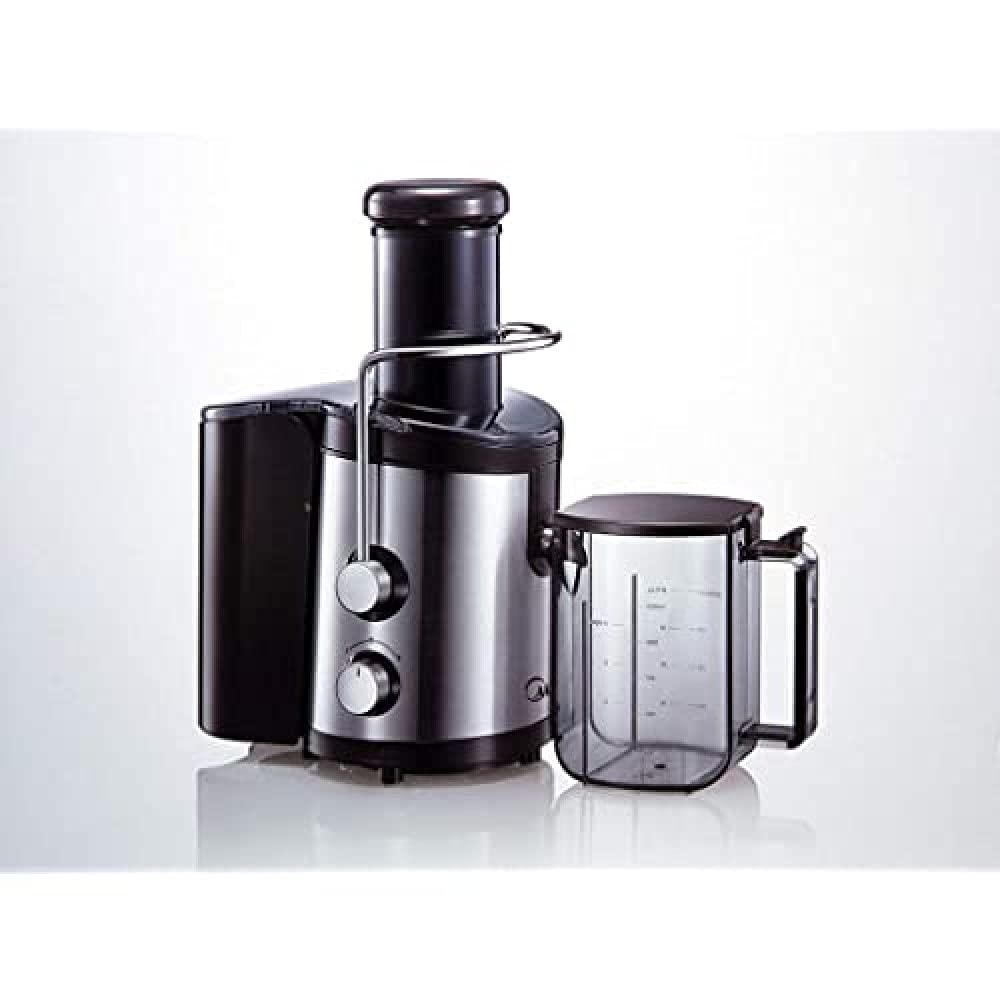
Image: The Midea MJ-60JM01B Juicer, showcasing its stainless steel body, pulp container, juice jug, and feed chute.
Waehanga:
- Turanga Motika: Contains the 600W motor and control panel.
- Ipu Penupenu: Collects fruit pulp.
- Juice Jug: 1.25-liter capacity for collecting extracted juice.
- Kete Tātari: Stainless steel filter for separating pulp from juice.
- Lid with Feed Chute: Secures the juicer and allows fruit insertion.
- Kai pana: Used to guide fruits down the feed chute.
3. Tatūnga me te Runanga
Follow these steps to correctly assemble your juicer before first use.
- Whakanohoia te turanga motini ki runga i te mata ma, maroke, pumau.
- Insert the pulp container onto the motor base, ensuring it clicks into place.
- Place the stainless steel filter basket securely onto the motor base, aligning it with the drive shaft.
- Position the lid with the feed chute over the filter basket and pulp container, ensuring it locks into place with the safety clips.
- Place the juice jug under the juice spout.
- Whakauruhia te pana kai ki roto i te poka kai.
4. Nga Tohutohu Whakahaere
Operating your Midea juicer is straightforward. Prepare your fruits and follow these steps.
Whakaritenga:
- Horoia rawatia ngā hua me ngā huawhenua katoa.
- For larger fruits, cut them into pieces that fit comfortably into the feed chute. The juicer is designed to handle whole fruits, but smaller pieces can optimize juice extraction.
- Remove hard pits from fruits like peaches, plums, or cherries.
Tukanga Juicing:
- Ensure the juicer is correctly assembled and the juice jug is in place.
- Monohia te taputapu ki tētahi putanga hiko 220V.
- Tīpakohia te tautuhinga tere e hiahiatia ana:
Tere 1: For softer fruits and vegetables (e.g., berries, tomatoes).
Tere 2: For harder fruits and vegetables (e.g., apples, carrots). - Turn on the juicer.
- Gradually feed the prepared fruits or vegetables into the feed chute using the food pusher. Apply gentle, even pressure. Do not force the food.
- Once juicing is complete, turn off the appliance and unplug it from the power outlet.
5. Te horoi me te tiaki
Mā te horoi auau ka tino pai te mahi, ā, ka roa ake te ora o tō mīhini wai. Momotuhia te mono o te taputapu i mua i te horoinga.
- Wetewetehia te kai waiu mai i te putanga hiko.
- Disassemble the juicer by removing the food pusher, lid, filter basket, pulp container, and juice jug.
- Rinse all removable parts (except the motor base) under running water immediately after use to prevent pulp from drying.
- Use a cleaning brush (if provided, or a soft brush) to thoroughly clean the stainless steel filter basket. This is crucial for maintaining juicing efficiency.
- Wash the lid, pulp container, and juice jug with warm, soapy water. Rinse thoroughly and dry.
- Horoia te turanga motuka me te panuiamp kakahu. Kaua rawa e rumakina te turanga o te motuka ki te wai, ki tētahi atu wai rānei.
- Ensure all parts are completely dry before reassembling or storing the juicer.
- Tuhipoka: The juicer parts are not dishwasher safe. Hand washing is required.
6. Te Raru
If you encounter issues with your Midea MJ-60JM01B juicer, refer to the following common problems and solutions.
| Raruraru | Take pea | Rongoā |
|---|---|---|
| Karekau te kaijui e huri. | Kāore anō kia monohia; kāore te raka haumaru e mau ana; te mana e whakawetohia anatage. | Check power connection; ensure lid is securely locked; check household power. |
| He iti te hua wai, he nui rawa rānei te penupenu. | Filter basket clogged; incorrect speed setting; feeding too quickly. | Clean filter thoroughly; use higher speed for harder produce; feed slowly and steadily. |
| Ka mutu te taputapu i te wa e mahi ana. | Kua whakahohehia te tiaki taumaha; te wera o te motuka. | Turn off and unplug; allow to cool for 15-30 minutes; reduce load size. |
| Haruru nui, wiri ranei. | Improper assembly; damaged filter basket. | Disassemble and reassemble correctly; inspect filter for damage and replace if necessary. |
7. Whakatakotoranga
Technical details for the Midea MJ-60JM01B Juicer.
- Tauira: MJ-60JM01B
- Mana: 600 W
- Voltage: 220 V
- Nga tere: 2 (Iti/Teitei)
- Rauemi: Stainless Steel body and blade
- Juice Jug Capacity: 1.25 rita
- Taumaha Hua: 4.9 kg
- Nga Waahanga Haumaru Ririu: Kao
8. Pūtāhui me te Tautoko
Midea products are manufactured to high-quality standards. For specific warranty information, please refer to the warranty card included with your purchase or visit the official Midea webpae.
For technical support, spare parts, or service inquiries, please contact Midea customer service through their official channels. Keep your purchase receipt and model number (MJ-60JM01B) handy when contacting support.
Ka kitea e koe etahi atu korero me nga korero whakapā i runga i te Midea Brand Store.