Lorex W463AQD-E
Lorex 2K Dual Lens Indoor Wi-Fi Security Camera W463AQD-E User Manual
Model: W463AQD-E
1. Kupu Whakataki
This manual provides detailed instructions for the installation, configuration, and operation of your Lorex 2K Dual Lens Indoor Wi-Fi Security Camera, model W463AQD-E. Please read this manual thoroughly before using the product to ensure proper functionality and safety. Keep this manual for future reference.

Image 1.1: Lorex 2K Dual Lens Indoor Wi-Fi Security Camera with its retail packaging.
2. Ihirangi mokete
Verify that all items listed below are included in your package. If any items are missing or damaged, please contact Lorex customer support.
- 1 × 2K Dual-Lens Indoor Pan-Tilt Camera
- 1 × 32GB MicroSD Card (pre-installed)
- 1 × 6.5 ft (2 m) Power Cable
- 1 × Whakapuru Taiapa
- 3 × Punga & Tiu
- 1 × Pūurutau Hiko
3. Hua Neke Atuview
Familiarize yourself with the components and features of your Lorex security camera.
3.1 Waenga Kaimera

Whakaahua 3.1: Mua view of the camera, showing the dual lenses and call button.

Whakaahua 3.2: Taha view of the camera, highlighting its dome shape.

Whakaahua 3.3: Hoki view of the camera, showing the power input and reset button.

Image 3.4: Bottom label displaying model number W463AQD-E and other regulatory information.
3.2 Nga waahanga matua
- 2K Tapawhā HD Ataata: Ka hopu i te ataata marama me te kiko o te footage.
- Hoahoa Arotahi Takirua: Provides enhanced surveillance capabilities.
- 360° Pan-Tilt: Whakatikatika mamao i te kāmera viewing angle to cover a full 360-degree area.
- Aroturuki-Aunoa: Automatically follows detected movement within its field of view.
- Smart Person & Pet Detection: Differentiates between human and pet activity to reduce false alerts.
- Te tirohanga matakite a te po: Provides clear video in low-light conditions up to 33 feet.
- Korero Rua-Waahi: Allows for real-time communication through the camera's built-in microphone and speaker.
- Quick Call Button: Enables visitors to initiate a call to your connected device.
- Rokiroki Hangawari: Supports local storage via an included 32GB MicroSD card and optional cloud storage or Lorex Fusion recorders.
- Aratau Tūmataitinga: Physically hides the camera lens for enhanced privacy when needed.
- Hononga Wi-Fi: Connects to your home network wirelessly (2.4GHz).
4. Tatūnga
4.1 Tatūnga Tuatahi me te Hononga Taupānga
- Whakahiko: Connect the power adapter to the camera and plug it into a power outlet. The camera will power on and begin its startup sequence.
- Download Lorex Home App: Download the Lorex Home app from the App Store (iOS) or Google Play Store (Android) on your smartphone or tablet.
- Waihanga Pūkete: Open the Lorex Home app and follow the on-screen instructions to create a new account or log in to an existing one.
- Tāpiri Pūrere: Tap the '+' icon in the app to add a new device. Scan the QR code located on the bottom of your camera or on its packaging.
- Tūhono ki Wi-Fi: Follow the app's prompts to connect the camera to your 2.4GHz Wi-Fi network. Ensure your mobile device is connected to the same Wi-Fi network during setup.
- Whakaotia te Tatūnga: Once connected, follow the remaining steps in the app to name your camera and finalize the setup process.

Image 4.1: The Lorex Home application interface for managing camera feeds.
4.2 Whakauru i te Kamera
The camera can be placed on a flat surface or mounted to a ceiling or wall using the included mounting bracket.
- Kōwhiri Tauwāhi: Select a suitable indoor location with a clear view ā, kei roto i te whānuitanga o tō whatunga Wi-Fi.
- Tohua Kohao: Place the mounting bracket at the desired location and mark the screw holes with a pencil.
- Rua rua: Drill pilot holes at the marked spots. If mounting on drywall, insert the included anchors.
- Taiapa Haumaru: Align the mounting bracket with the holes and secure it using the provided screws.
- Āpiti Kāmera: Twist the camera onto the mounting bracket until it clicks securely into place.
5. Mahi
5.1 Ora View me nga Mana Whakahaere
Uru ki te ora view of your camera through the Lorex Home app. From the live view screen, you can control various camera functions.
- Pane me te Hoa: Use the directional controls in the app to remotely adjust the camera's horizontal (pan) and vertical (tilt) angles.
- Topa Mamati: Pinch to zoom in or out on the live video feed.
- Maata Matarua View: The app may offer options to switch between or combine views from the dual lenses.

Image 5.1: Camera shown with a smartphone displaying the dual lens live view i roto i te taupānga Lorex Home.
5.2 Two-Way Talk and Call Button
The camera features two-way audio for communication and a physical call button.
- Korero Rua-Waahi: I roto i te ora view, patohia te ata hopuoro hei kōrero mā te kaikorero o te kāmera. Patohia anō hei whakamutu.
- Patene Waea: A person near the camera can press the physical call button on the camera to initiate a call to your connected mobile device.

Image 5.2: Demonstrating two-way talk functionality via the Lorex Home app.

Image 5.3: A user pressing the quick call button on the camera.
5.3 Te Motini me nga Matohi
The camera uses smart detection to identify important events.
- Rapu Ataata: The camera can detect and differentiate between people and pets, sending specific alerts to your phone.
- Aroturuki-Aunoa: When motion is detected, the camera can automatically pan and tilt to follow the subject.
- Whakaritenga: Adjust motion detection zones and sensitivity settings within the Lorex Home app to minimize unwanted alerts.

Image 5.4: Auto-tracking feature following a baby's movement.

Whakaahua 5.5: Tetahi atu view of the auto-tracking feature in action.

Image 5.6: Smart motion detection alerting to a person's presence.

Image 5.7: Pet detection and auto-tracking following a dog.
5.4 Night Vision and Smart Lighting
The camera provides clear surveillance even in low-light conditions.
- Te tirohanga matakite a te po: Infrared LEDs provide black and white video up to 33 feet in complete darkness.
- Smart Security Lighting: The camera features integrated lighting that can be configured to activate upon motion detection or on a schedule.

Image 5.8: Comparison of daytime and IR night vision footage of a sleeping baby.

Image 5.9: Clear night vision image of a baby sleeping.

Image 5.10: The camera's smart security lighting feature in action.
5.5 Te tuhi me te rokiroki
Your camera offers multiple options for storing recorded video footage.
- Rokiroki Paetata: A 32GB MicroSD card is pre-installed for local recording. This ensures your footage is stored directly on the device.
- Rokiroki Kapua: Optional cloud storage plans are available for off-site backup of your recordings. Refer to the Lorex Home app for details.
- Lorex Fusion Recorders: The camera is compatible with Lorex Fusion recorders for integrated system storage.

Image 5.11: The included 32GB MicroSD card for private and secure local storage.
5.6 Aratau Matatapu
Activate Privacy Mode to physically conceal the camera lens when surveillance is not desired.
- Whakahohenga: Privacy Mode can be activated through the Lorex Home app. When active, the camera lens will rotate downwards, blocking its view.
- Wehenga: Deactivate Privacy Mode via the app to resume normal operation.
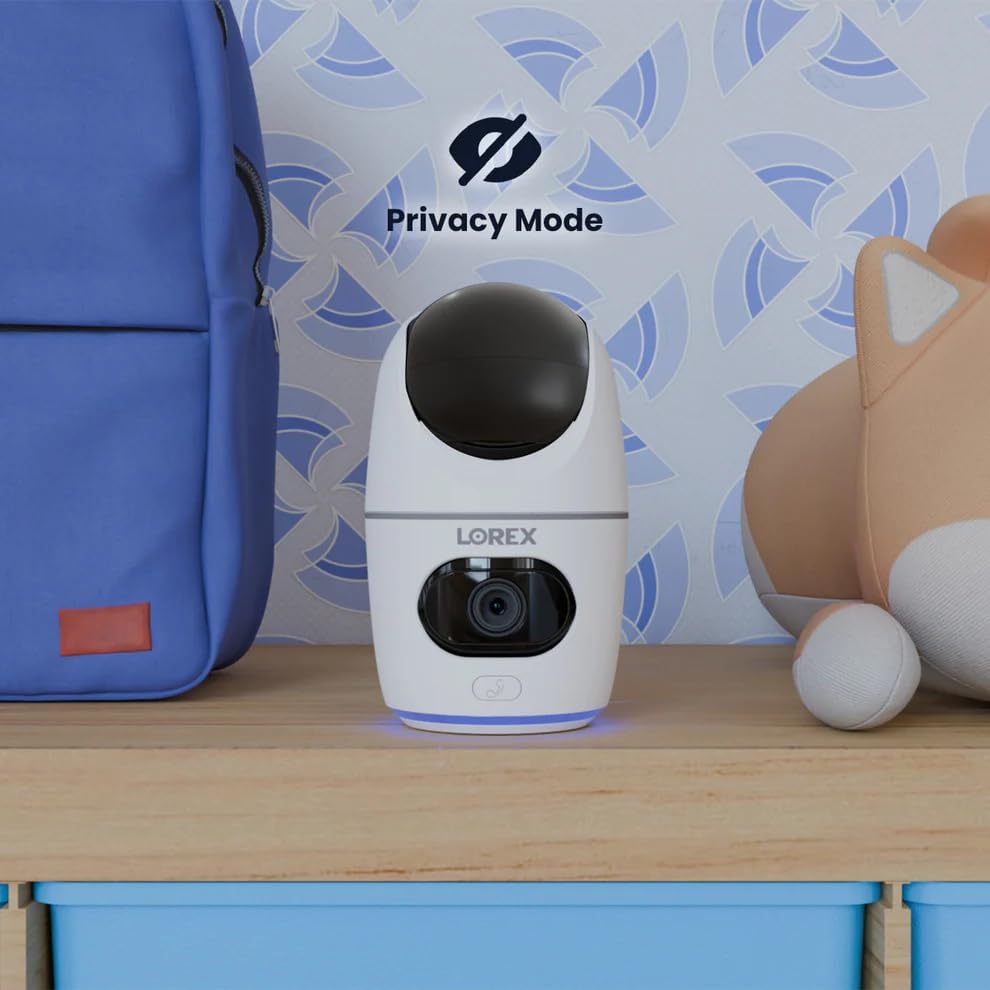
Image 5.12: The camera in Privacy Mode, with the lens retracted.
6. Tiaki
- Te horoi: Whakamahia he kakahu ngohengohe, maroke hei horoi i te arotahi kamera me te tinana. A ape i te kai horoi, te whakarewa ranei.
- Whakahōu Firmware: Regularly check the Lorex Home app for available firmware updates to ensure optimal performance and security.
- Kāri MicroSD: Periodically check the status of the MicroSD card in the app. If the card is full and continuous recording is enabled, older footagKa tuhia anōtia te e. Tāruatia ngā kōnae nuitage ina hiahiatia.
- Tuku Hiko: Ensure the camera is connected to a stable power source. Avoid using third-party power adapters that are not specified for this device.
7. Te Raru
| Raruraru | Rongoā |
|---|---|
| Kei te tuimotu, kua momotu rānei te kāmera. |
|
| Kaore e taea te hono ki Wi-Fi. |
|
| No video or poor video quality. |
|
| He maha rawa nga matohi nekehanga, kaore ranei i te whiwhi. |
|
8. Whakatakotoranga
| Āhuahira | Taipitopito |
|---|---|
| Tau tauira | W463AQD-E |
| Whakatau Ataata | 2K (1440p) |
| Whakataunga Tonu Whaihua | 4 MP |
| Viewing Koki | 360 Degrees (Pan-Tilt), 135 Degrees (Field of View) |
| Awhe Tirohanga Po | 33 Feet (IR Night Vision) |
| Hononga | Wi-Fi (2.4GHz) |
| Rokiroki | 32GB MicroSD Card (included), supports up to 256GB, Cloud Storage (optional), Lorex Fusion compatible |
| Ororongo | Two-Way Talk (Built-in Mic & Speaker) |
| Te kimi | Smart Person & Pet Detection, Auto-Tracking |
| Puna Mana | Corded Electric (5V=2A) |
| Ahu (L x W x H) | 5 x 6 x 5 inihi |
| Taumaha Tūemi | 15.2 hekere |
| Mahinga o roto/waho | Roto anake |
| Nga Waahanga kei roto | Camera, 32GB MicroSD Card, Power Cable, Mounting Bracket, Power Adapter |
9. Pūtāhui me te Tautoko
For warranty information, technical support, or additional resources, please visit the official Lorex webpaetukutuku, whakapā atu ranei ki ta raatau tari ratonga kaihoko.
- lorex Webpae: www.horex.com
- Tautoko Kiritaki: Refer to the Lorex website for contact details and support hours.
Product registration is recommended to receive updates and support.
Ask a question about this manual
Ask about setup, troubleshooting, compatibility, parts, safety, or missing instructions. Manuals+ will review the question and use this page’s manual context to help answer it.