1. Kupu Whakataki
The PNI House IP516 is a 16-channel Network Video Recorder (NVR) designed for advanced surveillance systems, supporting up to 5MP IP cameras and H.265 video compression. This NVR allows for local and remote monitoring, recording, and management of your security cameras. It is compatible with ONVIF protocol cameras, offering flexibility in camera selection. This manual provides essential information for the proper installation, operation, and maintenance of your PNI House IP516 NVR.
2. Ihirangi mokete
Tena koa tirohia mēnā kei roto i tō kete ngā taonga katoa kua whakarārangihia i raro nei. Mēnā kua ngaro, kua pakaru rānei ētahi taonga, whakapā atu ki tō kaihokohoko.
- PNI House IP516 NVR Unit
- Kiore USB
- Pūurutau Hiko
- Pukapuka Kaiwhakamahi (tenei tuhinga)
- CD with Software
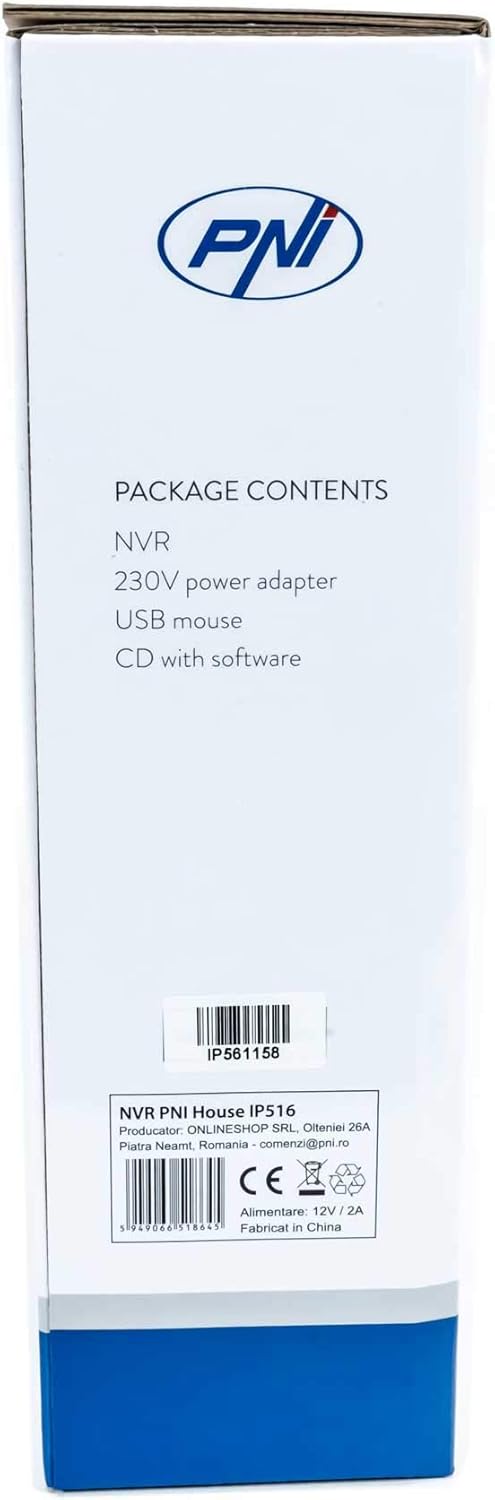
Image: Side of the NVR box detailing the package contents.

Image: The PNI House IP516 NVR unit, power adapter, and USB mouse included in the package.
3. Hua Neke Atuview
3.1 Paewhiri Mua
The front panel of the NVR features indicator lights for system status.
- PWR (Mana): Indicates the NVR is powered on.
- REC (Rekoata): Flashes when recording is active.
- NET (Network): Tohu mahi whatunga.

Whakaahua: Mua view of the PNI House IP516 NVR, showing the power, record, and network indicator lights.
3.2 Paewhiri Whakamuri
The rear panel provides all necessary connection ports for the NVR.
- Tauranga VGA: Ka hono ki te aroturuki VGA.
- Paerewa HDMI: Connects to an HDMI monitor or TV for high-definition video output.
- LAN Port (RJ45 10/100 Mbps): Ka hono atu ki tō pouara whatunga, ki tō pana rānei.
- Tauranga USB (x2): For connecting the USB mouse, external storage, or for system upgrades.
- DC 12V Whakauru Mana: Ka hono ki te urutau hiko whakauru.

Whakaahua: Rear view of the PNI House IP516 NVR, displaying VGA, HDMI, LAN, USB, and DC 12V power input ports.
4. Tatūnga
4.1 Tāutanga Puku Mārō (Whiringa)
The NVR supports a hard drive up to 8 TB for video storage. It is recommended to use dedicated CCTV hard drives for optimal reliability and endurance.
- Wewetehia ka tango i te uhi o runga o te NVR.
- Tūhonoa ngā taura raraunga me te taura hiko SATA mai i te NVR ki te puku mārō.
- Whakamauhia te puku mārō ki te anga NVR mā te whakamahi i ngā tīwiri kua whakaratohia.
- Whakakapia te taupoki o runga, ka whakau ki ngā tīwiri.
4.2 Hononga Tuatahi
- Connect a monitor to the NVR's VGA or HDMI port.
- Connect the USB mouse to one of the NVR's USB ports.
- Connect an Ethernet cable from the NVR's LAN port to your network router or switch.
- Connect the power adapter to the NVR's DC 12V input and then plug it into a power outlet. The NVR will power on automatically.
4.3 First Boot and Basic Configuration
Upon the first boot, the NVR will guide you through an initial setup wizard. Follow the on-screen prompts to:
- Waihangatia he kupuhipa kaha mō te pūkete kaiwhakahaere.
- Whakaritehia nga tautuhinga ra me te wa.
- Format the installed hard drive (if applicable).
- Perform network settings (DHCP is usually enabled by default).
- Rapua and add IP cameras to the NVR. The NVR supports up to 16 cameras at 2560x1920px (5MP) and is compatible with ONVIF protocol cameras.
5. Te whakahaere i te NVR
5.1 Mahi a-Rohe
Use the connected mouse to navigate the NVR's graphical user interface (GUI) on the monitor. Right-click to access the main menu, which includes options for live view, playback, recording settings, system configuration, and more.
5.2 Uru Mamao
The PNI House IP516 NVR can be accessed remotely for live viewte purei, te purei anō, me te whirihoranga.
- Mobile Application (XMEye): Download the XMEye app from the Android Play Store or Apple App Store. Register an account, add your NVR by scanning its QR code or entering its serial number, and then you can view your cameras from anywhere with an internet connection.
- PC Software (General CMS): Install the General CMS software from the included CD or download it from the PNI support website. This software allows for comprehensive management of your NVR and cameras from a Windows PC.
5.3 Whakahaere Rekoata
Ka tautokohia e te NVR ngā momo aratau tuhi:
- Te tuhi Tonu: Ngā tuhinga 24/7.
- Hopu Tono: Records during specific time periods.
- Hukuhono Hukinga Huringa: Ka hopu whakaahua anake ina kitea he nekehanga e ngā kāmera.
Configure these settings in the NVR's menu under 'Record' or 'Storage' settings.
5.4 Te Motini me nga Matohi
When motion is detected, the system can trigger various alerts:
- Ngā Pānui Waea Pūkoro: Text notifications sent via the XMEye mobile application.
- Matohi Īmēra: An email sent to a predefined address.
- FTP Upload: The recording saved to an FTP server.
These alert settings can be configured in the NVR's 'Alarm' or 'Event' menu.
6. Tiaki
6.1 Whakahaere Puku Maama
Regularly check the status of your hard drive in the NVR's storage settings. If the hard drive becomes full, the NVR will typically overwrite the oldest recordings (loop recording). You may need to format the hard drive periodically if you encounter issues or wish to clear all data.
6.2 Ngā Whakahōunga Pūnaha
Periodically check the PNI support website for firmware updates. Firmware updates can improve performance, add new features, or fix bugs. Follow the instructions provided with the firmware update carefully to avoid damaging the device.
6.3 Te horoi
Ensure the NVR unit is kept clean and free from dust. Use a soft, dry cloth to wipe the exterior. Do not use liquid cleaners or aerosols directly on the unit.
7. Te Raru
| Raruraru | Take pea | Rongoā |
|---|---|---|
| NVR does not power on | No power supply; faulty power adapter | Check power connection; test power adapter; try a different outlet. |
| Kāore he putanga ataata i runga i te mata | Loose cable; incorrect input selected on monitor | Ensure VGA/HDMI cable is securely connected; select correct input on monitor. |
| Kāore e taea te uru atu ki te NVR mai i tawhiti | Network issue; incorrect app settings; NVR not connected to internet | Verify NVR network connection; check router settings; ensure correct NVR ID/serial in app. |
| Kāore ngā kāmera e whakaatu ana | Camera not powered; network issue; incorrect camera IP/protocol | Check camera power and network cables; ensure cameras are ONVIF compatible; verify camera IP addresses. |
| Kaore he rekoata | Hard drive not installed/formatted; recording schedule not set; motion detection not configured | Install and format HDD; configure recording schedule; set up motion detection zones and sensitivity. |
8. Whakatakotoranga
| Āhuahira | Taipitopito |
|---|---|
| Tau tauira | IP516 |
| Nga hongere | 16 |
| Whakatau Rawa | 5MP (2560 x 1920px) |
| Kōpeketanga Ataata | H.265 |
| Pūrere Hototahi | IP Cameras, Smartphone |
| Hangarau Hononga | HDMI, USB, VGA, RJ45 Ethernet |
| Atanga Whakawhitiwhiti | RJ45 10/100 Mbps |
| Max Rokiroki Raukaha | 8 TB (PUMA) |
| Tauranga USB | 2 |
| Whakamahi Hiko | 10 Watts |
| Tau Waahanga Kaihanga | PNI-1920P |
9. Pūtāhui
The PNI House IP516 NVR comes with a standard manufacturer's warranty. Please refer to the warranty card included in your package or visit the official PNI webTirohia te pae tukutuku mō ngā tikanga me ngā herenga taipitopito e pā ana ki te kapinga pūtāhui, te roanga, me ngā tikanga ratonga. Puritia tō taunakitanga hoko mō ngā kereme pūtāhui.
10. Tautoko
For technical support, troubleshooting assistance, or further inquiries regarding your PNI House IP516 NVR, please visit the official PNI website or contact their customer service department. You can find contact information and additional resources on the PNI brand store page: PNI Brand Store.