1. Kupu Whakataki
Thank you for choosing the Aerocool Mirage 12 ARGB PC Fan. This manual provides detailed instructions for the installation, operation, and maintenance of your new fan. The Mirage 12 ARGB fan features an Infinity Mirror RGB design and is compatible with Addressable RGB motherboards for customizable lighting effects. Please read this manual thoroughly before installation and use to ensure proper functionality and safety.
2. Nga korero haumaru
- Ensure your computer system is powered off and disconnected from the main power supply before installation.
- Kia tupato ki te hapai i nga waahanga kia kore ai e pakaru.
- Do not attempt to modify the fan or its connectors.
- Kaua e taea e nga tamariki.
- Refer to your motherboard manual for specific ARGB header and fan header locations and voltage whakaritenga.
3. Ihirangi mokete
The Aerocool Mirage 12 ARGB PC Fan package includes the following items:
- 1 x Aerocool Mirage 12 ARGB PC Fan (120mm)
- Whakaeke Tiu
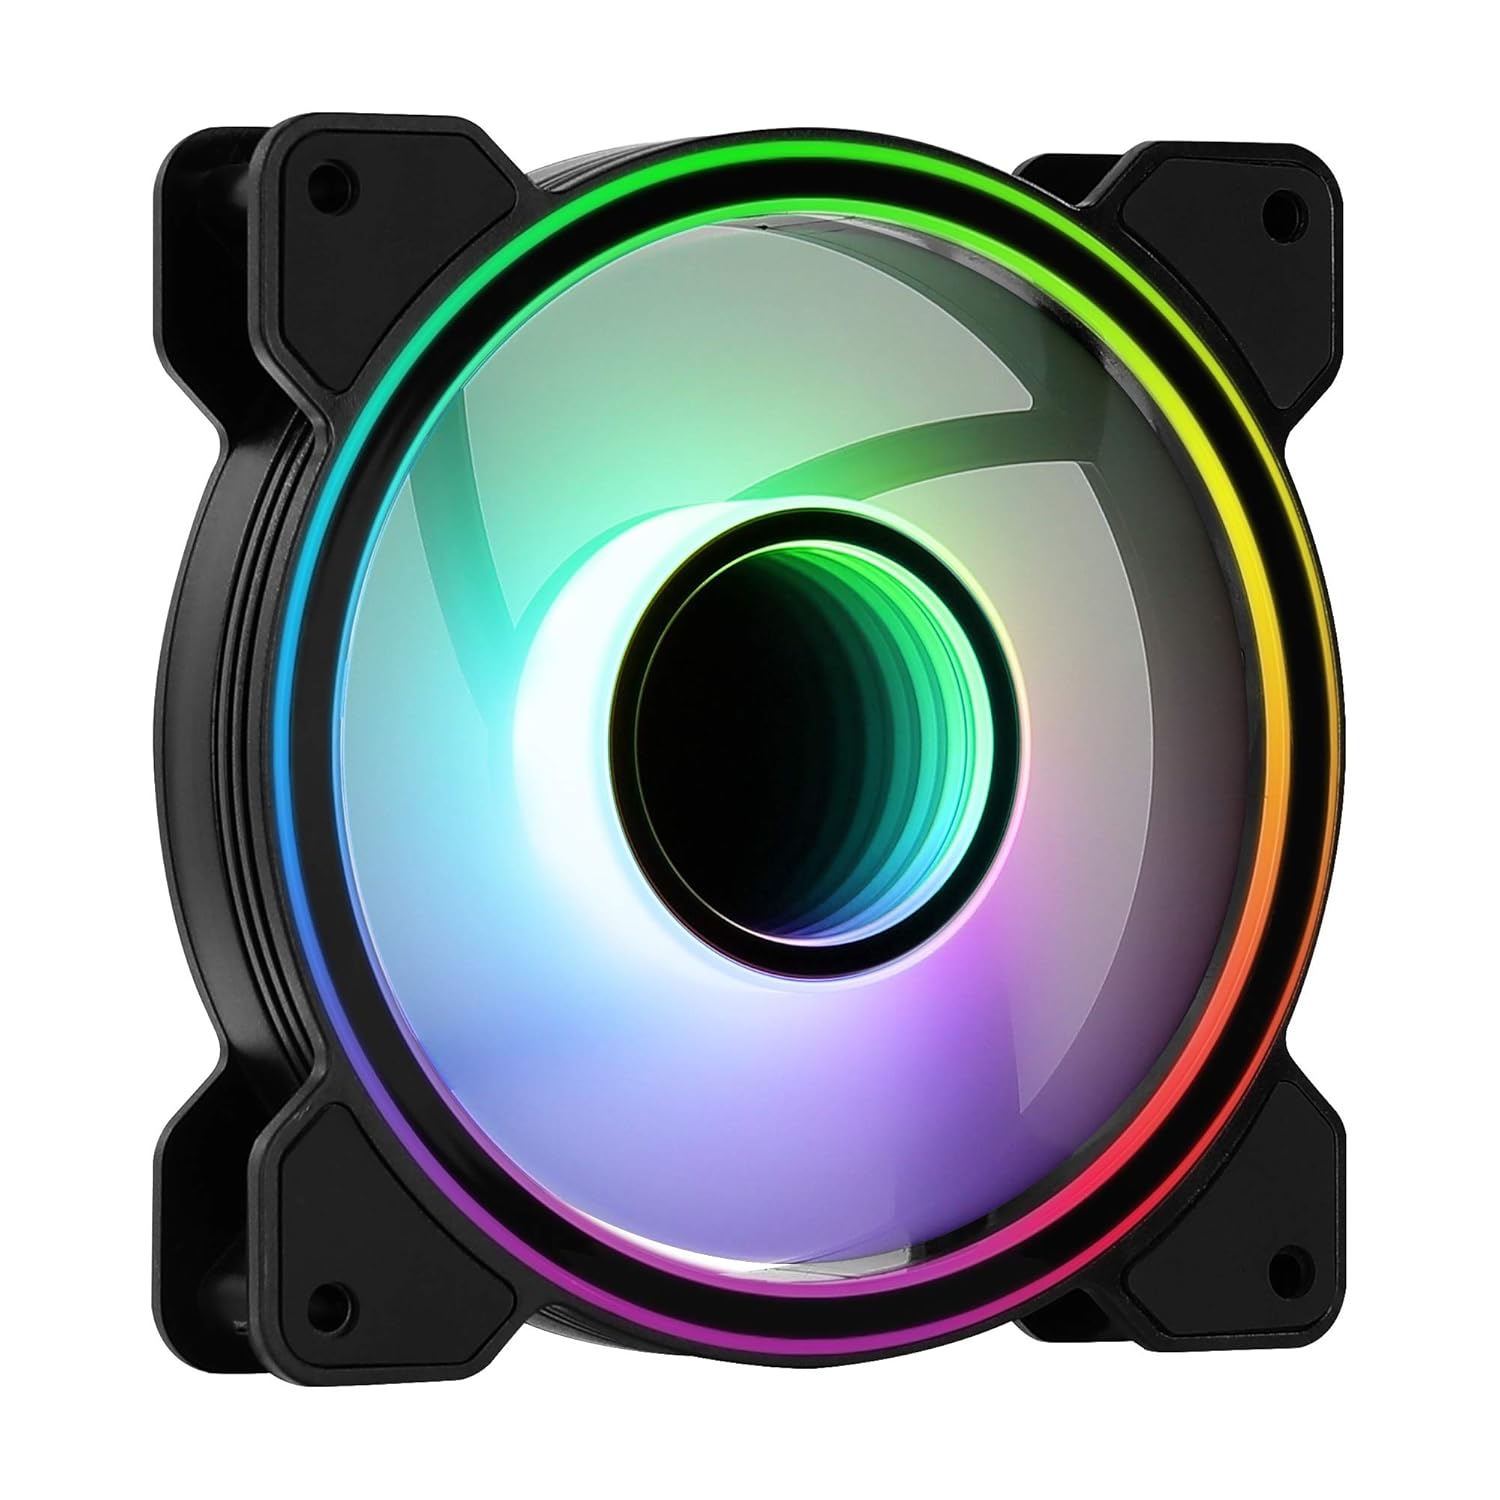
Whakaahua 1: Mua view of the Aerocool Mirage 12 ARGB PC Fan, showcasing its infinity mirror RGB lighting effect.
4. Aratohu Whakauru
4.1 Tāutanga Tinana
- Identify the desired mounting location within your PC case (e.g., front, rear, top, bottom).
- Position the fan in the chosen location, ensuring proper airflow direction (typically, the side with the frame supports and sticker is the exhaust side).
- Secure the fan to the case using the provided mounting screws. Do not overtighten.

Whakaahua 2: Hoki view of the Aerocool Mirage 12 ARGB PC Fan, illustrating the fan blade structure and motor hub.
4.2 Hononga Hiko
- Locate the 6-pin connector on the fan cable.
- Connect the 6-pin connector to a compatible Aerocool H66F RGB Control Hub (if available) or a similar Addressable RGB controller that supports 6-pin fan connections.
- If using an H66F RGB Control Hub, connect the hub to your motherboard's 4-pin PWM fan header for fan speed control and a 3-pin 5V Addressable RGB header for lighting control. Refer to the H66F hub manual for detailed instructions.
- Me whakarite kia mau nga hononga katoa i mua i te whakakaha i to punaha.

Atahanga 3: Whakatata view of the 6-pin connector, used for both power and ARGB signal transmission.
5. Mahi
5.1 ARGB Mana Rama
The Aerocool Mirage 12 ARGB fan's lighting can be controlled via a compatible Addressable RGB motherboard or an external ARGB controller (e.g., Aerocool H66F RGB Control Hub).
- Pūmanawa Papa Matua: If connected to a 3-pin 5V ARGB header on your motherboard, use the motherboard's proprietary software (e.g., ASUS Aura Sync, MSI Mystic Light Sync, Gigabyte RGB Fusion) to customize lighting effects, colors, and patterns.
- Kaiwhakahaere o waho: If connected to an external ARGB controller, refer to the controller's manual for instructions on how to adjust lighting settings.
5.2 Mana Tere Tere
The fan speed is controlled via the 6-pin connector, which typically interfaces with a PWM-compatible fan header on your motherboard (often through a control hub like the H66F). You can adjust fan speeds through your motherboard's BIOS/UEFI settings or dedicated fan control software.
- Ensure your motherboard's 4-pin fan header is PWM compatible for optimal speed control.
- Adjust fan curves in your motherboard's BIOS/UEFI or operating system software to balance cooling performance and noise levels.
6. Tiaki
To ensure optimal performance and longevity of your Aerocool Mirage 12 ARGB PC Fan, periodic cleaning is recommended.
- Weto Whakakore: Always power off your computer and disconnect it from the power supply before cleaning.
- Tango Puehu: Use compressed air or a soft, dry cloth to gently remove dust accumulation from the fan blades and frame.
- A ape i te Wai: Kaua e whakamahi i ngā wai horoi, kaua hoki e rumakina te pā hau ki roto i te wai.
7. Te Raru
| Raruraru | Take pea | Rongoā |
|---|---|---|
| Karekau te paahi e huri | Incorrect or loose power connection. Insufficient power. | Check the 6-pin connector and ensure it is securely connected to the control hub/motherboard. Verify power supply connections. |
| Ko te rama ARGB kaore e mahi | Incorrect or loose ARGB connection. Incompatible ARGB header. Software issue. | Ensure the 6-pin connector is properly seated. Verify that your motherboard's ARGB header is 3-pin 5V (not 4-pin 12V RGB). Check motherboard ARGB software settings. |
| Fan speed not controllable | Non-PWM fan header. Incorrect BIOS settings. | Confirm your motherboard's fan header is PWM compatible. Adjust fan control settings in your motherboard's BIOS/UEFI. |
8. Whakatakotoranga
| Āhuahira | Taipitopito |
|---|---|
| Tau tauira | MIRAGE12 |
| Hunga Hua | 4.72"L x 4.72"W x 0.98"H (120mm x 120mm x 25mm) |
| Momo Hono Hiko | 6-Pini |
| Voltage | 12 Volts |
| Wattage | 1.8 watts |
| Tikanga whakamatao | Kaiwhaiwhai |
| Pūrere Hototahi | Papamahi |
| Taumata Haruru | 17.8 Decibels |
| Rauemi | Polycarbonate |
| Tere Hurihuri Morahi | 1300 RPM |
9. Pūtāhui me te Tautoko
Mō ngā mōhiohio pūtāhui me te tautoko hangarau, tirohia te paetukutuku mana o AeroCool webpaetukutuku, whakapā atu ranei ki to kaihokohoko o to rohe. Puritia to tohu hoko mo nga kereme whakamana.
AeroCool Official Webpae: www.aerocool.io