
Kupu Whakataki
This manual provides comprehensive instructions for the beyerdynamic FOX Professional USB Studio Microphone and its accompanying Microphone Suspension Boom Scissor Arm. It covers essential information regarding product setup, operation, maintenance, and troubleshooting to ensure optimal performance and longevity of your equipment. Please read this manual thoroughly before using the product.
Nga korero haumaru
Please observe the following safety instructions to prevent damage to the device, injury to yourself, or damage to other property:
- Kaua e whakaatuhia te hopuoro ki te makuku, te ua, te pāmahana tino kino rānei.
- Avoid dropping the microphone or subjecting it to strong impacts.
- Kaua e ngana ki te wetewete, ki te whakarerekē rānei i te hopuoro. Tukuna ngā mahi tiaki katoa ki ngā kaimahi whai tohu.
- Keep the microphone and boom arm away from strong magnetic fields.
- Ensure the boom arm is securely clamped to a stable surface to prevent accidental falls.
- Use only the specified power source (USB connection) for the microphone.
Ihirangi mokete
Manatokohia kei roto i to kete nga mea katoa kua whakarārangihia i raro nei:
- beyerdynamic FOX Professional USB Studio Microphone
- Microphone Suspension Boom Scissor Arm with 3/8-Inch-16 Threading (Black)
- Tauira USB
- Desk Stand (for microphone)
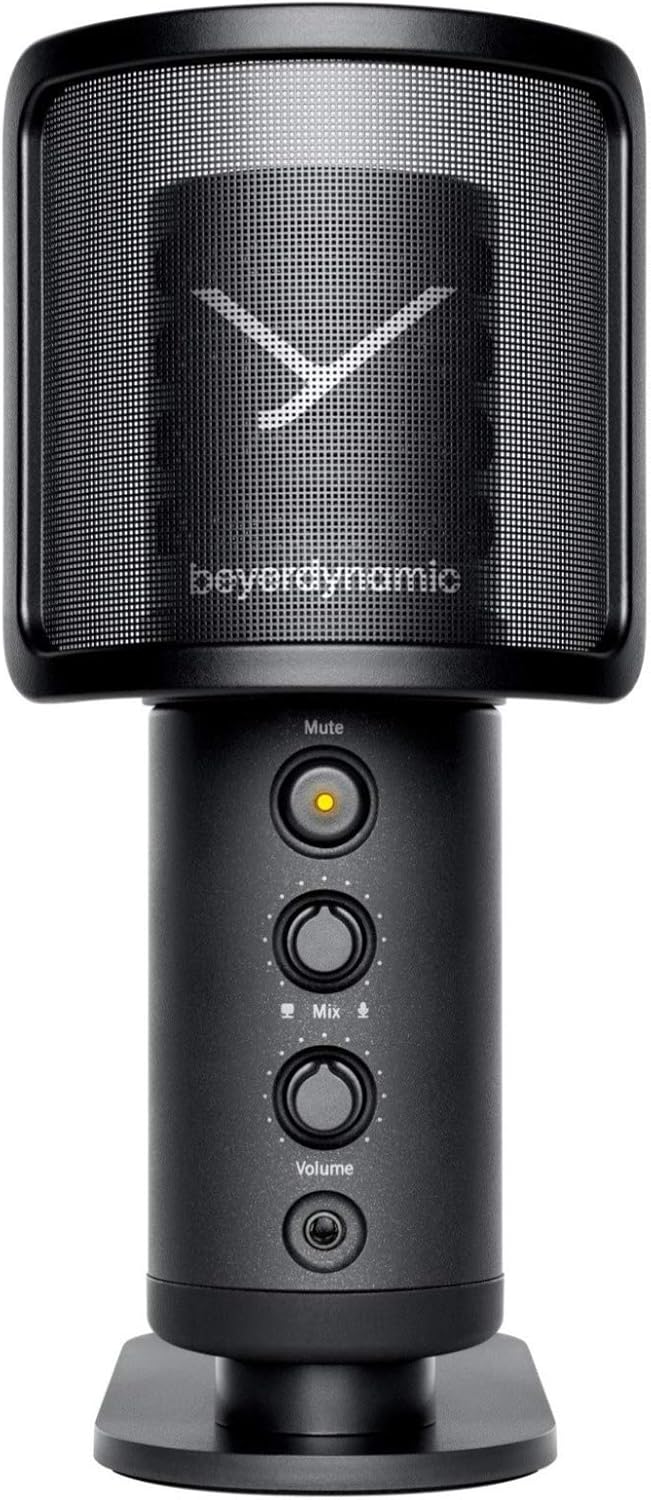
Image: The beyerdynamic FOX USB Studio Microphone and the included boom arm, showcasing te paihere katoa.
Ka mutu te huaview
Āhuatanga matua:
- Ororongo-Taumira teitei: 24-bit / 96 kHz studio-grade quality for professional recordings.
- Large Condenser Capsule: Ensures accurate signal conversion and low inherent noise.
- Tauira Polar Cardioid: Focuses on sound directly in front of the microphone, reducing unwanted background noise.
- Aroturuki Kore-Latency: Integrated headphone output allows real-time monitoring of your audio.
- Patene Whakakore: Instantly mutes the microphone for privacy or to prevent unwanted sounds from being recorded.
- Pātene Whakanui: Adjustable gain for recording various sound sources, including loud instruments.
- Hononga USB: Simple plug-and-play connection to PC, Mac, or compatible smartphones/tablets.
Microphone Components:
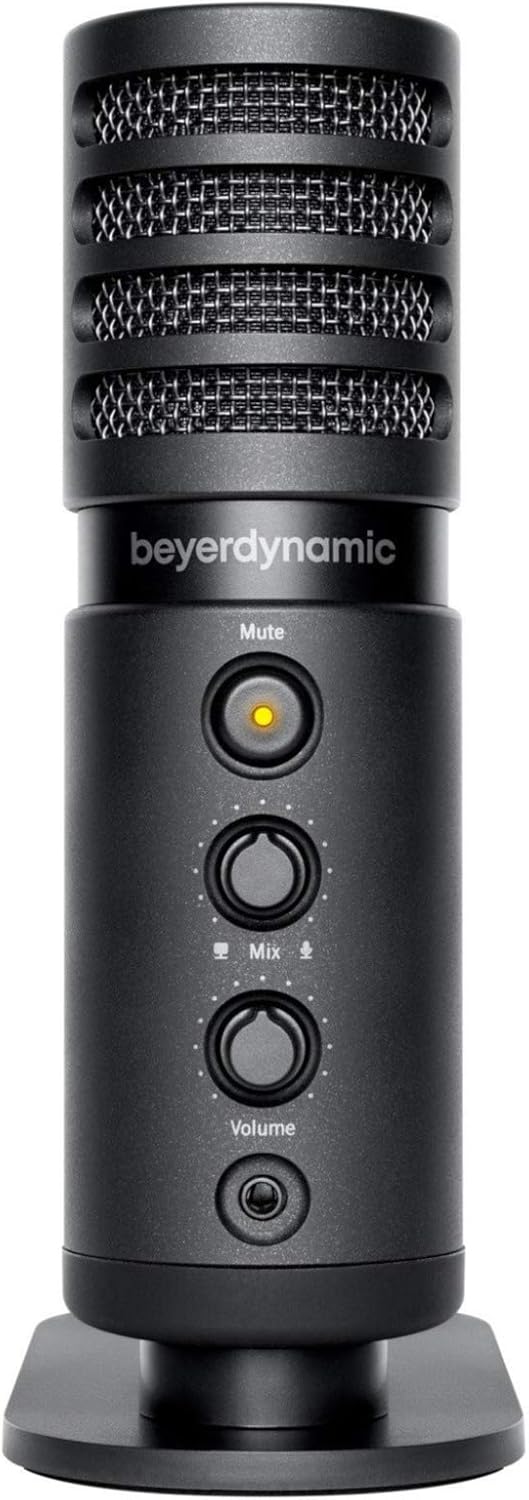
Whakaahua: Mua view of the beyerdynamic FOX microphone, highlighting the mute button, mix control, and volume knob.
- Tiuoroorooro: Protects the condenser capsule.
- Patene Whakakore: Press to mute/unmute the microphone. An indicator light will show status.
- Mana Whakaranu: Adjusts the balance between microphone input and computer playback in your headphones.
- Matapihi Rōrahi: Controls the headphone output volume.
- Jack Puoro (3.5mm): For connecting monitoring headphones.
- Tauranga USB-C: For connecting the microphone to your computer or mobile device.
- Threaded Mount: For attaching to the desk stand or boom arm.
Tatūnga
1. Assembling the Boom Arm:
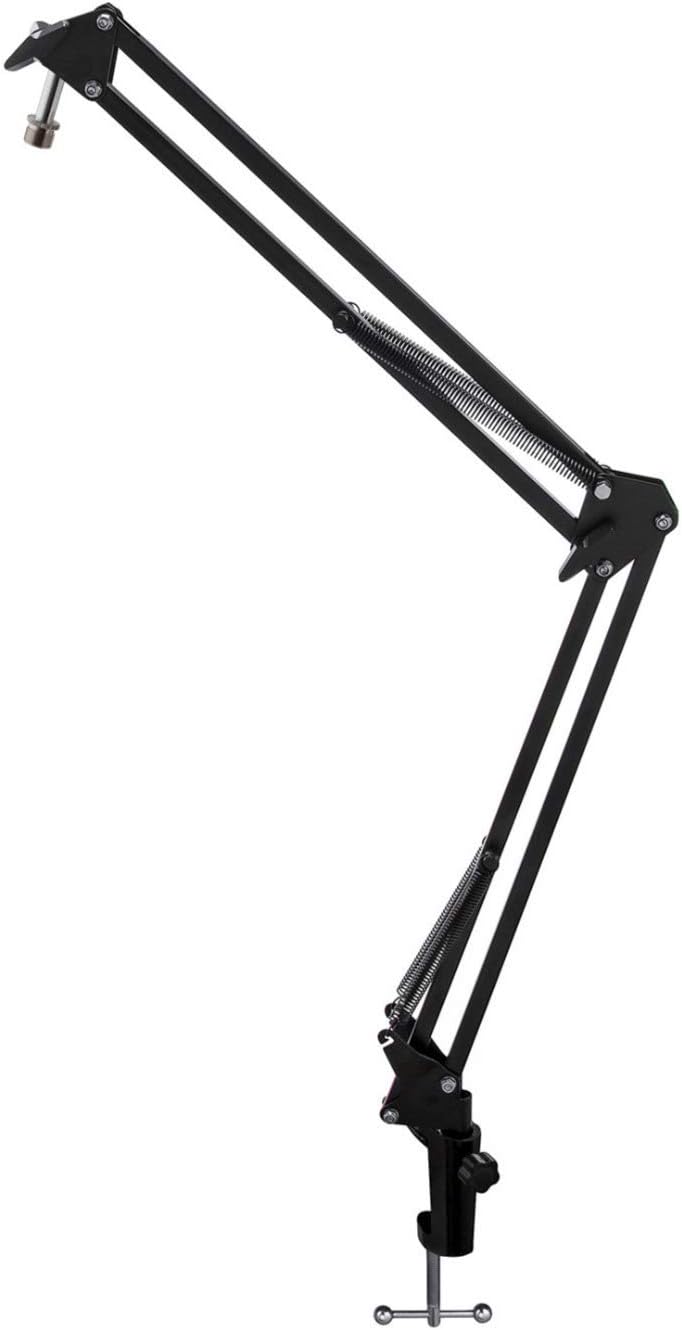
Image: The Microphone Suspension Boom Scissor Arm, showing its adjustable joints and desk clamp.
- Whakapirihia te Desk Clamp: Securely fasten the desk clamp to the edge of a sturdy desk or table. Ensure it is tight to prevent movement.
- Insert Boom Arm: Insert the base of the boom arm into the hole on the desk clamp. Tighten the locking screw on the clamp to hold the arm in place.
- Whakaritea te Turanga: Adjust the boom arm to your desired height and reach. The springs will help balance the microphone's weight.
2. Te Whakapiri i te hopuoro:
- To Boom Arm: Screw the beyerdynamic FOX microphone onto the 3/8-inch-16 threaded mount at the end of the boom arm. Ensure it is finger-tight.
- Using Desk Stand (Optional): If not using the boom arm, screw the microphone onto its included desk stand.
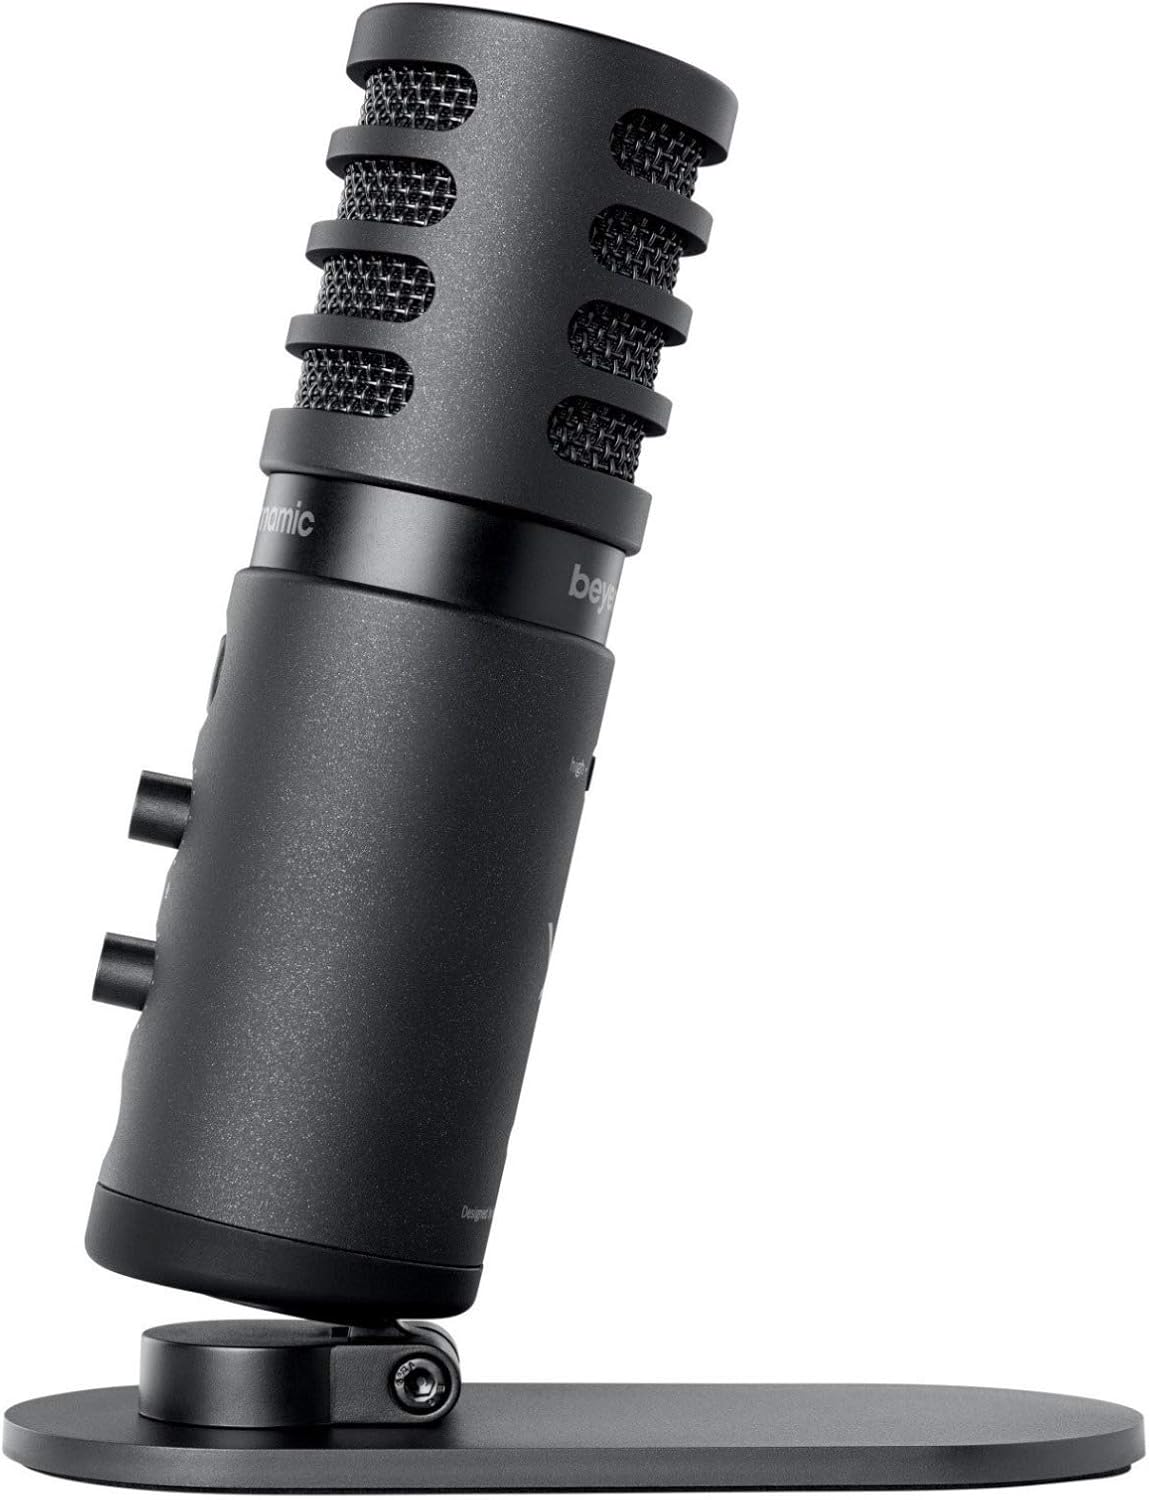
Image: The beyerdynamic FOX microphone mounted on its compact desk stand, ready for use.
3. Te hono ki to Pūrere:
- Connect the supplied USB cable to the USB-C port on the microphone.
- Connect the other end of the USB cable to an available USB port on your computer (PC/Mac) or compatible smartphone/tablet (adapter may be required for some mobile devices).
- The microphone is plug-and-play and should be automatically recognized by your operating system.
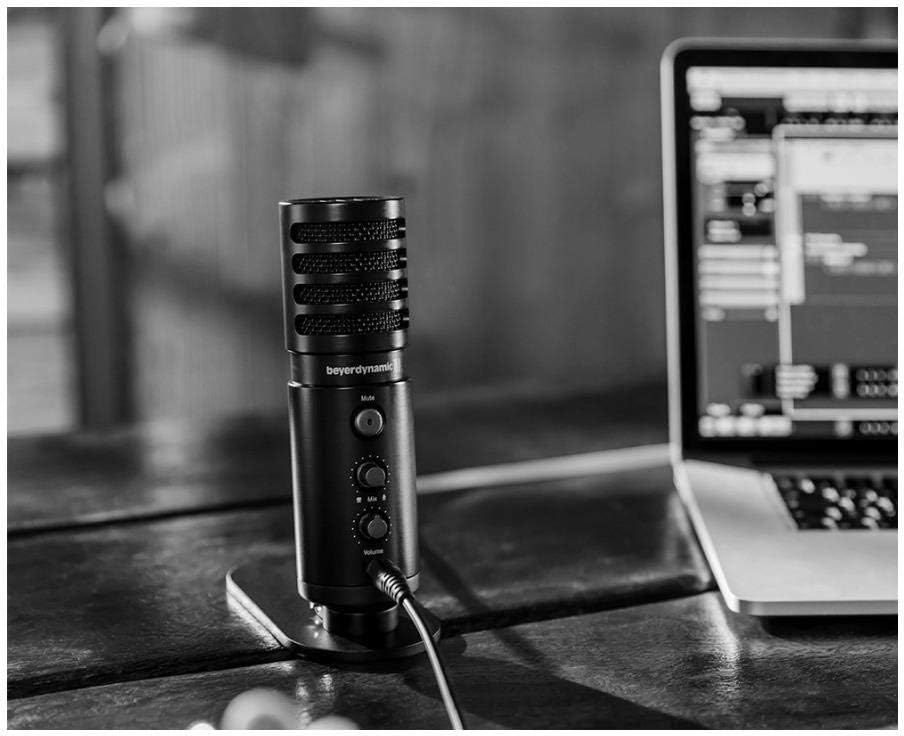
Image: The beyerdynamic FOX microphone in use, connected via USB to a laptop on a wooden desk.
Nga Tohutohu Whakahaere
1. System Recognition:
- Once connected, your operating system (Windows, macOS, Android, iOS) should automatically detect the beyerdynamic FOX as an audio input and output device.
- You may need to select "beyerdynamic FOX" as your default input/output device in your system's sound settings or within your recording software.
2. Using the Mute Button:
- Pehia te Wahangu button on the front of the microphone to toggle between active and muted states.
- An indicator light will typically show the microphone's status (e.g., green for active, red/orange for muted).
3. Adjusting Gain (Input Level):
- The FOX microphone features a gain switch (often labeled "Gain" or represented by a symbol like a microphone with a "+" or "-").
- Use this switch to adjust the microphone's sensitivity. For quiet sources (e.g., soft vocals), use a higher gain setting. For loud sources (e.g., instruments, loud speaking), use a lower gain setting to prevent distortion.
- Monitor your recording software's input levels to ensure they are not peaking (clipping).
4. Zero-Latency Monitoring:
- Connect headphones to the 3.5mm headphone jack on the microphone.
- Whakamahia te Rōrahi knob to adjust the headphone listening level.
- Ko te Whakaranu control allows you to blend the microphone's direct input with the audio playback from your computer. Turn towards the microphone icon to hear more of your live input, and towards the speaker icon to hear more of your computer's audio.
- This feature allows you to hear your voice or instrument in real-time without delay, which is crucial for accurate performance.
Te tiaki
- Te horoi: Use a soft, dry cloth to clean the microphone's exterior. Do not use liquid cleaners or solvents.
- Rokiroki: Mena kāore e whakamahia ana, rongoatia te hopuoro ki tētahi wāhi maroke, kore puehu.
- Puka Puka: Periodically check the boom arm's clamps and joints for tightness. Lubricate moving parts if necessary with a small amount of silicone-based lubricant.
- Tiaki taura: Avoid sharp bends or kinks in the USB cable. Store it neatly to prevent damage.
Raparongoā
| Raruraru | Take pea | Rongoā |
|---|---|---|
| Karekau he oro mai i te hopuoro |
|
|
| Distorted or clipping sound |
|
|
| Karekau he oro i roto i nga taringa |
|
|
| Boom arm is unstable |
|
|
Whakatakotoranga
| Āhuahira | Taipitopito |
|---|---|
| Tau tauira | FOXUSBMIC_K5 |
| Waea Puka Whakaoho | Table Array (with included desk stand) |
| Hangarau Hononga | USB |
| Momo Tuhono | USB |
| Tauira Poara | Takirua (Cardioid) |
| Whakatau | 24-moka / 96 kHz |
| Tohu Waitohu-ki-Toi | 78 dB |
| Pūmārō Pūmārō | PC, Waea atamai |
| Pūrere Hototahi | Headphone, Personal Computer, Smartphone |
| Puna Mana | Hiko Hiko (whakamahia USB) |
| Item Weight (Microphone) | 16 hekere (1 pauna) |
| Hunga Hua | 16.2 x 8.3 x 6.8 inches (overall bundle dimensions) |
| Tae | Pango |
| UPC | 040962932483 |
Pūtāhui me te Tautoko
For warranty information and technical support, please refer to the official beyerdynamic webpaetukutuku, whakapā atu ranei ki ta raatau ratonga kaihoko. Puritia to tohu hoko mo nga kereme whakamana.
Whaimana Webpae: www.whakarewhare.com