Vivotek IB9380-H
Vivotek IB9380-H 5MP IR Whatunga waho Matā Matā Camera Manual
Model: IB9380-H
1. Kupu Whakataki
This manual provides detailed instructions for the installation, operation, and maintenance of your Vivotek IB9380-H 5MP IR Outdoor Network Bullet Camera. Please read this manual thoroughly before using the product to ensure proper setup and optimal performance. This camera is designed for outdoor security surveillance, offering high-resolution imaging and infrared capabilities for reliable monitoring.
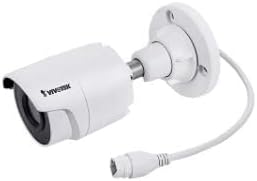
Image 1.1: Vivotek IB9380-H 5MP IR Outdoor Network Bullet Camera overview.
2. Nga korero haumaru
- Puna Hiko: Use only the specified AC/DC power adapter. Ensure the power supply is stable and meets the camera's requirements (3.5 watts).
- Taiao Tāuta: This camera is rated for outdoor use (IP9380). Avoid installing in locations with extreme temperatures, high humidity, or corrosive substances beyond its operating specifications.
- Te whakahaere: Do not drop or subject the camera to severe shock. Avoid touching the lens directly.
- Whakakorea: Kaua e ngana ki te wetewete, ki te whakarerekē rānei i te kāmera. Tērā pea ka whakakorea te pūtāhui, ka pakaru pea.
- Whakawaea: Ensure all cables are properly secured and protected from environmental damage or tamppaenga.
3. Ihirangi mokete
Manatokona kei roto katoa nga mea kei roto i te kete:
- Vivotek IB9380-H 5MP IR Outdoor Network Bullet Camera
- Kete Whakamau (ngā tīwiri, ngā punga pakitara)
- Aratohu Tāuta Tere
- Waterproof Connector for Ethernet Cable
4. Tatūnga
4.1. Physical Installation and Mounting
The Vivotek IB9380-H camera is designed for wall mount installation. Choose a suitable location that provides the desired field of view ā, kei roto i te taea atu o ngā hononga hiko me te whatunga.
- Whakapaia te Mata Maunga: Mark the drilling points on the wall using the mounting template (if provided) or by holding the camera's base against the surface.
- Rua rua: Drill pilot holes at the marked positions. Insert wall anchors if mounting on drywall or masonry.
- Tiakina te Kāmera: Attach the camera's mounting base to the wall using the provided screws. Ensure it is firmly secured.
- Whakarite Koki: Wetekina ngā tīwiri whakatikatika i te tinana o te kāmera hei whakarite i te mea e hiahiatia ana viewing angle. Tighten the screws once the angle is satisfactory.

Image 4.1: Camera dimensions and mounting diagram for installation planning.
4.2. Hononga taura
Connect the necessary cables to the camera:
- Tauira Itarangi: Connect a standard Ethernet cable (RJ45) to the camera's network port. Use the waterproof connector to protect the connection if exposed to weather.
- Taputapu Tahana: Connect the power adapter to the camera's power input. Ensure the connection is secure.

Image 4.2: Close-up of an Ethernet cable connector, similar to what is used for the camera's network connection.
4.3. Hia Tuatahi
Once all cables are connected, plug the power adapter into an electrical outlet. The camera will power on and initiate its startup sequence. Observe any indicator lights for status.
5. Nga Tohutohu Whakahaere
5.1. Network Configuration and Access
The Vivotek IB9380-H supports Wi-Fi connectivity. For initial setup, it is recommended to connect via Ethernet to configure network settings.
- Kāmera Kimihia: Use the Vivotek IP Search utility or your network router's client list to find the camera's assigned IP address.
- Urunga Web Atanga: Tuwhera a web browser and enter the camera's IP address. Log in using the default credentials (refer to the Quick Installation Guide for details).
- Whirihora Wi-Fi: Navigate to the network settings within the web interface. Select your Wi-Fi network, enter the password, and save the settings. Once configured, you may disconnect the Ethernet cable if desired.
5.2. Ora View me te tuhi
After network setup, you can access the camera's live feed and configure recording options.
- Ora View: Mai i te web interface or a compatible mobile application, select the camera to view tōna whāngai ora.
- Tatūnga Hopu: Configure recording schedules, continuous recording, or event-triggered recording (e.g., motion detection). Recordings can be stored on a network video recorder (NVR) or a local storage device if supported.
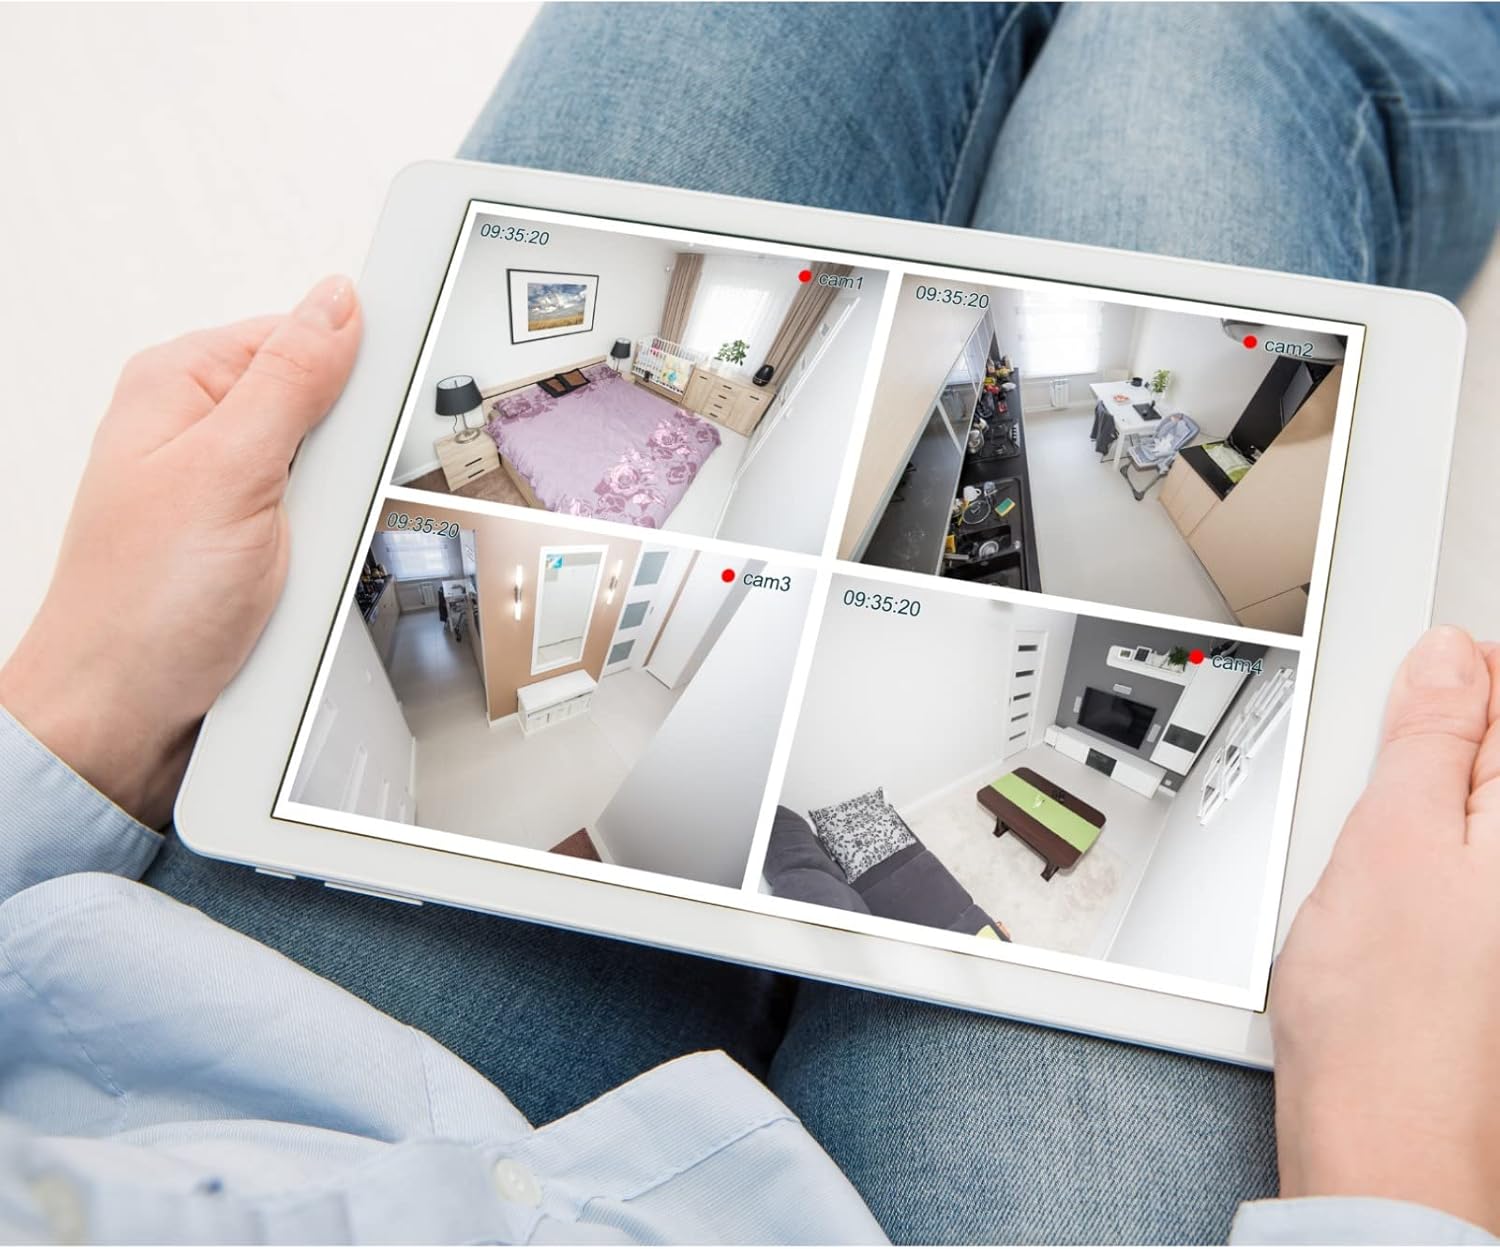
Whakaahua 5.1: Example of a tablet displaying multiple camera feeds, illustrating remote monitoring capabilities.
5.3. Motion Detection Setup
The camera supports motion-only alerts.
- Access Alert Settings: In the camera's web interface, navigate to the event or alert settings section.
- Configure Motion Detection: Enable motion detection and define the detection zones and sensitivity levels.
- Set Actions: Specify actions to be taken upon motion detection, such as recording, sending email notifications, or triggering alarms.
5.4. Matakitenga po
The camera features IR (Infrared) and Night Color low light technology for clear imaging in various lighting conditions. These features typically activate automatically based on ambient light levels.
6. Tiaki
- Te horoi i te Arotahi: Gently wipe the camera lens with a soft, clean cloth. For stubborn dirt, use a lens cleaning solution designed for optical surfaces. Do not use abrasive cleaners.
- Whakahōu Firmware: Periodically check the Vivotek webpae mō ngā whakahōutanga pūmanawa. Mā te whakahōu tonu i te pūmanawa ka tino pai te mahi, te haumarutanga, me te urunga atu ki ngā āhuatanga hou.
- Taki Taiao: Regularly inspect the camera and its mounting for any signs of wear, damage, or loose connections, especially after severe weather conditions.
- Hurihanga Hiko: If the camera experiences minor issues, try power cycling it by disconnecting and reconnecting the power supply.
7. Te Raru
| Raruraru | Take pea | Rongoā |
|---|---|---|
| Karekau he Mana | Power adapter unplugged or faulty; power outlet issue. | Check power connections. Test the outlet with another device. Try a different power adapter if available. |
| Kaore he Whangai Ataata | Network connection issue; incorrect IP address; camera not configured. | Verify network cable connection or Wi-Fi settings. Confirm camera's IP address. Ensure camera is properly configured in your viewte rorohiko. |
| Kounga Atahanga Kino | Mata paru; nga ahuatanga marama iti; nga tautuhinga taumira hē. | Clean the camera lens. Ensure sufficient lighting or verify night vision is active. Check video resolution settings in the camera's interface. |
| Kaore i te Mahi te Motini | Motion detection disabled; incorrect sensitivity; detection zones not set. | Enable motion detection in settings. Adjust sensitivity and define detection zones. |
8. Whakatakotoranga
| Āhuahira | Taipitopito |
|---|---|
| Tauira | IB9380-H |
| Whakataunga Tonu Whaihua | 5 MP |
| Whakataunga Hopu Ataata | 1080p |
| Auau anga | 20 fps |
| Hangarau Maama iti | Tae Po |
| Tauwehe Puka | Matā |
| Mahinga o roto/waho | Waho |
| Momo Whakaeke | Maunga Taiepa |
| Whakawhitiwhiti Ahokore | Wi-Fi |
| Kawa Hononga | Wi-Fi |
| Puna Mana | AC/DC |
| Wattage | 3.5 watts |
| Momo Matohi | Motini anake |
| Tikanga Mana | Mamao |
| Ahu (L x W x H) | 3.59 x 3.59 x 6.96 inihi |
| Whakatauranga Tiaki o te Ao | IP9380 |
| UPC | 655255870887, 681541834035 |
9. Nga Korero Whakaputanga
This Vivotek product is covered by a manufacturer's limited warranty. Please refer to the warranty card included in your package or visit the official Vivotek webTirohia te paetukutuku mō ngā tikanga me ngā herenga taipitopito e pā ana ki te kapinga pūtāhui, te roanga, me ngā tikanga kereme. Puritia tō taunakitanga hoko mō te ratonga pūtāhui.
10. Tautoko Kiritaki
For technical assistance, troubleshooting beyond this manual, or warranty inquiries, please contact Vivotek customer support. You can typically find contact information (phone, email, support portal) on the official Vivotek webpae, i roto ranei i nga tuhinga e whakaratohia ana me to hua.
Rauemi ipurangi: www.vivotek.com
Ask a question about this manual
Ask about setup, troubleshooting, compatibility, parts, safety, or missing instructions. Manuals+ will review the question and use this page’s manual context to help answer it.