1. Kupu Whakataki
The Foscam FNA108HE is an 8-channel Network Video Recorder (NVR) designed for surveillance systems. It supports up to 8 PoE (Power over Ethernet) IP cameras, allowing for simplified installation with power and data transmission over a single Ethernet cable. This NVR records video at up to 8MP resolution per channel and utilizes H.264+ video compression for efficient storage. It offers continuous, motion-detection, and scheduled recording options, and supports a hard drive up to 16TB (not included) for extensive storage. View and manage your surveillance system locally via HDMI/VGA monitor or remotely through a web atanga.
2. Ihirangi mokete
- Foscam FNA108HE 8-Channel PoE NVR
- Pūurutau Hiko
- Kiore USB
- Tauira Itarangi
- Aratohu Timata Tere
- Mounting Screws for HDD (Hard Disk Drive not included)
3. Hua Neke Atuview
Whakaahua 3.1: Paewhiri o mua
This image shows the front of the Foscam FNA108HE NVR, featuring the Foscam logo on the left and indicator lights (ALARM, REC, POWER) on the right, along with a navigation button.

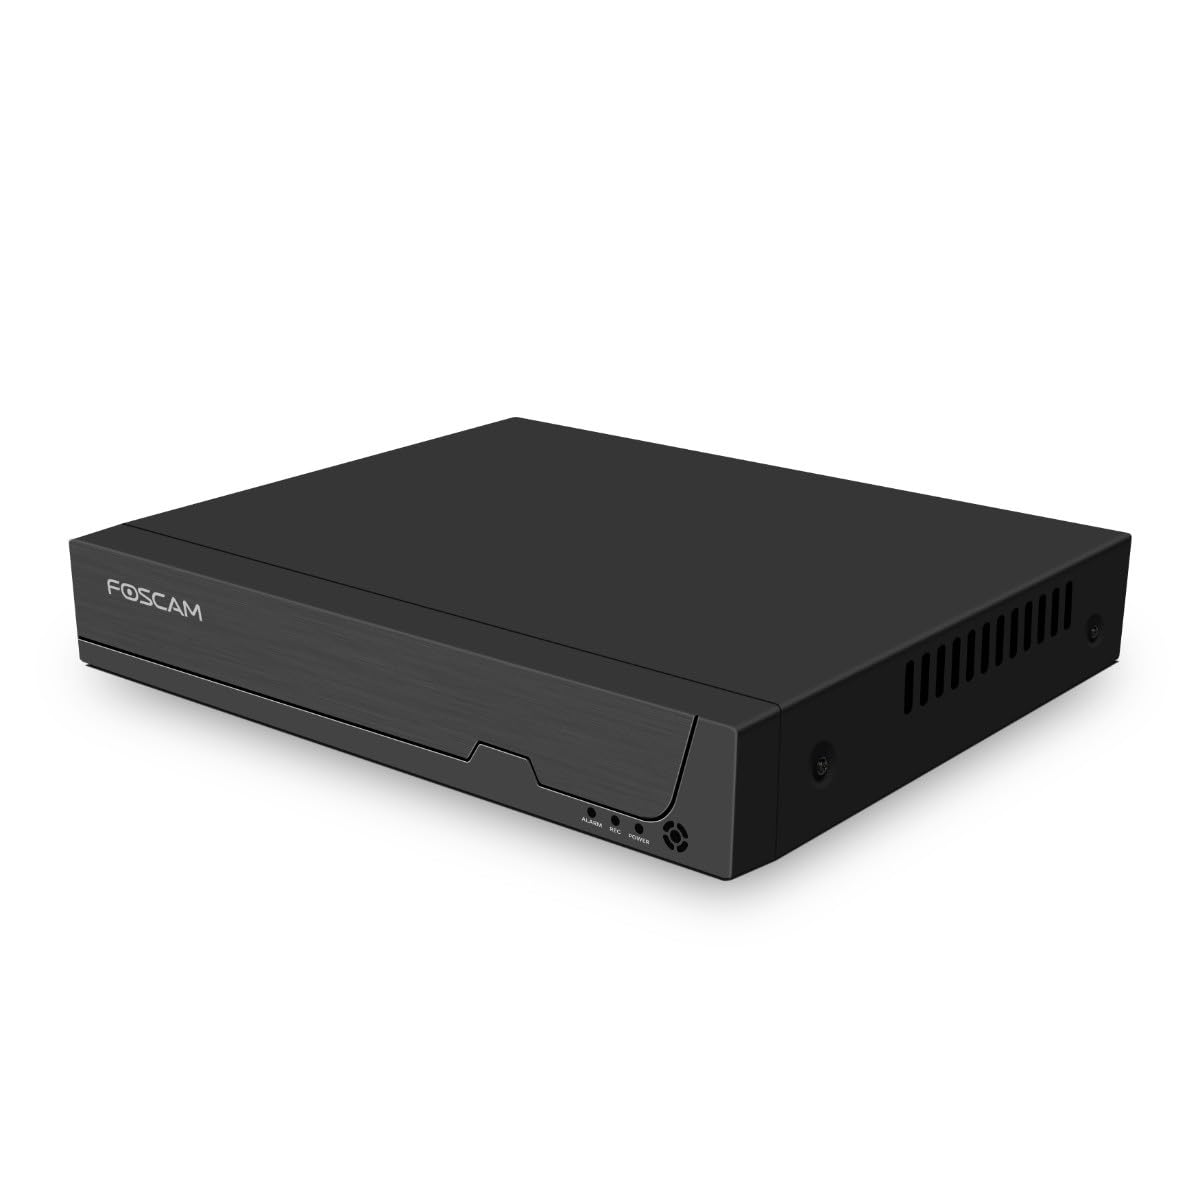
Whakaahua 3.2: Koki View
An angled perspective of the Foscam FNA108HE NVR, highlighting its compact design and the Foscam branding.

Whakaahua 3.3: Paewhiri Whakamuri
This image displays the rear panel of the Foscam FNA108HE NVR, showing various ports including the power switch, DC 48V power input, 8 PoE ports, LAN port, A-OUT (audio output), VGA port, HD-OUT (HDMI port), and two USB ports.
3.1 Tohu Paewhiri o mua
- MANA: Indicates the NVR is powered on.
- REKE: Flashes when video is being recorded.
- PANUI: Illuminates when an alarm event (e.g., motion detection) is triggered.
3.2 Tauranga Paewhiri Whakamuri
- ON / WAWHI Whakawhiti: Powers the NVR on or off.
- DC 48V: Power input for the NVR.
- Tauranga PoE (1-8): Connect PoE IP cameras. These ports provide both power and data.
- Tauranga LAN: Ka hono i te NVR ki tō whatunga/pouara ā-rohe mō te urunga ipurangi me te mamao viewing.
- A-OUT (Audio Output): Connects to an external speaker for audio output.
- Tauranga VGA: Connects to a VGA monitor for local display.
- HD-OUT (HDMI Port): Connects to an HDMI monitor or TV for local display.
- Tauranga USB (x2): Connect a USB mouse for local control and for USB backup devices.
4. Tatūnga
4.1 Hard Drive Installation (Optional, HDD not included)
For video recording, a 3.5-inch SATA hard drive is required. Ensure the NVR is powered off before installation.
- Wewetehia ka tango i te uhi o runga o te NVR.
- Tūhonoa ngā taura raraunga me te taura hiko SATA mai i te NVR ki te puku mārō.
- Whakamauhia te puku mārō ki te anga NVR mā te whakamahi i ngā tīwiri kua whakaratohia.
- Whakakapia te taupoki o runga, ka whakau ki ngā tīwiri.
4.2 Hononga Miihini
- Connect your PoE IP cameras to the PoE ports (1-8) on the NVR's rear panel using Ethernet cables.
- Honoa he mata tirotiro ki te tauranga HD-OUT (HDMI) ki te tauranga VGA rānei o te NVR.
- Connect the USB mouse to one of the NVR's USB ports.
- Honoa te tauranga LAN o te NVR ki tō pouara, ki tō pana whatunga rānei mā te whakamahi i tētahi taura Ethernet.
- Connect the power adapter to the DC 48V input on the NVR and then plug it into a power outlet.
- Press the ON/OFF switch to power on the NVR.
5. Mahi
5.1 Initial Setup and Access
Upon first boot, the NVR will guide you through an initial setup wizard (password creation, network settings, etc.). You can access the NVR interface locally via the connected monitor and mouse, or remotely via a web pūtirotiro i runga i te rorohiko e hono ana ki te whatunga kotahi.
5.2 Ora View
After logging in, the NVR will display the live video feeds from connected cameras. You can switch between single-camera view, whatunga kāmera maha view, me te whakarite i te tahora whakaaturanga.
5.3 Aratau Tuhituhi
The NVR supports the following recording modes:
- Te tuhi Tonu: Ka tuhia ngā rekoata 24/7, kāore he aukati.
- Hukuhono Hukinga Huringa: Ka hopu whakaahua anake ina kitea he nekehanga e ngā kāmera.
- Hopu Tono: Records according to a predefined schedule (e.g., specific hours of the day).
Configure these settings in the NVR's menu under 'Record' or 'Schedule'.
5.4 Whakahoki
Ki te review tuhia footage:
- Access the 'Playback' menu on the NVR interface.
- Tīpakohia te kāmera (ngā kāmera) e hiahiatia ana me te awhe rā/wā.
- Use the timeline to navigate through recordings and play back events.
5.5 Uru Mamao
To access the NVR remotely:
- Me whakarite kei te hono te NVR ki te ipurangi.
- Configure network settings (e.g., port forwarding) on your router if necessary, or use Foscam's cloud service/P2P feature if available.
- Use the Foscam web interface or mobile application to view live feeds and manage settings from anywhere.
6. Tiaki
6.1 Whakahaere Puku Maama
Regularly check the status of your hard drive in the NVR's storage settings. If the hard drive is new or has issues, it may need to be formatted through the NVR interface. Ensure sufficient free space for continuous recording.
6.2 Whakahoutanga Firmware
Tirohia te āpiha o Foscam i ia wā website for firmware updates. Keeping your NVR's firmware updated ensures optimal performance, security, and access to new features. Follow the instructions provided with the firmware update carefully.
7. Te Raru
- Kāore he Whakaaturanga Ataata: Check HDMI/VGA cable connections, ensure monitor is on and set to correct input. Verify NVR is powered on.
- Cameras Not Showing: Ensure cameras are properly connected to PoE ports. Check camera power and network status. Verify camera IP addresses are within the NVR's range.
- Karekau he tuhi: Confirm a hard drive is installed and formatted. Check recording schedules and motion detection settings. Ensure HDD has free space.
- Nga take Uru Mamao: Verify NVR has internet access. Check network settings, port forwarding, or P2P status. Ensure correct login credentials.
- NVR Not Powering On: Check power adapter connection and power outlet. Ensure the ON/OFF switch is in the 'ON' position.
8. Whakatakotoranga
| Āhuahira | Whakatakotoranga |
|---|---|
| Tau tauira | FNA108HE |
| Waitohu | Foscam |
| Te maha o nga hongere | 8 |
| Max. Raukaha Rokiroki | 16 TB (Hard Drive not included) |
| Kōpeketanga Ataata | H.264 + |
| Momo Whakauru Ataata | PoE IP Kamera |
| Putanga Ataata | Atanga, VGA |
| Putanga Ororongo | A-WAHI |
| Tauranga USB | 2 |
| Hangarau Hononga | HDMI, USB, VGA, Ethernet (LAN, PoE) |
| Pūrere Hototahi | Camera, Smartphone, Television |
| Taumaha Tūemi | 880 Karamu |
| Nga waahanga e waatea ana | 1 Tau |
9. Pūtāhui me te Tautoko
This Foscam NVR (Model FNA108HE) typically comes with a manufacturer's warranty. Spare parts are available for 1 year. For detailed warranty information, technical support, or service inquiries, please refer to the official Foscam webpaetukutuku, whakapā atu ranei ki ta raatau tautoko kaihoko. Puritia to rihiti hoko mo nga kereme whakamana.