
Kupu Whakataki
This manual provides detailed instructions for the installation, operation, and maintenance of your aigo AF12 3-in-1 ARGB Fan Kit. Please read this manual thoroughly before use to ensure proper functionality and longevity of the product.
Nga waahanga hua
The aigo AF12 3-in-1 ARGB Fan Kit offers efficient cooling and customizable lighting for your computer system. Key features include:
- Tauira: AF123IN1-BK
- Rahi Powhiri: 3 x 120mm fans
- Tere Kiri: 800-2000 RPM (±10%)
- Fan Noise Level: ≤30dBA
- Rererangi: 86.6 CFM
- Pēhanga Pateko: 1.27mm-H²O
- Working Current (Motor): ≤0.2A (12V)
- Working Current (Light): ≤0.48A (5V)
- Ahu: 120 x 120 x 25 mm
- ARGB Rama: Addressable RGB lighting for customizable effects.
Ihirangi mokete
Manatokohia kei roto i to kete nga mea katoa kua whakarārangihia i raro nei:
- 3 x aigo AF12 ARGB Fans
- Whakaeke Tiu
- ARGB Controller (if included in kit)
- Cables (Power, ARGB Sync)
Aratohu Tāuta
Follow these steps to properly install your aigo AF12 ARGB fans into your computer case.
- Whakaritehia to Pūnaha: Power off your computer and disconnect it from the power source. Open your computer case.
- Tāutuhia ngā Wāhi Whakamau: Determine the desired locations for your fans (e.g., front, top, rear, bottom of the case). Ensure proper airflow direction.
- Whakamaua ngā Pā: Position each fan in its chosen location. Use the provided mounting screws to secure the fans to the case. Ensure the fan blades are not obstructed.
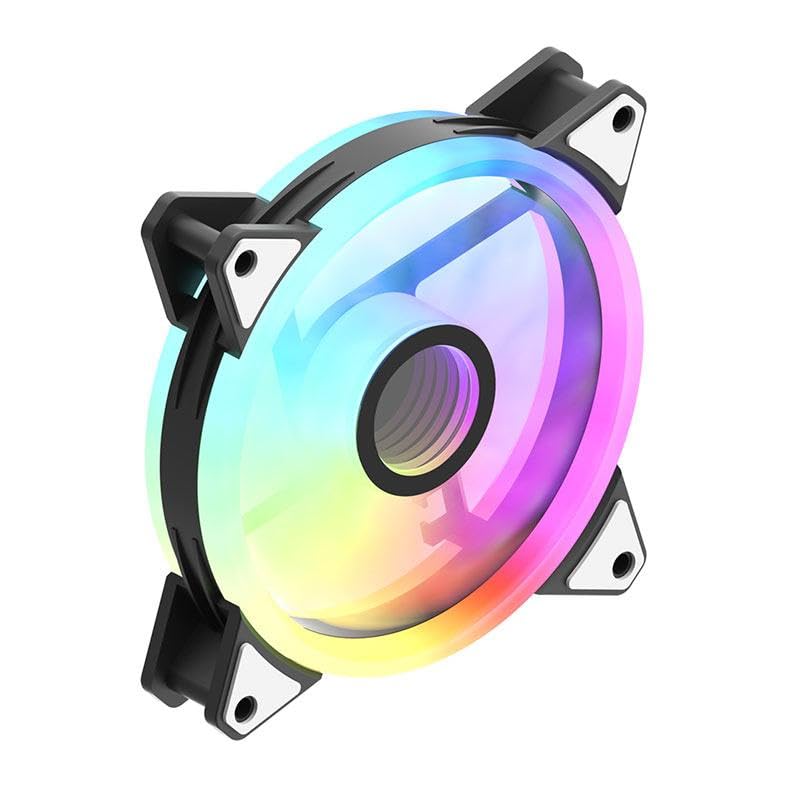
Image: An aigo AF12 fan viewed from an angle, highlighting the mounting points on its corners. This illustrates how the fan is secured.
- Honoa ngā Taura Hiko: Connect the 3-pin power connector from each fan to an available fan header on your motherboard or fan controller.
- Connect ARGB Cables: Connect the ARGB cable from each fan to the ARGB controller (if applicable) or directly to a compatible 5V 3-pin ARGB header on your motherboard. Ensure correct pin orientation to avoid damage.
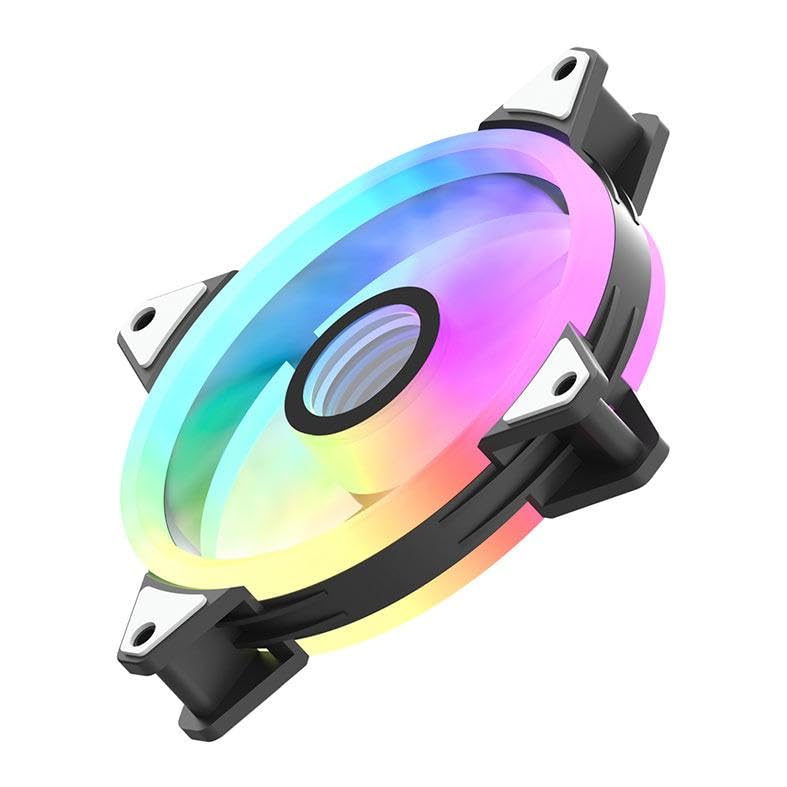
Whakaahua: He taha profile of the aigo AF12 fan, illustrating the thickness and potential locations for cable connections on the frame.
- Whakaha Uepu: Route cables neatly to prevent interference with other components and to improve airflow.
- Katia te Puka me te Hia: Close your computer case, reconnect the power, and power on your system.
Nga Tohutohu Whakahaere
Once installed, your aigo AF12 ARGB fans will operate automatically based on your system's fan control settings. The ARGB lighting can be controlled via your motherboard's software or a dedicated ARGB controller.
Mana Tere Fan
Fan speed can typically be adjusted through your motherboard's BIOS/UEFI settings or through fan control software provided by your motherboard manufacturer. Refer to your motherboard manual for specific instructions.
Mana Whakamārama ARGB
If connected to a 5V 3-pin ARGB header on your motherboard, use your motherboard's ARGB synchronization software (e.g., ASUS Aura Sync, MSI Mystic Light Sync, GIGABYTE RGB Fusion, ASRock Polychrome Sync) to customize lighting effects, colors, and patterns.
If using a dedicated ARGB controller (often included with fan kits), refer to the controller's specific instructions for lighting adjustments.
Te tiaki
Regular maintenance ensures optimal performance and extends the lifespan of your fans.
- Whakapai puehu: Periodically clean dust from the fan blades and housing using compressed air or a soft brush. Ensure the system is powered off before cleaning.
- Taki Waea: Verify that all cables are securely connected and free from damage.
- Aroturuki Haruru: Listen for unusual noises, which may indicate a fan bearing issue or obstruction.
Raparongoā
If you encounter issues with your aigo AF12 ARGB fans, refer to the following common solutions:
Kaore nga Kaiwhaiwhai e Miro ana
- Tirohia te Hononga Hiko: Ensure the fan's 3-pin power connector is securely plugged into the motherboard or controller.
- Check BIOS Settings: Verify that fan headers are enabled in your motherboard's BIOS/UEFI settings.
- Test Another Header: Try connecting the fan to a different fan header to rule out a faulty header.
ARGB Lights Not Working
- Tirohia te Hononga ARGB: Ensure the 5V 3-pin ARGB connector is correctly and securely plugged into the motherboard or controller. Verify the pin orientation.
- Check Software: Confirm that your motherboard's ARGB software is installed and configured correctly.
- Hototahi: Ensure your motherboard has a compatible 5V 3-pin ARGB header. This product is not compatible with 12V 4-pin RGB headers.
Haruru nui
- Tirohia mo nga aukati: Ensure no cables or other components are touching the fan blades.
- Nga Whakakuku: Verify that all mounting screws are tightened to prevent vibrations.
- Hanga Puehu: Clean any dust from the fan blades.
Whakatakotoranga Hangarau
| Āhuahira | Whakatakotoranga |
|---|---|
| Waitohu | Aigo |
| Tauira | AF123IN1-BK |
| Te Rahi Pahi | 3 x 120mm |
| Tere Tere | 800 ± 2000 ± 10% RPM |
| Haruru Fan | ≤ 30dBA |
| Rererangi | 86.6 CFM |
| Pēhanga Pateko | 1.27mm-H²O |
| Working Current (Motor) | ≤ 0.2A (12V) |
| Working Current (Light) | ≤ 0.48A (5V) |
| Ahu | 120 x 120 x 25 mm |
| Momo Hono Hiko | 3-Pini |
| Voltage | 12 Volts |
| Tikanga whakamatao | Te hau |
| Pūrere Hototahi | Papamahi |
| Taumaha Tūemi | 10.6 hekere |
Pūtāhui me te Tautoko
This aigo product comes with a 12-marama whakamana mai i te ra o te hokonga, e kapi ana i nga hapa hangahanga.
For technical support, warranty claims, or further assistance, please visit the official aigo store or contact their customer service through the details provided on their webpae.
Official aigo Store: aigo Store on Amazon