1. Kupu Whakataki
This manual provides detailed instructions for the setup, operation, maintenance, and troubleshooting of your Gawfolk 24.5 Inch 300Hz Gaming Monitor, Model GF245C. This monitor features a 24.5-inch FHD 1080p VA panel, a 300Hz refresh rate, 1ms response time, Adaptive Sync technology, 98% sRGB color gamut, and low blue light/flicker-free technology for an enhanced viewte wheako.
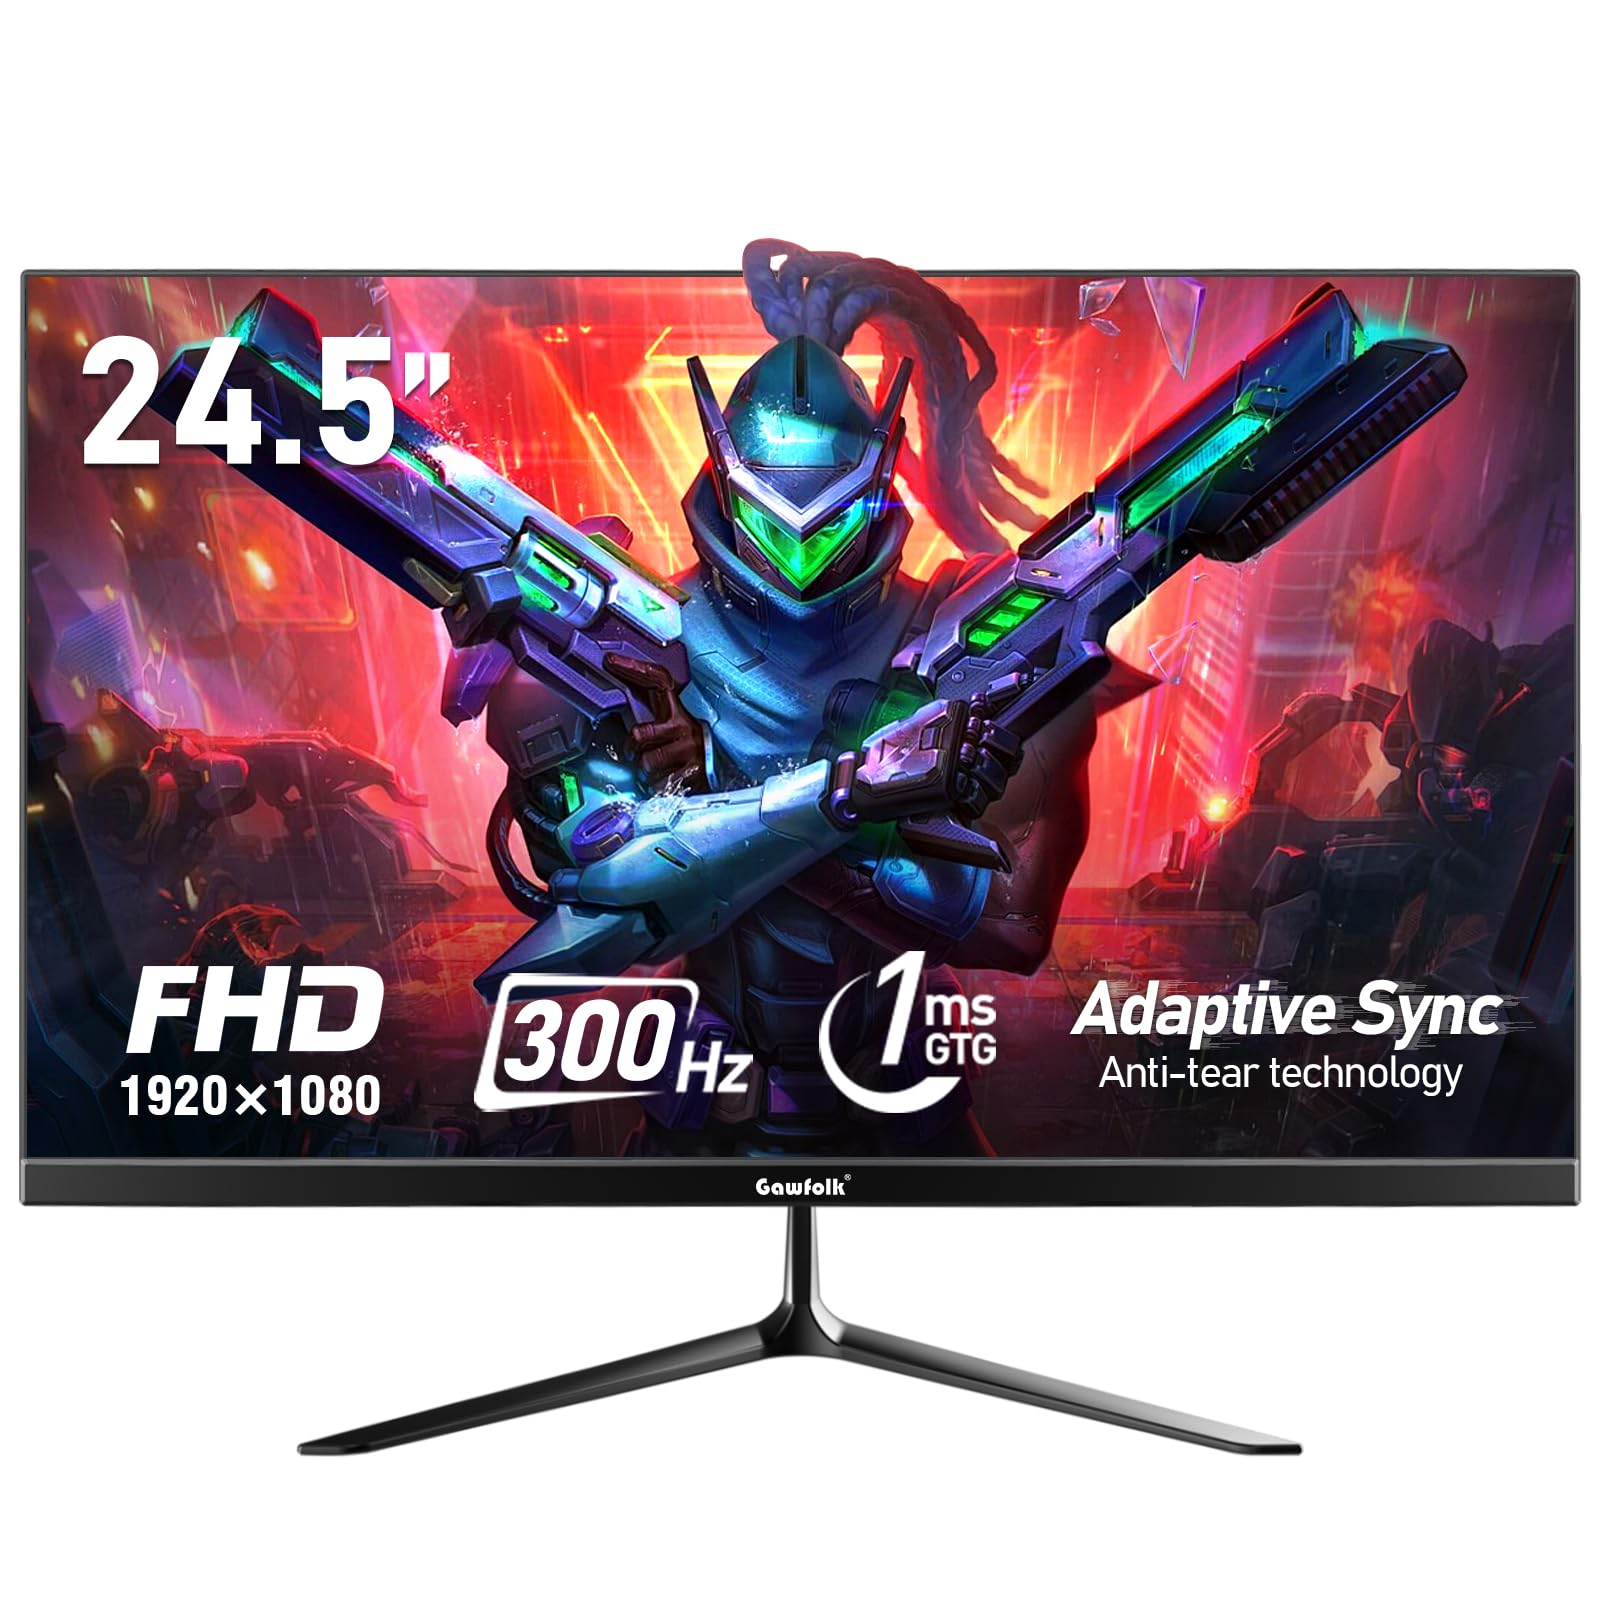
Whakaahua 1: Mua view of the Gawfolk 24.5 Inch 300Hz Gaming Monitor.
2. Tohutohu Tatūnga
2.1 Ihirangi mokete
- Gawfolk 24.5 Inch Gaming Monitor
- Tu Aroturuki (Turanga me te kaki)
- Pūurutau Hiko
- Tauranga Whakaatu (DP) Taura
- Pukapuka Kaiwhakamahi
2.2 Huihui i te Tu
- Kia ata tangohia te kaitirotiro me te tu i nga waahanga mai i te kete.
- Āpitihia te kaki o te tūnga ki te papa aroturuki mā te whakamahi i ngā tīwiri kua whakaratohia.
- Āpitihia te turanga tūnga ki te kaki o te tūnga, mā te whakau ki te tīwiri kua tohua.
- Whakanohoia te kaitirotiro kua whakaemihia ki runga i te mata papatahi.
2.3 Hononga taura
Me mohio kua whakawetohia te kaitirotiro me to rorohiko i mua i te hono atu.
- Hononga Hiko: Connect the power adapter to the monitor's DC input port, then plug the adapter into a power outlet.
- Hononga Ataata: Connect one end of the provided DisplayPort (DP) cable to the DP port on your computer's graphics card and the other end to the DP input on the monitor. Alternatively, use an HDMI cable to connect to an HDMI port.
- Putanga Ororongo: If desired, connect external speakers or headphones to the 3.5mm audio output port on the monitor.

Figure 2: Monitor dimensions and port layout.
2.4 Whakapuru Taiepa (Kōwhiringa)
The monitor supports VESA wall mounting with a 75x75mm pattern. A wall mounting bracket is not included and must be purchased separately. Follow the instructions provided with your VESA mount for proper installation.

Figure 3: Monitor compatible with 75x75mm VESA wall mounting.
3. Nga Tohutohu Whakahaere
3.1 Hiko / Whakaweto
- To power on the monitor, press the power button located on the back or bottom of the monitor.
- Hei whakaweto i te mana, pēhia me te pupuri i te pātene mana kia whakaweto rā anō te mata.
3.2 Whakaterenga Tahua OSD
The On-Screen Display (OSD) menu allows you to adjust various monitor settings. Use the joystick or buttons (location may vary slightly) on the back or bottom of the monitor to navigate the menu.
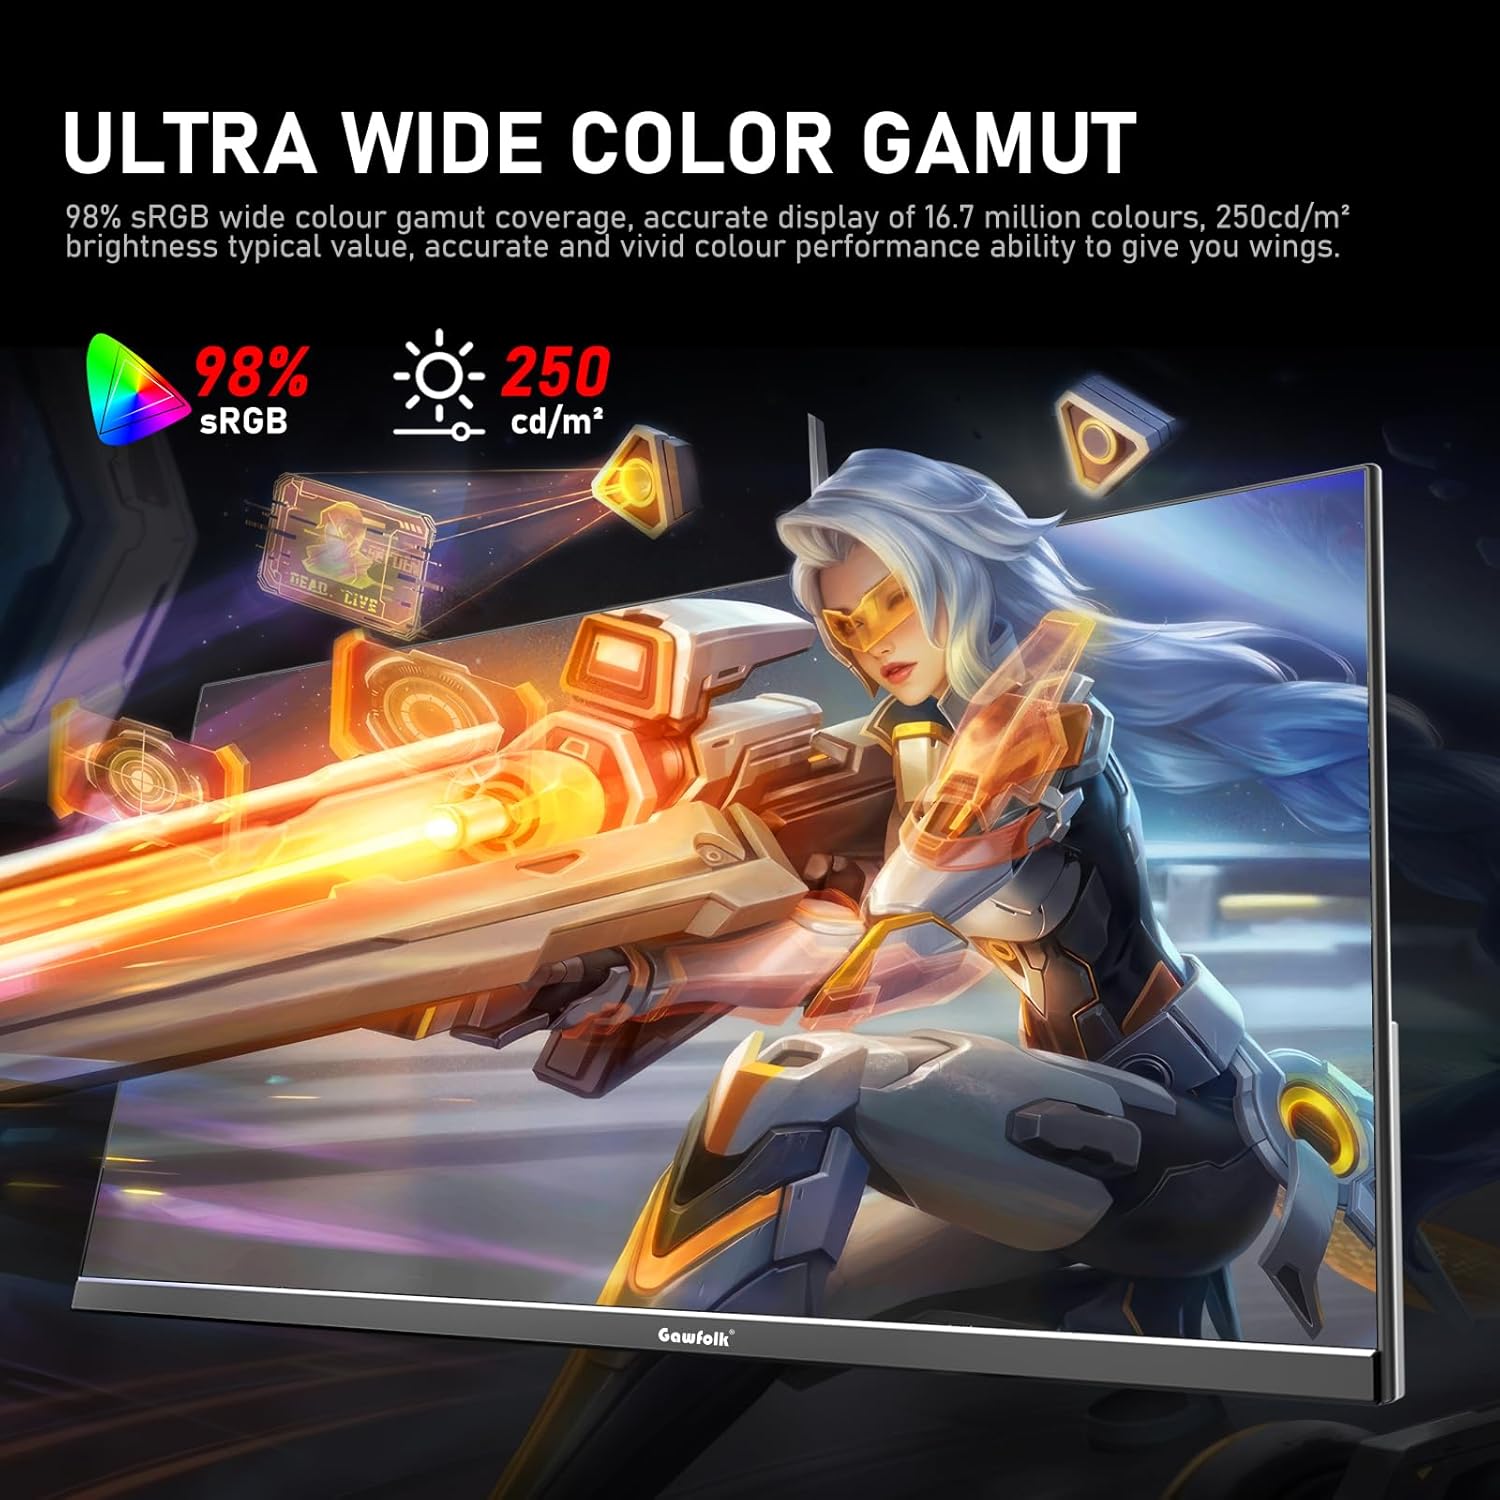
Figure 4: On-Screen Display (OSD) menu for monitor settings.
3.3 Kōwhiringa Tāuru
Access the OSD menu and navigate to the 'Input' or 'Source' section to select between HDMI and DisplayPort inputs.
3.4 Te Whakatikatika i nga Tautuhinga Whakaatu
- Tirohanga/Prata: Whakaritehia enei tautuhinga i te tahua OSD kia pai ki a koe viewte taiao.
- Tautuhinga Tae: Fine-tune color temperature, gamma, and other color parameters for optimal visual quality. The monitor supports 98% sRGB for rich colors.
- Rere tāmata: The monitor supports up to 300Hz via DisplayPort and up to 120Hz via HDMI. To change the refresh rate, connect the monitor via the appropriate cable and adjust the display settings within your computer's operating system.

Figure 5: Connectivity options and refresh rate capabilities.
3.5 Adaptive Sync Technology
This monitor supports Adaptive Sync (FreeSync/G-Sync compatible) to minimize input latency and reduce screen tearing and stuttering during gaming and video playback. Ensure Adaptive Sync is enabled in both the monitor's OSD menu and your graphics card settings.

Figure 6: Visual demonstration of Adaptive Sync technology reducing screen tearing.
3.6 Low Blue Light and Flicker-Free
The monitor incorporates DC global dimming technology for a flicker-free display and a low blue light mode. Activate the low blue light mode in the OSD menu to reduce eye strain during prolonged use.

Figure 7: Illustration of Flicker-Free Technology for eye comfort.
4. Tiaki
4.1 Te horoi i te Aroturuki
- Whakawetohia i nga wa katoa ka wetewetehia te kaitirotiro i mua i te horoi.
- Kia ngawari te whakamahi i te kakahu ngohengohe, karekau he ngongo dampkua whakakikoruatia ki te wai, ki te kai horoi mata ngawari ranei.
- Kaua e rehu tika te kai horoi ki te mata.
- A ape i te whakamahi i te waipiro, te haukini, te kai horoi ranei, na te mea ka kino te mata o te mata.
4.2 Tiakitanga Whanui
- Keep the monitor away from direct sunlight, excessive heat, and humidity.
- Me whakarite kia pai te hau huri noa i te kaitirotiro kia kore ai e wera rawa.
- A ape i te whakatakoto i nga mea taumaha ki runga i te kaupane, i ona taura ranei.
5. Te Raru
Mena ka pāngia koe e ngā raruraru me tō mata tirotiro, tirohia ngā otinga noa e whai ake nei:
5.1 Kaore he Whakaatu / Mata Pango
- Me mohio kei te hono pai te taura hiko ki te aroturuki me te putanga hiko.
- Verify that the video cable (DP or HDMI) is firmly connected to both the monitor and your computer.
- Tirohia mēnā kua tīpakohia te pūtake tāuru tika i te tahua OSD o te mata.
- Tīmataria anō tō rorohiko.
- Test the monitor with another device or cable if possible to isolate the issue.
5.2 Flickering Screen
- Ensure the video cable is securely connected. A loose connection can cause flickering.
- Check your graphics card drivers and update them if necessary.
- Disable Adaptive Sync in your graphics card settings and the monitor's OSD menu to see if the issue persists.
- Verify that the refresh rate is set correctly in your computer's display settings.
5.3 Image Quality Issues (Blurry, Distorted)
- Me whakarite kua tautuhia te taumira whakaatu i runga i to rorohiko ki te taumira taketake o te aroturuki (1920x1080).
- Whakatikatikahia te kanapa, te rerekētanga, me ngā tautuhinga tae i te tahua OSD.
- If using an analog connection (not applicable for this monitor's inputs but general advice), ensure auto-adjustment is performed.
5.4 No Audio from Monitor Speakers/Audio Out
- Ensure the audio output is selected correctly in your computer's sound settings.
- Check the volume level on both the monitor (via OSD) and your computer.
- If using external speakers/headphones, ensure they are properly connected to the monitor's audio output.
6. Whakatakotoranga
| Āhuahira | Whakatakotoranga |
|---|---|
| Waitohu | Karekau |
| Tau tauira | GF245C |
| Rahi Mata | 24.5 Inihi |
| Whakatau | FHD 1080p (1920 x 1080 Pika) |
| Aspect Ratio | 16:9 |
| Rere tāmata | 300 Hz (DP), 120 Hz (HDMI) |
| Wā Whakautu | 1 Millisecond (GTG) |
| Hangarau Whakaatu | Paewhiri VA |
| Viewing Koki | 178 Waeine |
| Tirohanga | 250 Karara |
| Tae Gamut | 98% sRGB |
| Tauwehenga Purata | 3500:1 |
| Hononga | DisplayPort, HDMI, 3.5mm Audio Out |
| Tukutahi Urutau | FreeSync, G-Sync Compatible |
| Nga waahanga taapiri | Flicker-Free, Low Blue Light, Frameless Design |
| Momo Whakaeke | Desk Mount, VESA Wall Mount (75x75MM) |
| Rahi Tūemi (D x W x H) | 6.42"D x 21.93"W x 15.75"H |
| Taumaha Tūemi | 3.48 Kirokaramu |
7. Pūtāhui me te Tautoko
7.1 Nga Korero Whakaputanga
The Gawfolk 24.5 Inch 300Hz Gaming Monitor (Model GF245C) comes with a pūtāhui kotahi tau covering quality problems from the date of purchase.
7.2 Ratonga muri-Hoko
Ka whakaratohia e matou he 12-marama i muri i-hoko ratonga. If you encounter any problems when using the monitor, please communicate with us in a timely manner for assistance. For support, please refer to the contact information provided with your purchase or visit the official Gawfolk webpae.