
eRapta AWTCM701
eRapta AWTCM701 Magnetic Solar Wireless Backup Camera System User Manual
Model: AWTCM701
1. Kupu Whakataki
This manual provides detailed instructions for the installation, operation, and maintenance of your eRapta AWTCM701 Magnetic Solar Wireless Backup Camera System. Please read this manual thoroughly before using the product to ensure proper function and safety.
The eRapta AWTCM701 system features a 7-inch HD1080P touchscreen monitor and a magnetic solar-powered wireless camera, designed for easy installation and enhanced vehicle safety with features like DVR recording and Blind Spot Detection (BSD).
2. Ihirangi mokete
Tena koa tirohia kei roto katoa nga taonga kei roto i to kete:
- 7-inch HD1080P Touchscreen Monitor
- Magnetic Solar Wireless Backup Camera(s)
- Car Charger for Monitor
- USB Type-C Charging Cable for Camera
- 32GB SD Card (pre-installed in monitor)
- Pukapuka Kaiwhakamahi

Whakaahua: Ka mutuview of the eRapta AWTCM701 system, showing the monitor and two cameras. This illustrates the primary components included in the package.
3. Tatūnga me te Tāuta
The eRapta AWTCM701 system is designed for quick and easy installation without the need for complex wiring or drilling.
3.1 Whakaaturanga Kamera
- Āpitihia te Kāmera: Secure the magnetic base of the camera to any metal surface on your vehicle where a clear view is desired. Common locations include the rear bumper, trailer hitch, or roofline. Ensure the camera is firmly attached and stable.
- Whakarite Koki: Whakatikatikahia te koki o te kāmera kia whiwhi ai i te koki tino pai viewte tirohanga.
3.2 Aroturuki Tāuta
- Maunga te Aroturuki: Place the 7-inch touchscreen monitor on your dashboard or windshield using the provided mount. Ensure it does not obstruct your view o te huarahi.
- Hononga Hiko: Plug the monitor's car charger into your vehicle's 12V power outlet (cigarette lighter socket). The monitor will power on automatically.

Image: Visual guide for the 1-minute install-free process, demonstrating how to attach the magnetic camera to a metal surface and plug the monitor into the car charger.
3.3 Initial Pairing (if necessary)
The camera and monitor are typically pre-paired at the factory. If they do not connect automatically, refer to the troubleshooting section for manual pairing instructions.
4. Nga Tohutohu Whakahaere
4.1 Mahi Mata Paa
The 7-inch HD1080P IPS touchscreen allows for intuitive control of all system functions. Simply touch and tap the screen to navigate menus and adjust settings.

Image: A hand demonstrating interaction with the 7-inch HD1080P IPS touchscreen monitor, highlighting its direct operation capabilities.
4.2 DVR Recording and Playback
The system includes a 32GB SD card for automatic loop recording. When the memory card is full, the system will automatically overwrite the oldest videos. You can manage recorded videos directly from the monitor.
- Te uru ki nga rekoata: Navigate to the 'Playback' or 'Files Storage' option on the touchscreen to view tuhia footage.
- Deleting Videos: You can delete individual videos or format the SD card through the monitor's settings.

Image: The monitor screen illustrating the loop recording function, emphasizing the included 32GB SD card for continuous video storage.
4.3 Blind Spot Detection (BSD)
The BSD feature enhances driving safety by detecting obstacles or people near your vehicle's parking lines. When activated, the AI system will provide on-screen alarms and audio warnings.
- Activating BSD: Access the system settings via the touchscreen to enable or customize BSD parameters.
- Tohu Whakatupato: Visual alerts will appear on the monitor, accompanied by an audible warning, if an object is detected within the configured blind spot zones.

Image: A visual representation of the Blind Spot Detection (BSD) system in action, showing a camera detecting a cyclist near a vehicle and triggering an on-screen alarm.
4.4 Nga waahanga kamera
- Te tirohanga matakite a te po: The camera is equipped with infrared (IR) night vision for clear visibility in low-light conditions.
- Ārai wai IP69K: The camera is designed to withstand harsh weather conditions, offering high-level dust and water resistance.
- Mirror/Flip Setting: Adjust the camera's image orientation (mirror or flip) through the monitor settings to suit your preference or mounting position.
- Tautoko Wae-maha: The system supports up to 4 camera channels, allowing for expansion with additional cameras (sold separately).
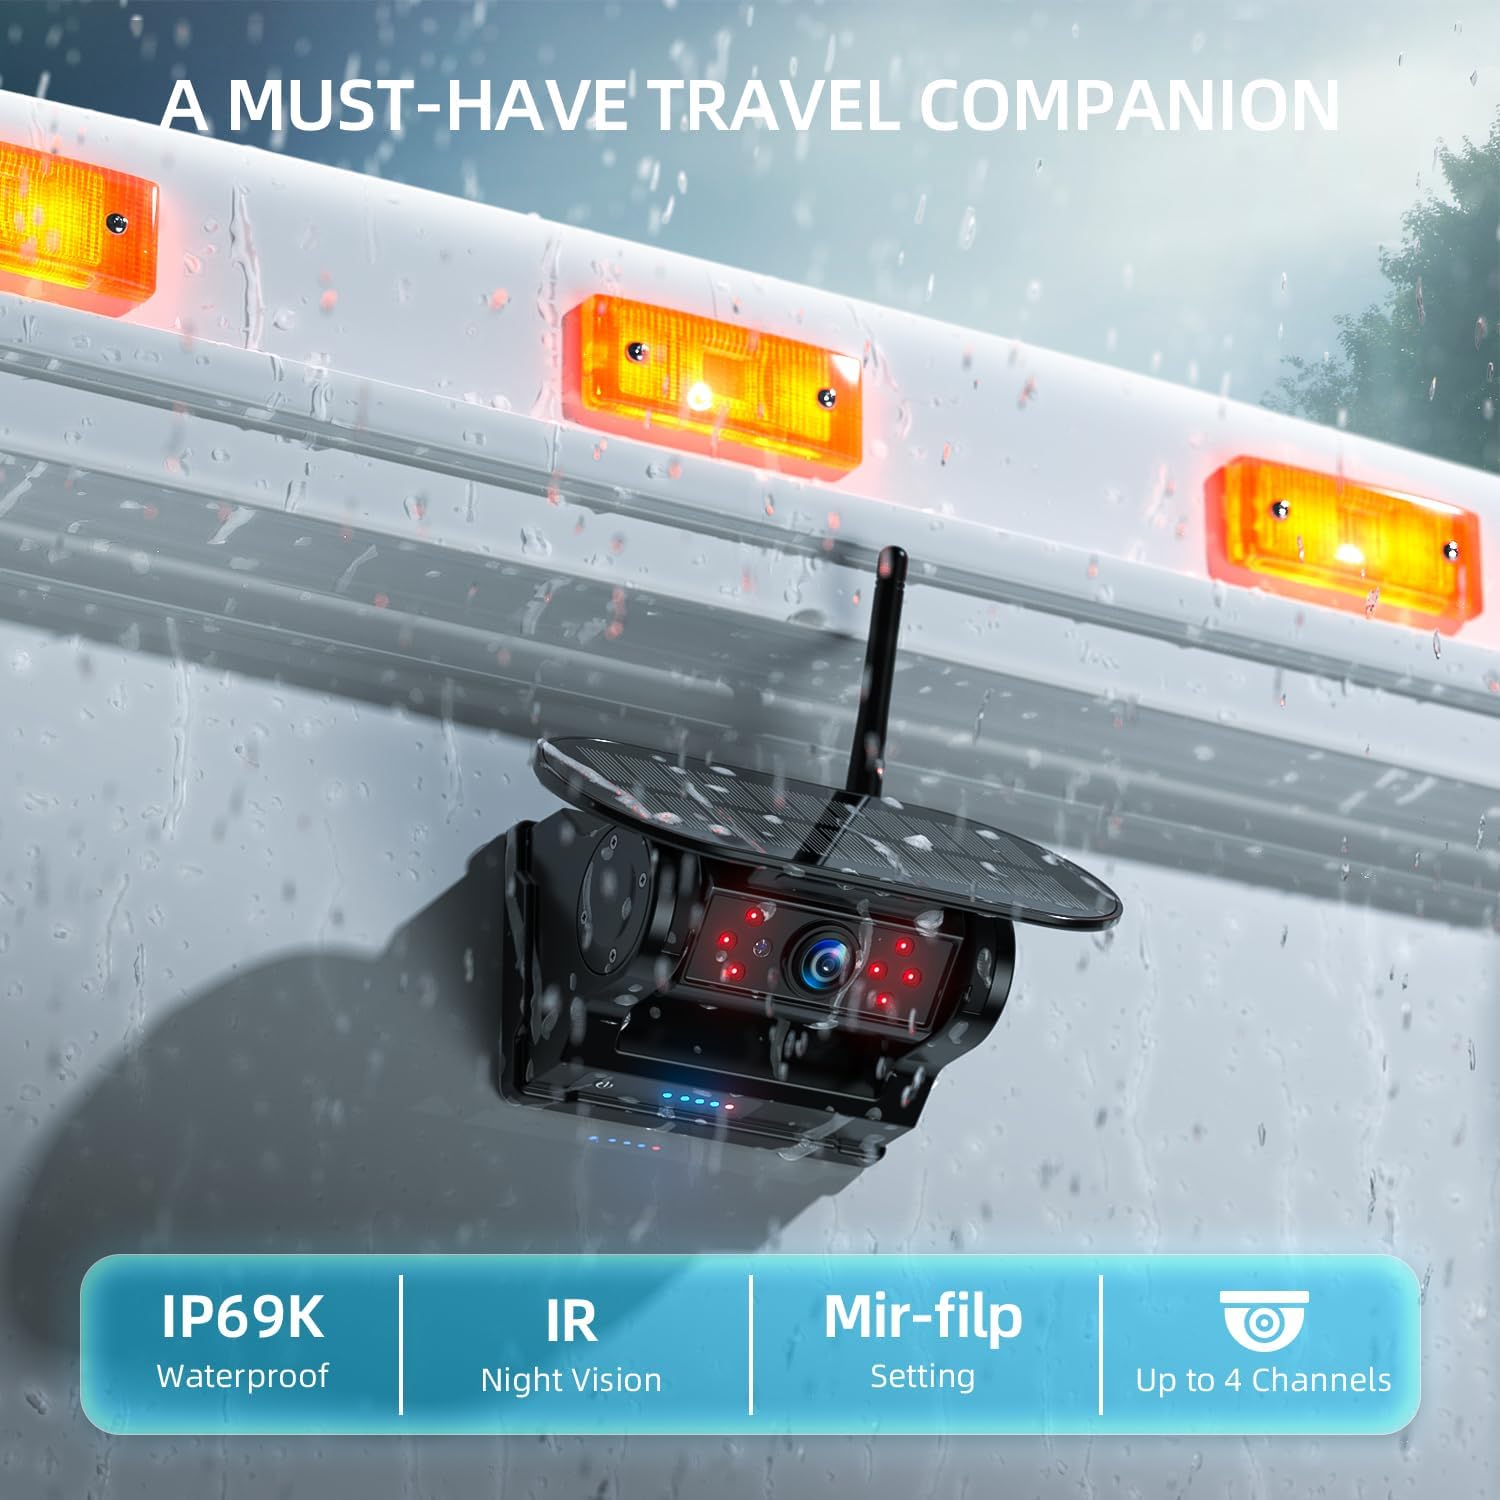
Image: A close-up of the camera mounted on a vehicle, detailing its IP69K waterproof rating, IR night vision capabilities, mirror-flip setting, and support for up to 4 channels.
5. Tiaki
5.1 Whakataua kamera
The camera features dual charging methods for extended battery life:
- Solar Power Charging: The integrated solar panel continuously charges the camera's built-in Li-ion battery when exposed to sunlight.
- Momo-C te utu: For faster charging or in low-light conditions, use the provided USB Type-C cable to charge the camera.
The camera enters an auto-sleep mode shortly after the monitor is powered off to conserve battery. Battery levels are visible on both the camera unit and the monitor display.
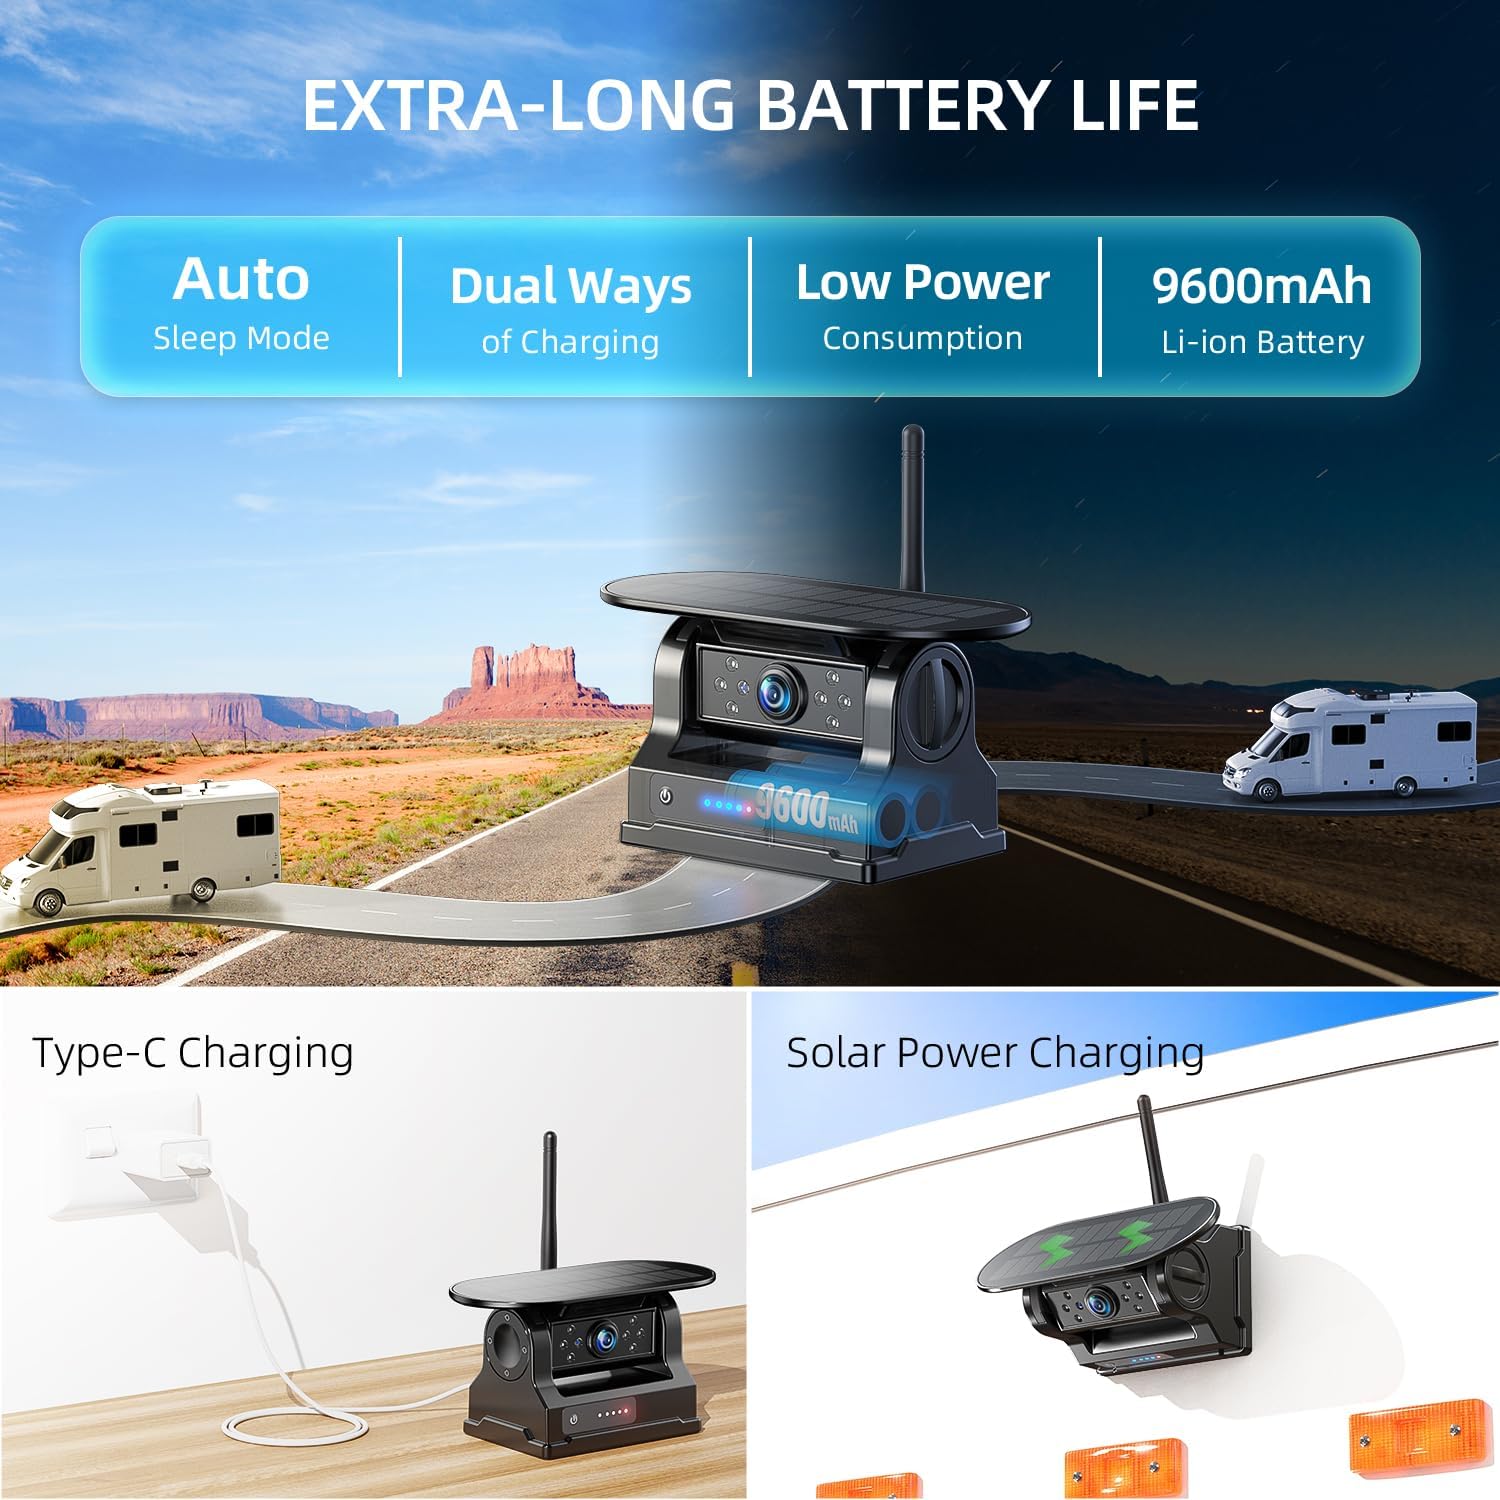
Image: The camera unit showcasing its solar panel and illustrating the two charging methods: Type-C cable charging and solar power charging.
5.2 Te horoi
- Aroturuki: Use a soft, dry cloth to clean the monitor screen. Avoid abrasive cleaners.
- Kāmera: Horoia te arotahi kamera me te panui solar ki te ngohengohe, damp cloth to remove dirt and ensure optimal performance.
6. Te Raru
- Kore he Tohu/Mata Pango:
- Ensure the monitor is powered on and connected to the car charger.
- Check if the camera battery is charged.
- Verify the camera is within range of the monitor. Obstructions can reduce signal strength.
- Re-pair the camera and monitor if necessary (refer to manual for specific pairing steps).
- Kounga Atahanga Kino:
- Horoia te arotahi kamera.
- Me whakarite karekau he arai e aukati ana i te kamera view.
- Check for strong interference sources nearby.
- BSD Not Functioning:
- Ensure BSD is enabled in the monitor settings.
- Verify camera placement provides a clear view of the blind spot areas.
- Kāore te DVR e hopu ana:
- Check if the 32GB SD card is properly inserted.
- Ensure the SD card is not corrupted. Try formatting it (this will erase all data).
7. Whakatakotoranga
| Āhuahira | Taipitopito |
|---|---|
| Tauira | AWTCM701 |
| Rahi Aroturuki | 7-inihi |
| Whakaatu Whakatau | HD1080P |
| Momo Whakaatu | IPS Mata Paa |
| Camera Connectivity | Ahokore (2.4GHz) |
| Wireless Range (Open Space) | Tae atu ki te 320 ft |
| Wireless Range (Continuous Vehicles) | Tae atu ki te 40 ft |
| Puna Hiko Kamera | Built-in 9600mAh Li-ion Battery, Solar Panel |
| Whakataua kamera | Solar, USB Type-C |
| Ngā Āhuatanga Kāmera | IP69K Waterproof, IR Night Vision, Magnetic Base |
| Mahi DVR | Loop Recording with 32GB SD Card (included) |
| Nga waahanga haumaru | Tirohanga Matapo (BSD) |
| Tautoko Maha-Kamera | Tae atu ki te 4 Huarere |
| ASIN | B0FW3ZP54T |
| Te Ra Tuatahi Wātea | Akuhata 26, 2025 |

Image: A diagram illustrating the stable 2.4GHz wireless signal range, showing effective distances for open spaces (320ft) and continuous vehicles (40ft) across different vehicle types like cars, trailers, trucks, and RVs.
8. Pūtāhui me te Tautoko
8.1 Nga Korero Whakaputanga
eRapta products are designed for reliability and performance. For specific warranty details, including coverage period and terms, please refer to the warranty card included with your product or visit the official eRapta webpae.
8.2 Tautoko Kiritaki
If you encounter any issues or have questions regarding your eRapta AWTCM701 system, please contact our customer support team. You can find contact information on the eRapta webpae, na roto ranei i to turanga hoko.
When contacting support, please have your product model (AWTCM701) and purchase details ready.
Ask a question about this manual
Ask about setup, troubleshooting, compatibility, parts, safety, or missing instructions. Manuals+ will review the question and use this page’s manual context to help answer it.