1. Kupu Whakataki
This manual provides detailed instructions for the proper installation, operation, and maintenance of your Lanzar VIBE211 Vibe 360 Watt 2 Channel Mosfet Ampwhakarara. Tena panuihia tenei pukapuka i mua i te ngana ki te whakauru, ki te whakahaere ranei i te ampkaiwhakaora hei whakarite i te mahi tino pai me te haumaru.
2. Nga korero haumaru
Kia mau tonu nga whakaritenga haumaru e whai ake nei i te wa e whakauru ana me te mahi:
- Disconnect the vehicle's negative battery terminal before any wiring connections are made.
- Me whakarite kia tika te ara o ngā waea katoa, kia mau hoki hei ārai i te pakaru, i te poto rānei o te ara iahiko.
- Whakamahia ngā waea ine tika mō ngā hononga hiko me te whenua e ai ki te wāhanga tāutanga.
- Maunga te ampwaiho te pūwero ki tētahi wāhi e pai ai te hauhautanga, ā, e tiakina ana hoki mai i te makuku me te wera nui.
- Kaua e whakahaere i te amplifier if it is damaged or malfunctioning. Refer to the troubleshooting section or seek professional assistance.
3. Hua Neke Atuview
The Lanzar VIBE211 is a 2-channel Mosfet amplifier designed for car audio systems. It features a bridgeable design, allowing for flexible configuration, and incorporates a regulated Mosfet power supply for stable performance. Key features include variable high/low pass crossover controls and a remote subwoofer bass control.
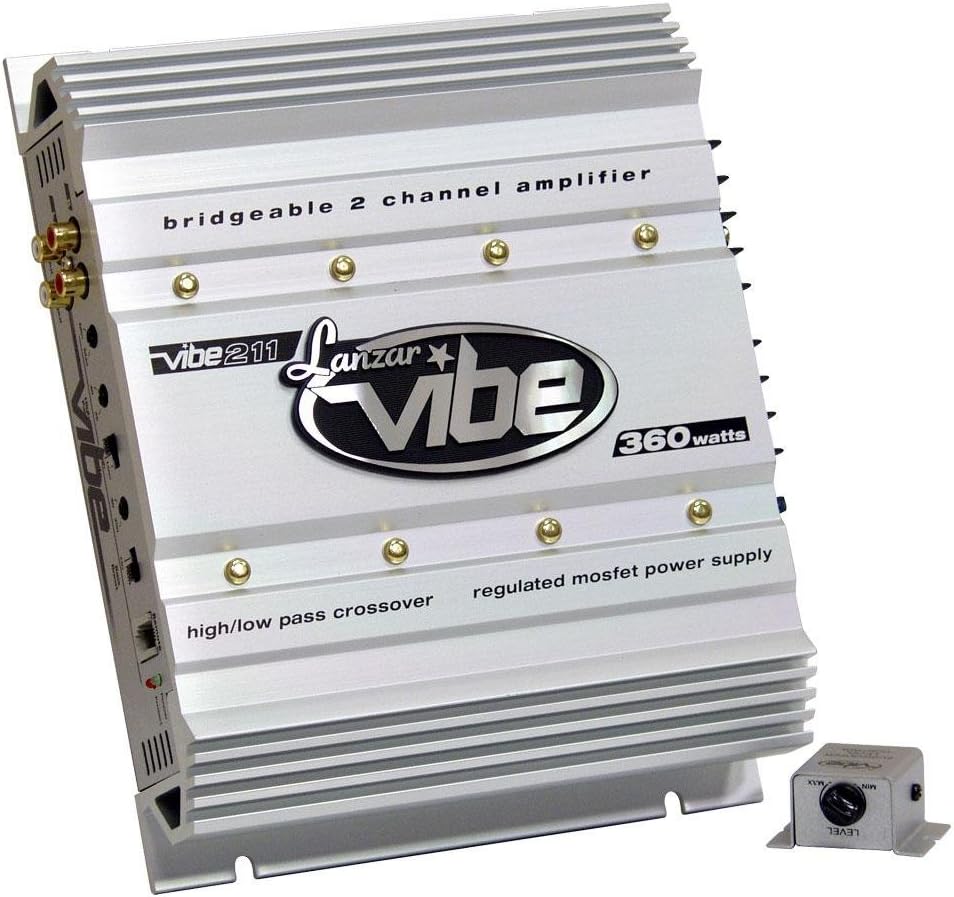
He koki view of the silver Lanzar VIBE211 Vibe 360 Watt 2 Channel Mosfet Ampwhakarara, whakaatucasing its finned heatsink design, RCA inputs, and control panel. The amplifier features text indicating 'bridgeable 2 channel amplifier', 'vibe 211', 'Lanzar vibe', '360 watts', 'high/low pass crossover', and 'regulated mosfet power supply'. A small, separate remote bass level control unit is visible in the foreground.
4. Tatūnga me te Tāuta
4.1 Whakapiki i te Ampkaikawe
Choose a secure mounting location that provides adequate air circulation around the amplifier's heatsink. Avoid mounting in direct sunlight or areas prone to moisture. Use the provided mounting hardware to secure the ampkia mau ki te mata totoka.
4.2 Hononga Waea
Me whakarite kia piri ngā hononga katoa, kia tika hoki te whakamarumaru hei ārai i ngā ara iahiko poto.
- Hiko (B+): Connect a heavy-gauge wire (e.g., 8 AWG or larger) directly from the positive terminal of the vehicle's battery to the amplifier's B+ terminal. Install an appropriate fuse (15A) within 18 inches of the battery.
- Papa (GND): Connect a heavy-gauge wire of the same size as the power wire from the amplifier's GND terminal to a clean, unpainted metal surface of the vehicle chassis. Ensure a good electrical connection.
- Mamao (Rem): Connect a smaller gauge wire (e.g., 18 AWG) from the ampte pūrua REM a te kaiwhakaara ki te putanga tahuri-mamao o tō waeine upoko. Ka hurihia e tēnei waea te ampWhakakā, whakaweto hoki te pūoko hiko me tō reo irirangi.
- Whakauru RCA: Connect the RCA audio cables from your head unit's pre-amp putanga ki te amplifier's Gold RCA Inputs. The amplifier includes Line Outs for Left and Right Channels for daisy-chaining to other ampkaikawe
- Nga Putanga Kaikorero: Tūhonohia ō kaikōrero ki te amplifier's speaker terminals. Observe correct polarity (+ to + and - to -). The amplifier is 2 Ohm stereo stable and bridgeable at 4 Ohms.
- Remote Subwoofer Bass Control: Connect the remote bass control unit to the designated port on the amplifier. Mount the control unit in an accessible location for easy adjustment.
5. Nga Tohutohu Whakahaere
5.1 Whakanui-a-Tamatanga
Kia oti ngā hononga katoa, honoa anō te pūhiko kino o te waka. Whakakāhia tō waeine upoko. Ko te amplifier features Soft Turn On/Off circuitry to prevent pops and clicks. Power Protection LED Indicators will illuminate to show operational status.
5.2 Adjusting Input Level Controls
Ko te amplifier has Variable Input Level Controls. Start with the amplifier's input level set to minimum. Play a familiar piece of music through your head unit at about 75% of its maximum volume. Slowly increase the ampte taumata tāuru o te kaiwhakaata kia rongo ra ano koe i te hapa iti, kātahi ka whakamuri paku. Mā tēnei ka whakarite i te amplifier receives an optimal signal without clipping.
5.3 Tautuhinga Whakawhiti
Ko te amplifier features Variable High Low Pass Crossover Controls. These allow you to filter specific frequencies to your speakers or subwoofers.
- Tātari Whakawhiti Teitei (HPF): Used for full-range speakers to prevent low frequencies from reaching them, improving clarity.
- Tere Toha Iti (LPF): Used for subwoofers to allow only low frequencies to pass, enhancing bass response.
Adjust these controls to match the frequency response characteristics of your speakers and subwoofers.
5.4 Bass Boost Circuit
The built-in Bass Boost Circuit allows for an increase in bass output at specific frequencies. Use this feature sparingly and adjust to your preference, avoiding excessive boosting that could lead to distortion or speaker damage.
5.5 Mahinga Aratau Piriti
Ko te amplifier can be bridged at 4 Ohms to combine the power of both channels into a single, higher-power output, typically for driving a subwoofer. Refer to the wiring diagram for specific instructions on bridging the ampkaikawe
6. Tiaki
The Lanzar VIBE211 amplifier requires minimal maintenance. Periodically inspect the wiring connections for tightness and corrosion. Keep the amplifier's heatsink clean and free of dust or debris to ensure proper cooling. Use a soft, dry cloth for cleaning the exterior.
7. Te Raru
Mena ka pa ki a koe nga raru o to ampmō te hunga e hiahia ana ki te āwhina, tirohia te ripanga e whai ake nei i mua i te rapu ratonga ngaio:
| Raruraru | Take pea | Rongoā |
|---|---|---|
| No Power / No Sound | Pūhiko pakaru; Waea hiko/whenua/mamao wetekina; Upoko hiko pakaru. | Check and replace fuse; Verify all power, ground, and remote connections; Test head unit functionality. |
| Oro Kopikopiko | Input level too high; Speaker impedance too low; Damaged speakers. | Adjust input level; Verify speaker impedance (2 Ohm stereo stable, 4 Ohm bridged); Inspect speakers for damage. |
| Amplifier Goes into Protection Mode | Te wera rawa; Te ara iahiko poto i roto i te waea kaikorero; Te iti o te hikotage. | Ensure adequate ventilation; Check speaker wires for shorts; Verify battery voltage me te punaha utu. |
| Kāore he Pāorooro mai i te Subwoofer | LPF not enabled or set too high; Phase issue; Remote bass control set to minimum. | Adjust LPF setting; Check subwoofer phase; Increase remote bass control level. |
8. Whakatakotoranga
Technical specifications for the Lanzar VIBE211 ampKaiwhakaora:
- Power Output (RMS @ 4 Ohms): 2 x 90 Wati
- Power Output (Max @ 4 Ohms): 2 x 180 Wati
- Power Output (Max Bridged @ 4 Ohms): 1 x 360 Wati
- Power Output (RMS @ 2 Ohms): 2 x 150 Wati
- Ampmomo Momo: 2 Channel Mosfet
- Whakautu auau: 15 Hz - 35 kHz
- Tauwehenga Waitohu-ki-Haruru (S/N): 90 dB
- Whakatauranga Whakakapi:15A
- Ahinga (W x H x L): 10.25 inihi x 2 inihi x 8 inihi
- Mana Taumata Whakauru: Taurangi
- Mana Whakawhiti: Variable High/Low Pass
- Te pumau: 2 Ohm Stereo Stable, Bridgeable at 4 Ohms
- Porowhita Tiaki: Advanced Power Protection LED Indicators
- Nga waahanga taapiri: Remote Subwoofer Bass Control, Electronic Crossover Network, Bass Boost Circuit, Soft Turn On/Off
9. Pūtāhui me te Tautoko
9.1 Nga Korero Whakaputanga
The Lanzar VIBE211 ampka tae mai te riipene me te 1-TU TAU limited warranty from the date of purchase. This warranty covers defects in materials and workmanship under normal use. Please retain your proof of purchase for warranty claims. The warranty does not cover damage caused by improper installation, accident, misuse, abuse, negligence, or unauthorized modification.
9.2 Tautoko Kiritaki
For technical assistance, troubleshooting beyond this manual, or warranty service, please contact Lanzar customer support. Refer to the official Lanzar webte waahi, te kohinga hua ranei mo nga korero whakapiri o naianei.


