1. Hua Neke Atuview
This manual provides instructions for the assembly and care of the Tamiya 35157 1/35 U.S. Marine M60A1 Tank Plastic Model Kit. The M60A1 variant, first produced in 1963, features a M68 105mm main gun and a wedge-shaped monobloc-cast turret. U.S. Marine Corps M60A1 tanks were often equipped with reactive armor (ERA) for enhanced protection, a feature replicated in this model kit. This kit allows for the creation of a detailed static display model of this historically significant military vehicle.
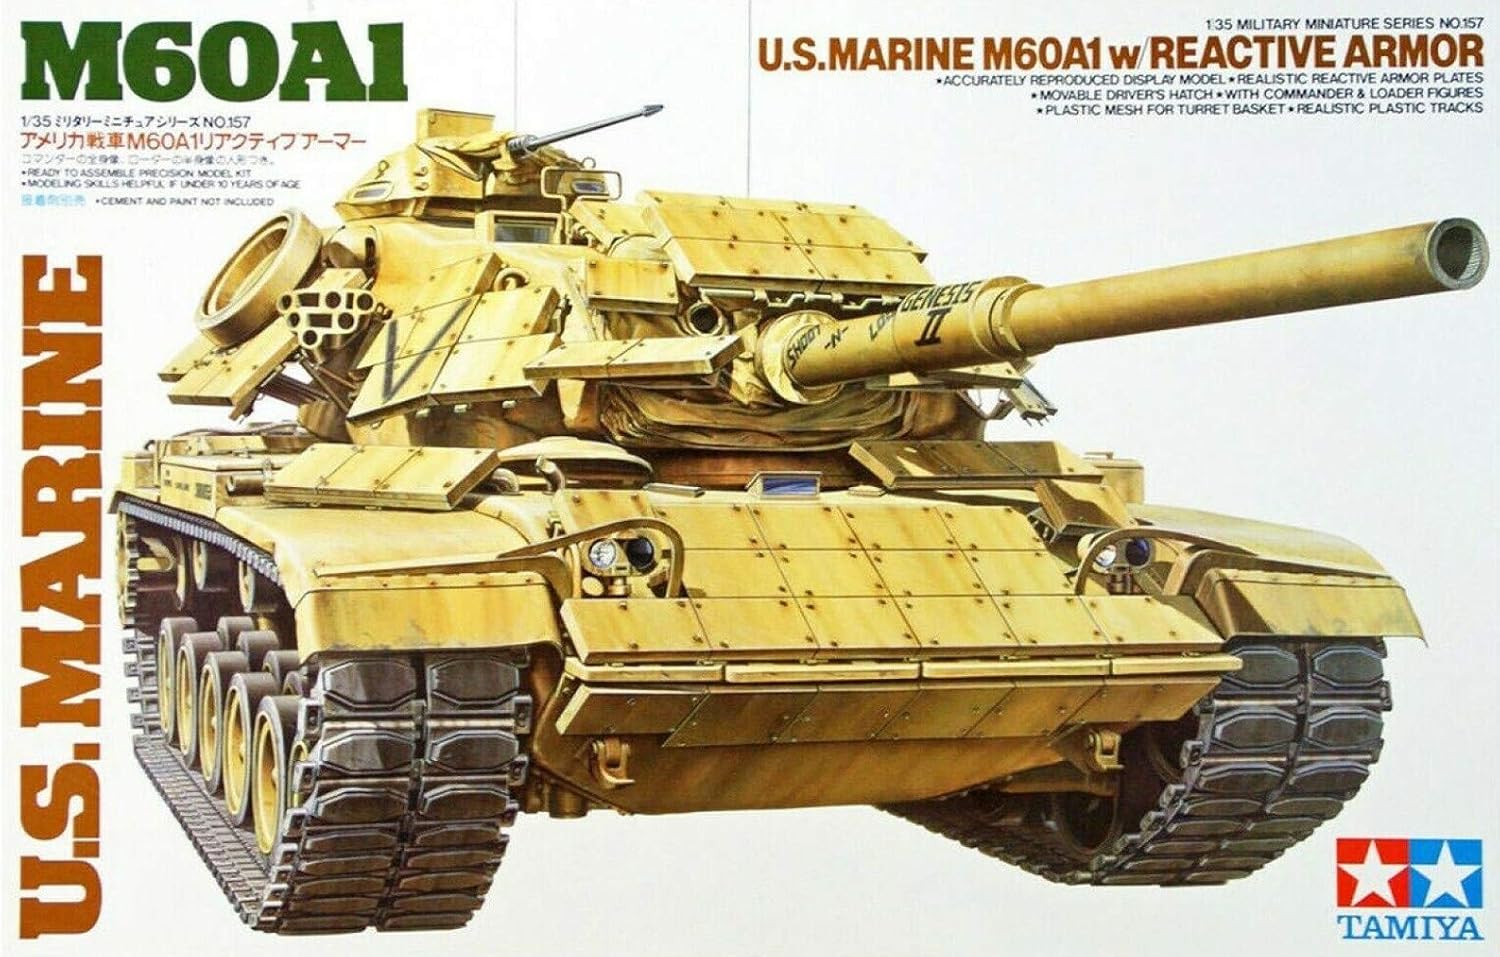
Image: The product box art for the Tamiya 35157 1/35 U.S. Marine M60A1 Tank Plastic Model Kit, showing a detailed illustration of the M60A1 tank with reactive armor.
2. Nga korero haumaru
Whakatupato: This product contains small parts and is not suitable for children. It is recommended for ages 16 and up. Always use tools and adhesives in a well-ventilated area. Keep all modeling materials out of reach of small children and pets. Follow all safety warnings provided with adhesives, paints, and other modeling supplies.
3. He aha kei roto i te Pouaka
The Tamiya 35157 1/35 U.S. Marine M60A1 Tank Plastic Model Kit includes:
- Plastic parts for one 1/35 scale U.S. Marine M60A1 Tank model.
- Decals for markings.
- Nga tohutohu hui.
Tuhipoka: Paint and assembly cement are required and sold separately.
4. Recommended Tools and Materials
Successful assembly of this model kit requires specific tools and materials. The following are recommended:
- Koki Koki
- Naihi Tapahi
- Decal Scissors
- Pointed Side Cutters for Plastic
- Basic Brush Set
- Masking Tape (10mm with Dispenser)
- Plastic Cement (e.g., Tamiya Plastic Cement 40ml)
- Extra Thin Plastic Cement (e.g., Tamiya Extra Thin Plastic Cement 40ml)
- Decal Softener (e.g., Tamiya Mark Fit (Strong) Decal Softener 40ml)
- Decal Adhesive (e.g., Tamiya Decal Adhesive Soft / Haftmittel 10ml)
- Model Paints (acrylic or enamel, as per desired finish)

Image: A visual guide to recommended tools and materials for model assembly, including various cutting tools, brushes, masking tape, and Tamiya brand plastic cements and decal solutions.
5. Nga Tohutohu Huihuinga
Follow the detailed step-by-step instructions provided in the kit's instruction booklet. Read through all steps before beginning assembly.
- Whakaritenga Wāhanga: Carefully remove parts from the sprues using side cutters. Clean any excess plastic (flash) with a hobby knife or sandpaper.
- Whakanoho maroke: Before applying cement, dry fit parts to ensure proper alignment and fit.
- Cementing: Apply plastic cement sparingly to bonding surfaces. Hold parts together firmly until the cement sets. Use extra thin cement for fine details and seam lines.
- Huihuinga iti: Assemble major components (e.g., hull, turret, tracks) as separate sub-assemblies before combining them.
- Reactive Armor: Attach the reactive armor plates as indicated in the instructions. These are designed to be spaced away from the main hull.
- Ngā whika: Assemble the commander and loader figures if included, following their specific instructions.

Image: A fully assembled and painted Tamiya 1/35 U.S. Marine M60A1 Tank model, showcasing the reactive armor and two crew figures in the turret hatches.
6. Finishing and Display
After assembly, the model can be painted and decaled to achieve a realistic finish.
- Te peita: Apply primer before painting. Use appropriate model paints (acrylic or enamel) for the desired camouflage scheme. Apply thin coats to preserve detail.
- Whakapaipai: Apply decals to a glossy surface for best adhesion. Use decal softener to help decals conform to irregular surfaces. Seal decals with a clear coat.
- Weathering: Optional weathering techniques can be applied to simulate wear and tear, dust, or mud, enhancing realism.
- Whakaatu: Place the completed model on a stable surface or a custom diorama base.
7. Tiaki
Hei pupuri i te ahua o to tauira kua oti:
- Te horoi: Dust the model regularly with a soft brush or compressed air. Avoid harsh chemicals or abrasive materials.
- Rokiroki: Store the model in a cool, dry place away from direct sunlight to prevent paint fading or plastic warping.
- Te whakahaere: Handle the model carefully to avoid breaking delicate parts.
8. Te Raru
Common issues encountered during model assembly and their solutions:
- Nga waahanga kaore i te uru: Ensure all flash is removed. Dry fit parts before cementing. If necessary, gently sand contact points.
- Karekau e piri ana nga tohu: Ensure the surface is clean and glossy. Use decal setting solution.
- Nga take peita: Apply paint in thin coats to avoid obscuring detail. Ensure proper ventilation and drying time between coats.
- Nga waahanga kua pakaru: Small parts can be reattached with plastic cement or super glue. For structural breaks, consider reinforcing with a small piece of plasticard or wire.
9. Whakatakotoranga
| Āhuahira | Taipitopito |
|---|---|
| Hunga Hua | 15 x 9.63 x 2.75 inihi |
| Taumaha Tūemi | 1.34 pauna |
| ASIN | B000LFQTY0 |
| Tauira Tuemi | TAM35157 |
| E taunakitia ana e te Kaihanga Tau | 16 tau ki runga ake |
| Te Ra Whakaputa | Hanuere 1, 2019 |
| Kaihanga | Tamiya |
10. Pūtāhui me te Tautoko
For specific warranty information or technical support regarding this Tamiya product, please refer to the documentation included with your kit or visit the official Tamiya website. Contact information for Tamiya customer service can typically be found on their official webte waahi kei runga ranei i te kohinga hua.