1. Kupu Whakataki
The Lutron FG-2-TD-WH Fassada 2-Gang Combination Wall Plate is designed to provide a clean and seamless finish for your electrical installations. This wall plate features one traditional toggle opening and one designer opening, making it versatile for various switch and dimmer types. Its gloss white finish and screwless design enhance the aesthetic appeal of any room.
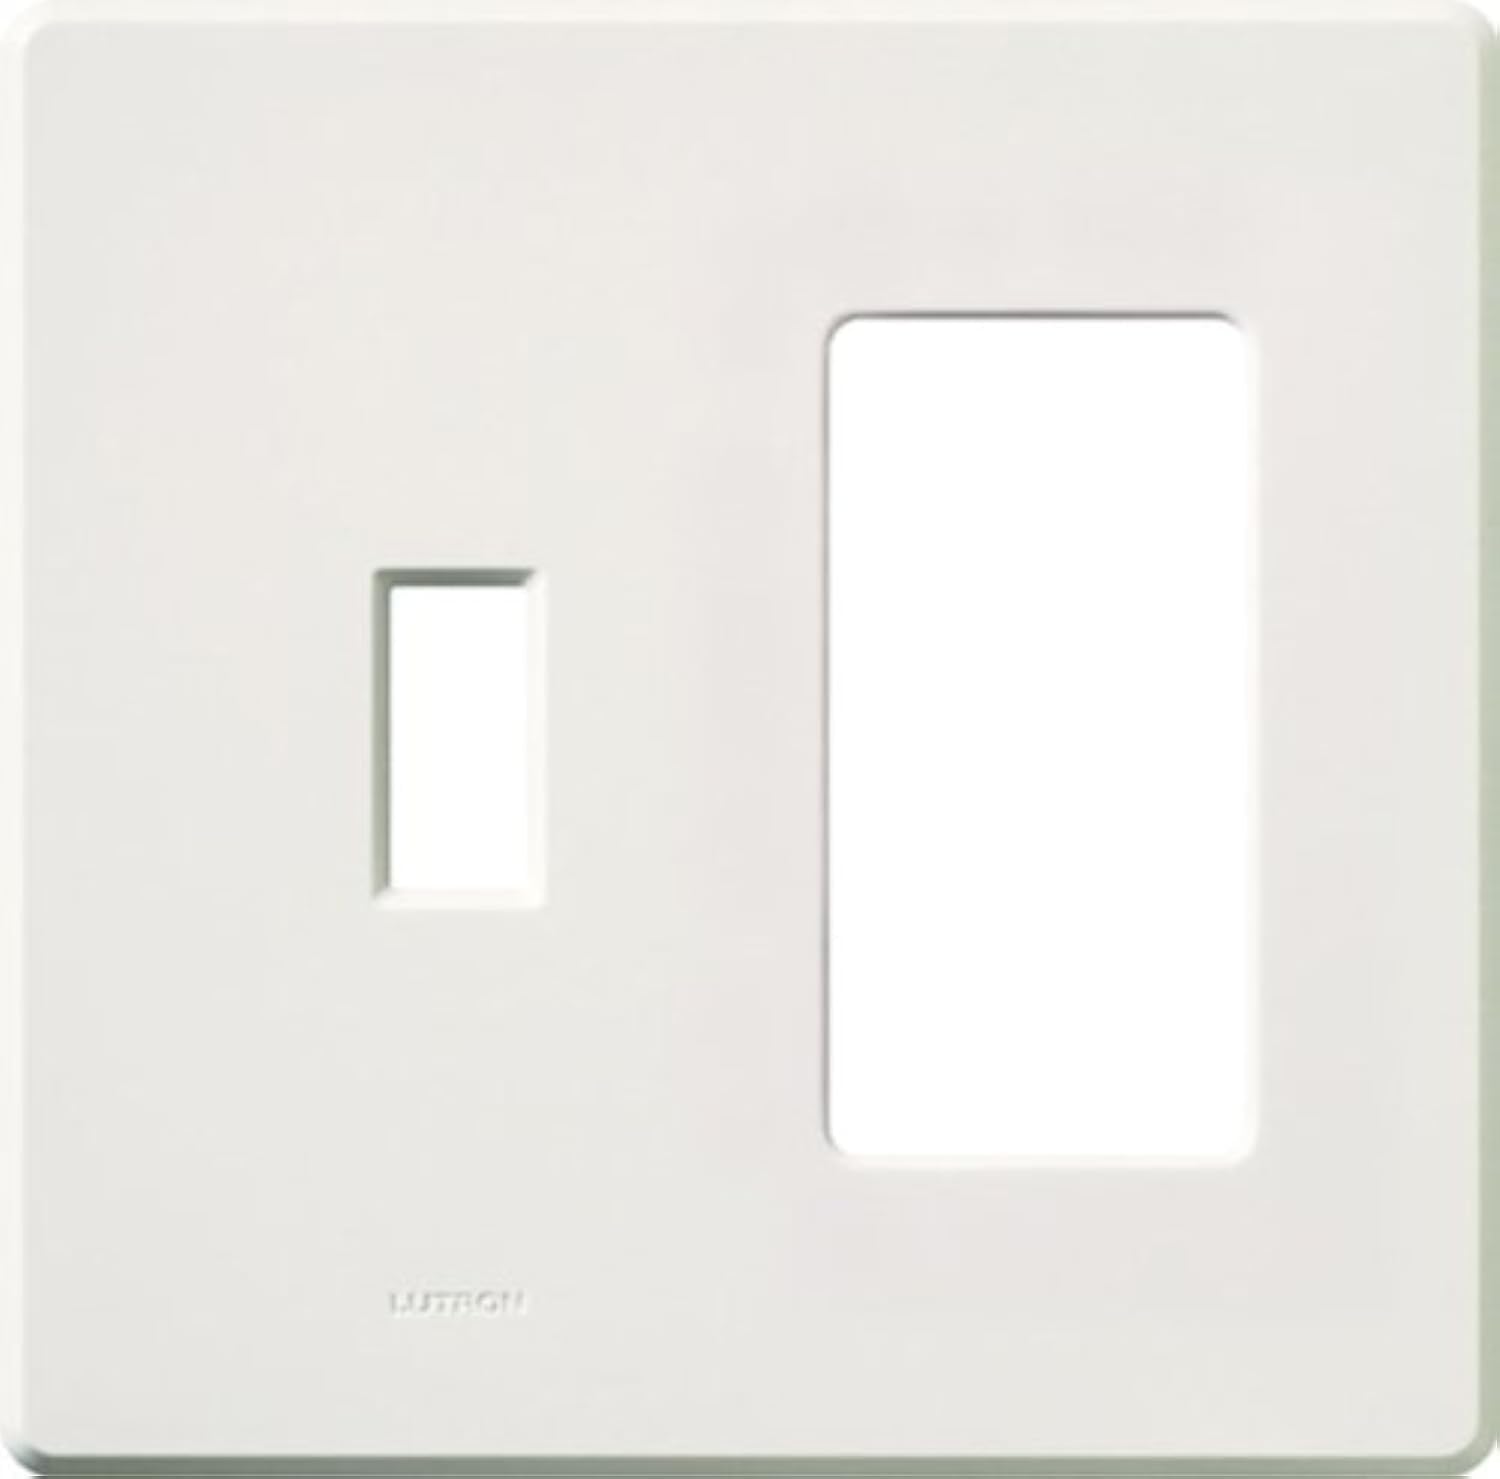
Image: Lutron FG-2-TD-WH Fassada 2-Gang Combination Wall Plate in white gloss finish.
Āhuatanga matua:
- Features one traditional and one designer opening for versatile use.
- Compatible with controls and accessories with traditional openings (e.g., toggle switches) and designer openings (e.g., paddle switches, dimmers).
- Superior Snap-On design ensures secure and snug attachment, regardless of wall condition.
- Reversible design allows rotation for small/large or large/small opening applications.
- Screwless, seamless design with no visible hardware for a clean, modern look.
2. Nga korero haumaru
WHAKATŪPATO: Te Morea o te Ru Hiko. Improper installation can result in serious injury or death. Always turn off power at the circuit breaker or fuse box before installing or servicing any electrical device. If you are unsure about any part of these instructions, consult a qualified electrician.
- Me whakarite kua whakaweto te hiko i te pūwhakaweto ara iahiko i mua i te tīmatanga o te tāutanga.
- Use appropriate tools and follow all local and national electrical codes.
- Do not install if the wall box is damaged or has exposed wires.
3. Ihirangi mokete
- 1x Lutron FG-2-TD-WH Fassada 2-Gang Combination Wall Plate (White)
4. Utauta e hiahiatia ana
- Screwdriver (Phillips and/or Flathead, depending on existing screws)
- Pliers (optional, for wire manipulation)
- VoltagKaiwhakamātautau hiko (e taunakitia ana mō te haumaru)
5. Tohutohu Tāuta
This section provides general guidance for installing the wall plate. For detailed wiring instructions for specific switches or dimmers, please refer to the instructions provided with those devices.
General Wall Plate Installation:
- Whakaweto Hiko: Locate the circuit breaker controlling the switch or outlet you are working on and turn it OFF. Verify power is off using a voltage Kaiwhakamatautau.
- Tango Pereti Taiepa Tawhito: Carefully unscrew and remove the existing wall plate and any sub-plate.
- Install Electrical Device (if applicable): If you are installing a new switch or dimmer, follow its specific wiring instructions. Ensure the device is securely mounted to the wall box.
- Attach Sub-Plate (if applicable): Some devices may come with a sub-plate that attaches directly to the electrical device. Install this first if required.
- Install New Wall Plate: Align the Lutron Fassada wall plate over the installed electrical device(s) and sub-plate (if present). Gently press the wall plate firmly until it snaps securely into place. The screwless design means no visible hardware.
- Whakaora i te Mana: Once the wall plate is securely installed, turn the power back ON at the circuit breaker.
Tohutoro Ataata Tāutanga:
The following video demonstrates the snap-on installation of a Lutron wall plate. While it may feature a different specific device, the wall plate installation method is similar.
Video: Quick Wallplate Installation. This video demonstrates the simple snap-on installation process for a Lutron wall plate, highlighting how it securely attaches over an electrical device.
6. Mahi
The Lutron Fassada wall plate is a passive component designed to cover and protect electrical devices. Its operation is directly tied to the functionality of the switches, dimmers, or outlets it houses. Ensure that the devices installed within the wall plate openings are functioning correctly after installation.
7. Tiaki
To maintain the appearance and functionality of your Lutron Fassada wall plate:
- Te horoi: Horoia te mata ki te ngohengohe, damp kakahu. A ape i nga kai horoi, nga whakarewa, nga matū kino ranei, ka taea e enei te pakaru te mutunga.
- Tirotiro: Periodically check the wall plate for any signs of damage or loose fit. If the plate becomes loose, gently press it back into place.
8. Te Raru
- Wall Plate Does Not Snap On Securely:
- Ensure the electrical device(s) are properly seated and flush with the wall box.
- Check for any obstructions or excess wiring within the wall box that might prevent the plate from sitting flush.
- Verify that the correct sub-plate (if any) is installed and aligned.
- Electrical Device Not Functioning:
- Whakawetohia te hiko i te waahi iahiko.
- Remove the wall plate and check the wiring connections of the electrical device. Refer to the device's specific installation instructions.
- Ensure the circuit breaker is ON.
9. Whakatakotoranga
| Huanga | Taipitopito |
|---|---|
| Tau tauira | FG-2-TD-WH |
| Waitohu | Lutron |
| Whirihoranga | 2-Gang (1 Traditional, 1 Designer) |
| Tae | Mā |
| Momo Whakaoti | Whakaoti moata |
| Rauemi | Either Plastic or Metal |
| Momo Tāuta | Snap-On |
| Hunga Hua | 4.67 x 5.9 x 4.6 inihi |
| Taumaha Tūemi | 2.4 hekere |
| UPC | 027557554404 |
10. Raihana me te Tautoko
Lutron products are designed for quality and reliability. For specific warranty information, please refer to the documentation included with your product or visit the official Lutron webpae.
Tautoko Kiritaki:
Lutron offers 24/7 support to assist with any questions or issues you may encounter.
- Tautoko Waea: 844-588-7661
- Webpae: lutron.com
Support Video Reference:
Tirohia tenei ataata mo te mutungaview of Lutron's dedicated customer support.
Video: Lutron 24/7 Support. This video highlights the availability of Lutron's customer support team for assistance with their products.


