1. Kupu Whakataki
This manual provides essential information for the proper installation, operation, and maintenance of your Viking Motorized Door Latch, Part Number 012565-000. Please read these instructions carefully before proceeding with installation or use to ensure safe and efficient operation. This motorized door latch is designed for specific applications and should only be used as intended by the manufacturer.
2. Nga korero haumaru
Kia mau tonu ki nga whakaritenga haumaru e whai ake nei hei aukati i te whara, i te kino ranei o te hua:
- Momotu Mana: Ensure all power to the appliance or door system is disconnected before installation, maintenance, or troubleshooting.
- Kaimahi Tohu: Installation and service should only be performed by qualified technicians.
- Nga Waahanga Taketake: Use only genuine Viking replacement parts. Unauthorized modifications or parts may void the warranty and create hazards.
- Ira whakawiri: Be aware of moving parts during operation to avoid pinch injuries.
- Haumaru Hiko: Follow all local electrical codes and safety standards.
3. Ihirangi mokete
Manatokona kei te noho nga waahanga katoa i mua i te tiimata o te whakaurunga:
- Viking Motorized Door Latch (Part 012565-000)
- Ngā taputapu whakairi (ngā tīwiri, ngā mīhini horoi)
- Pukapuka Tohutohu (tenei tuhinga)
Mena kei te ngaro, kua pakaru ranei etahi taonga, tena koa whakapiri atu ki to kaiwhakarato.
4. Tatūnga me te Tāuta
Follow these steps for proper installation of the motorized door latch:
- Whakapaia te Rohe Tāuta: Ensure the power supply to the appliance or door frame is completely disconnected. Clear the area around the existing latch mechanism.
- Remove Existing Latch (if applicable): Carefully remove any old or damaged latch components. Note the orientation and wiring connections if replacing an existing motorized latch.
- Position the New Latch: Align the Viking Motorized Door Latch (012565-000) with the mounting holes on the appliance or door frame. Ensure the latch mechanism is oriented correctly for proper door closure.
- Whakaorangia te Raki: Use the provided mounting hardware to firmly attach the latch to the surface. Do not overtighten screws.
- Tūhono Waea: Connect the electrical wires to the motorized latch according to the wiring diagram provided with your appliance or door system. Ensure all connections are secure and insulated. Refer to the appliance's specific service manual for detailed wiring instructions.
- Taumahinga Whakamatau: Once installed and wired, restore power to the system. Test the door latch operation to ensure it engages and disengages smoothly and securely.
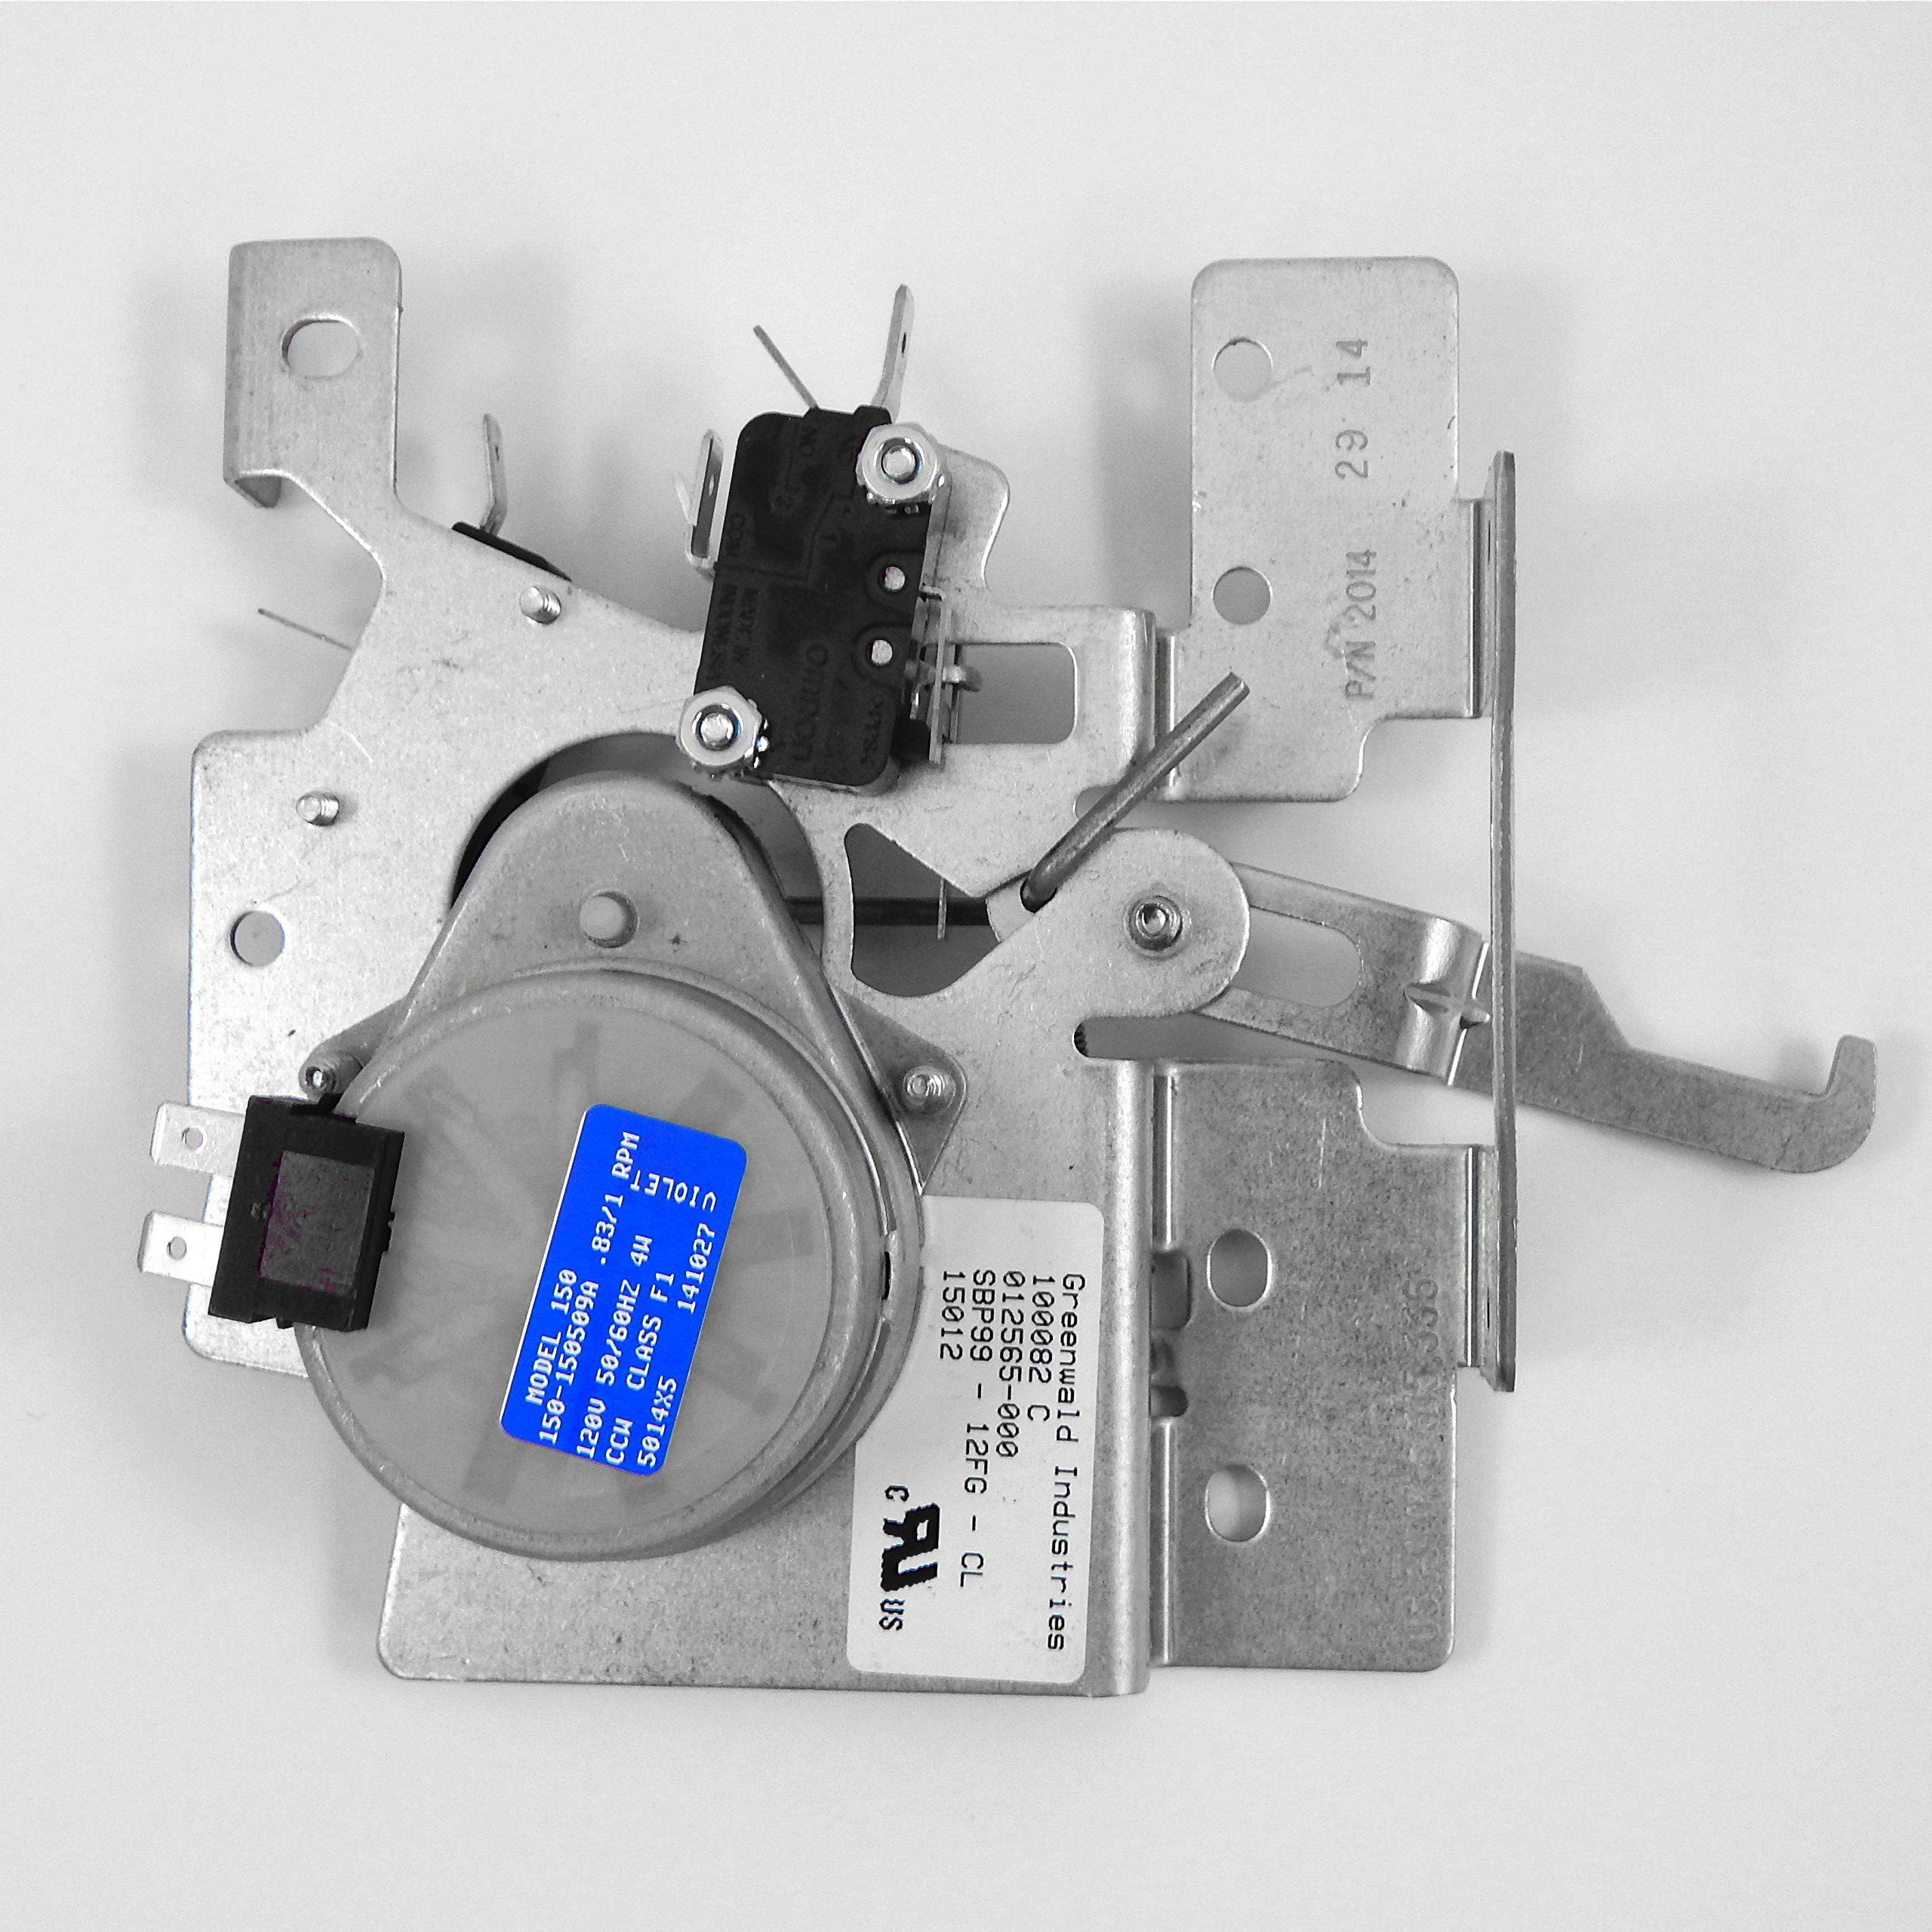
Whakaahua 1: Viking Motorized Door Latch Part 012565-000. This image shows the overall appearance of the motorized door latch, highlighting its compact design and connection points for installation.
5. Nga Tohutohu Whakahaere
The Viking Motorized Door Latch (012565-000) operates in conjunction with your appliance's control system. Its function is typically automated:
- Te Whakauru Aunoa: When the door is closed, the motorized latch will automatically engage, securing the door.
- Te Wete Aunoa: The latch will disengage when the appliance's control system signals it to do so, typically after a cycle is complete or a specific command is given.
- Whakakore a-ringa (mehemea e tika ana): Some systems may include a manual override. Consult your appliance's user manual for details on any manual release mechanisms.
Ensure the door closes completely and without obstruction for the latch to function correctly.
6. Tiaki
The Viking Motorized Door Latch is designed for durability and requires minimal maintenance. However, periodic checks can help ensure its longevity:
- Te horoi: Keep the latch mechanism free from dirt, dust, and debris. Use a soft, dry cloth for cleaning. Do not use abrasive cleaners or solvents.
- Whakahinuhinu: The internal components are factory-lubricated and generally do not require additional lubrication. If the latch mechanism appears stiff, consult a qualified technician.
- Tirotiro: Periodically inspect the latch for any signs of wear, damage, or loose connections. Address any issues promptly.
- Waea waea: Check wiring connections for tightness and ensure insulation is intact.
Momotuhia te hiko i mua i te mahi tiaki.
7. Te Raru
If you encounter issues with your motorized door latch, refer to the following common problems and solutions:
| Raruraru | Take pea | Rongoā |
|---|---|---|
| Latch does not engage | No power; Door not fully closed; Faulty wiring; Latch mechanism obstruction | Check power supply; Ensure door is closed properly; Inspect wiring connections; Clear any obstructions |
| Latch does not disengage | Control system error; Latch mechanism jammed; Faulty latch | Consult appliance manual for control system reset; Inspect for obstructions; Contact service for replacement |
| Haruru rereke i te wa e mahi ana | Foreign object; Worn components | Disconnect power and inspect for foreign objects; Contact service if noise persists |
If the problem persists after attempting these solutions, contact Viking customer support or a qualified service technician.
8. Whakatakotoranga
- Tau tauira: 012565-000
- Kaihanga: Viking
- Taumaha Tūemi: Tata ki te 1 pauna (0.45 kg)
- Rahi Hua: Tata ki te 6 x 5 x 2 inihi (15.24 x 12.7 x 5.08 cm)
- Hototahi: Refer to your appliance's service manual for specific compatibility.
9. Pūtāhui me te Tautoko
For warranty information, please refer to the documentation provided with your original appliance or contact Viking customer service directly. This component is typically covered under the warranty of the appliance it is installed in.
For technical support or to order replacement parts, please visit the official Viking website or contact their customer service department. When contacting support, please have your appliance model number and the latch part number (012565-000) available.


