1. Kupu Whakataki
Thank you for choosing the Rfiver Universal Table Top TV Stand. This stand is designed to provide a stable and adjustable base for most 27 to 60-inch LCD, LED, Plasma, and 4K Smart TVs, including both flat and curved screens. It supports TVs weighing up to 88 lbs (40 kg) and is compatible with VESA mounting patterns up to 400x400mm. This manual provides detailed instructions for assembly, operation, and maintenance to ensure safe and optimal use of your TV stand.

Whakaahua 1.1: Mua view of the Rfiver Universal Table Top TV Stand.
2. Nga Korero Haumaru Nui
Please read all instructions carefully before assembly and use. Failure to follow these instructions may result in property damage, serious injury, or death.
- Raukaha Taumaha: Kaua e neke ake i te kaha o te taumaha o te 88 lbs (40 kg). I hangaia tenei turanga mo nga pouaka whakaata i waenga i te 27 me te 60 inihi.
- Hototahitanga VESA: Ensure your TV's VESA mounting pattern (distance between mounting holes on the back of the TV) is within the range of 100x100mm to 400x400mm.
- Pūmautanga: Always place the TV stand on a flat, level, and stable surface. Do not place heavy objects on the stand's base that could compromise stability.
- Nga tamariki me nga kararehe: Keep children and pets away from the stand during assembly. Ensure the TV is securely mounted to prevent tipping. The stand includes a safety lock design to prevent TV falls.
- Utauta: Whakamahia ngā taputapu tika e ai ki ngā tohutohu mō te huihuinga. Kaua e whakakī rawa i ngā tīwiri.
- Nga waahanga kua pakaru: Do not use the stand if any parts are damaged or missing. Contact customer support for replacement parts.
3. Ihirangi mokete
Before beginning assembly, verify that all components are present and undamaged. The package includes:
- Main metal support column
- Te turanga karaehe whakamaarama
- TV mounting bracket (horizontal bar)
- Two vertical TV mounting arms
- Hardware kit (various screws, washers, spacers, and tools for assembly and TV attachment)
- He pukapuka tohutohu

Image 3.1: Illustration of included components and labeled hardware for easy installation.
4. Tatūnga me te Runanga
Assembly is designed to be straightforward with labeled hardware. A Phillips screwdriver is the only additional tool required.
- Attach the Support Column to the Glass Base: Secure the main metal support column to the tempered glass base using the provided screws and tools. Ensure all connections are tight and stable.
- Assemble the TV Mounting Bracket: Attach the horizontal TV mounting bracket to the main support column. This bracket allows for height adjustment.
- Attach Vertical Arms to TV: Identify the correct screws, washers, and spacers from the hardware kit that fit your TV's VESA mounting holes. Attach the two vertical TV mounting arms to the back of your television. Ensure the arms are level and securely fastened.
- Whakamaua te pouaka whakaata ki te tūnga: Carefully lift your TV and hook the vertical mounting arms onto the horizontal bracket of the stand. Ensure the TV is centered and seated correctly.
- Secure TV with Safety Lock: Engage the safety lock mechanism on the vertical arms to prevent the TV from accidentally lifting off the stand. This feature enhances stability and prevents tilting or falling.
- Whakaha Uepu: Utilize the integrated cable management clips on the support column to organize and conceal TV cables for a tidy appearance.

Image 4.1: Visual guide for the installation process, highlighting labeled hardware.

Image 4.2: Detail of the safety lock, designed to prevent TV tilting or falling.

Image 4.3: Detail of the cable management feature for organizing wires.
5. Nga Tohutohu Whakahaere
Whakatikatika Teitei
The Rfiver TV stand features 6 adjustable height settings, allowing you to customize the screen position for optimal viewing. To adjust the height:
- Unmount TV: Carefully unhook the TV from the horizontal mounting bracket. It is recommended to have assistance when handling larger TVs.
- Adjust Bracket Position: Loosen the screws securing the horizontal mounting bracket to the main support column. Slide the bracket up or down to your desired height. The stand offers multiple pre-drilled holes for precise adjustment.
- Taiapa Haumaru: Retighten the screws to firmly secure the horizontal bracket at the new height.
- Remount TV: Carefully re-mount your TV onto the bracket and engage the safety lock.

Image 5.1: Illustration of the 6-level height adjustment feature, ranging from 19.9 inches to 25.8 inches.

Image 5.2: Close-up showing the different height settings for the mounting bracket.
6. Tiaki
To ensure the longevity and appearance of your Rfiver TV stand, follow these simple maintenance guidelines:
- Te horoi: Wipe the metal and glass surfaces with a soft, damp kakahu. Āta karohia te whakamahi i ngā kaihoroi whakakoi, i ngā matū kino rānei ka kino pea te āhua o te peita.
- Tirotiro: Takitaki ia ia nga wa katoa nga wiri me nga hononga kia mau tonu. Whakapaia ano mehemea e tika ana.
- Non-Slip Pads: The base includes non-slip pads to prevent scratches and provide stability. Ensure these pads are intact and clean.
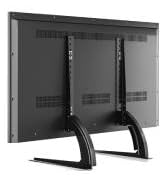
Image 6.1: Detail of the non-slip pad on the tempered glass base.
7. Te Raru
Mena ka tūpono koe ki ngā raruraru i te wā e huihui ana, e whakamahia ana rānei, tirohia ngā raruraru me ngā otinga e whai ake nei:
- TV Wobbles After Assembly:
Rongoā: Ensure all screws are securely tightened, especially those connecting the support column to the base and the mounting bracket to the column. Verify the TV is properly seated on the mounting arms and the safety lock is engaged. Ensure the stand is on a flat, stable surface. - Screws for TV are Too Short/Long:
Rongoā: The hardware kit includes various sizes of screws (M4, M6, M8) and spacers to accommodate different TV models. Refer to your TV's manual for the correct screw size. If the provided screws are still not suitable, you may need to purchase specific screws from a hardware store. - Kāore e uru te pouaka whakaata ki te tūnga:
Rongoā: Double-check your TV's size and VESA mounting pattern. This stand supports TVs from 27-60 inches and VESA patterns from 100x100mm to 400x400mm. If your TV falls outside these specifications, it is not compatible with this stand. - Te Uauatanga ki te Whakatikatika i te Teitei:
Rongoā: Ensure the TV is unmounted before attempting to adjust the bracket height. Loosen the screws sufficiently to allow the bracket to slide freely, then retighten firmly once the desired height is achieved.
8. Whakatakotoranga
| Āhuahira | Taipitopito |
|---|---|
| Waitohu | Rfiver |
| Tau tauira | UT4001 |
| Rahi TV Hototahi | 27-60 inihi |
| Te Kaha Uta Morahi | 88 lbs (40 kg) |
| VESA Hototahi | 100x100mm ki te 400x400mm |
| Whakatikatika Teitei | 6 levels (approx. 19.9 to 25.8 inches) |
| Rauemi | Maamaa, Karaehe Tempered |
| Rahi Hua (L x W x H) | 15.7 x 9.4 x 25.8 inches (approximate maximum height) |
| Taumaha Tūemi | 8.8 pauna |
| Tae | Pango |
| Momo Whakaeke | Maunga Ripanga |
| Momo Nekehanga | Fixed (with height adjustment) |
| UPC | 704139207803 |
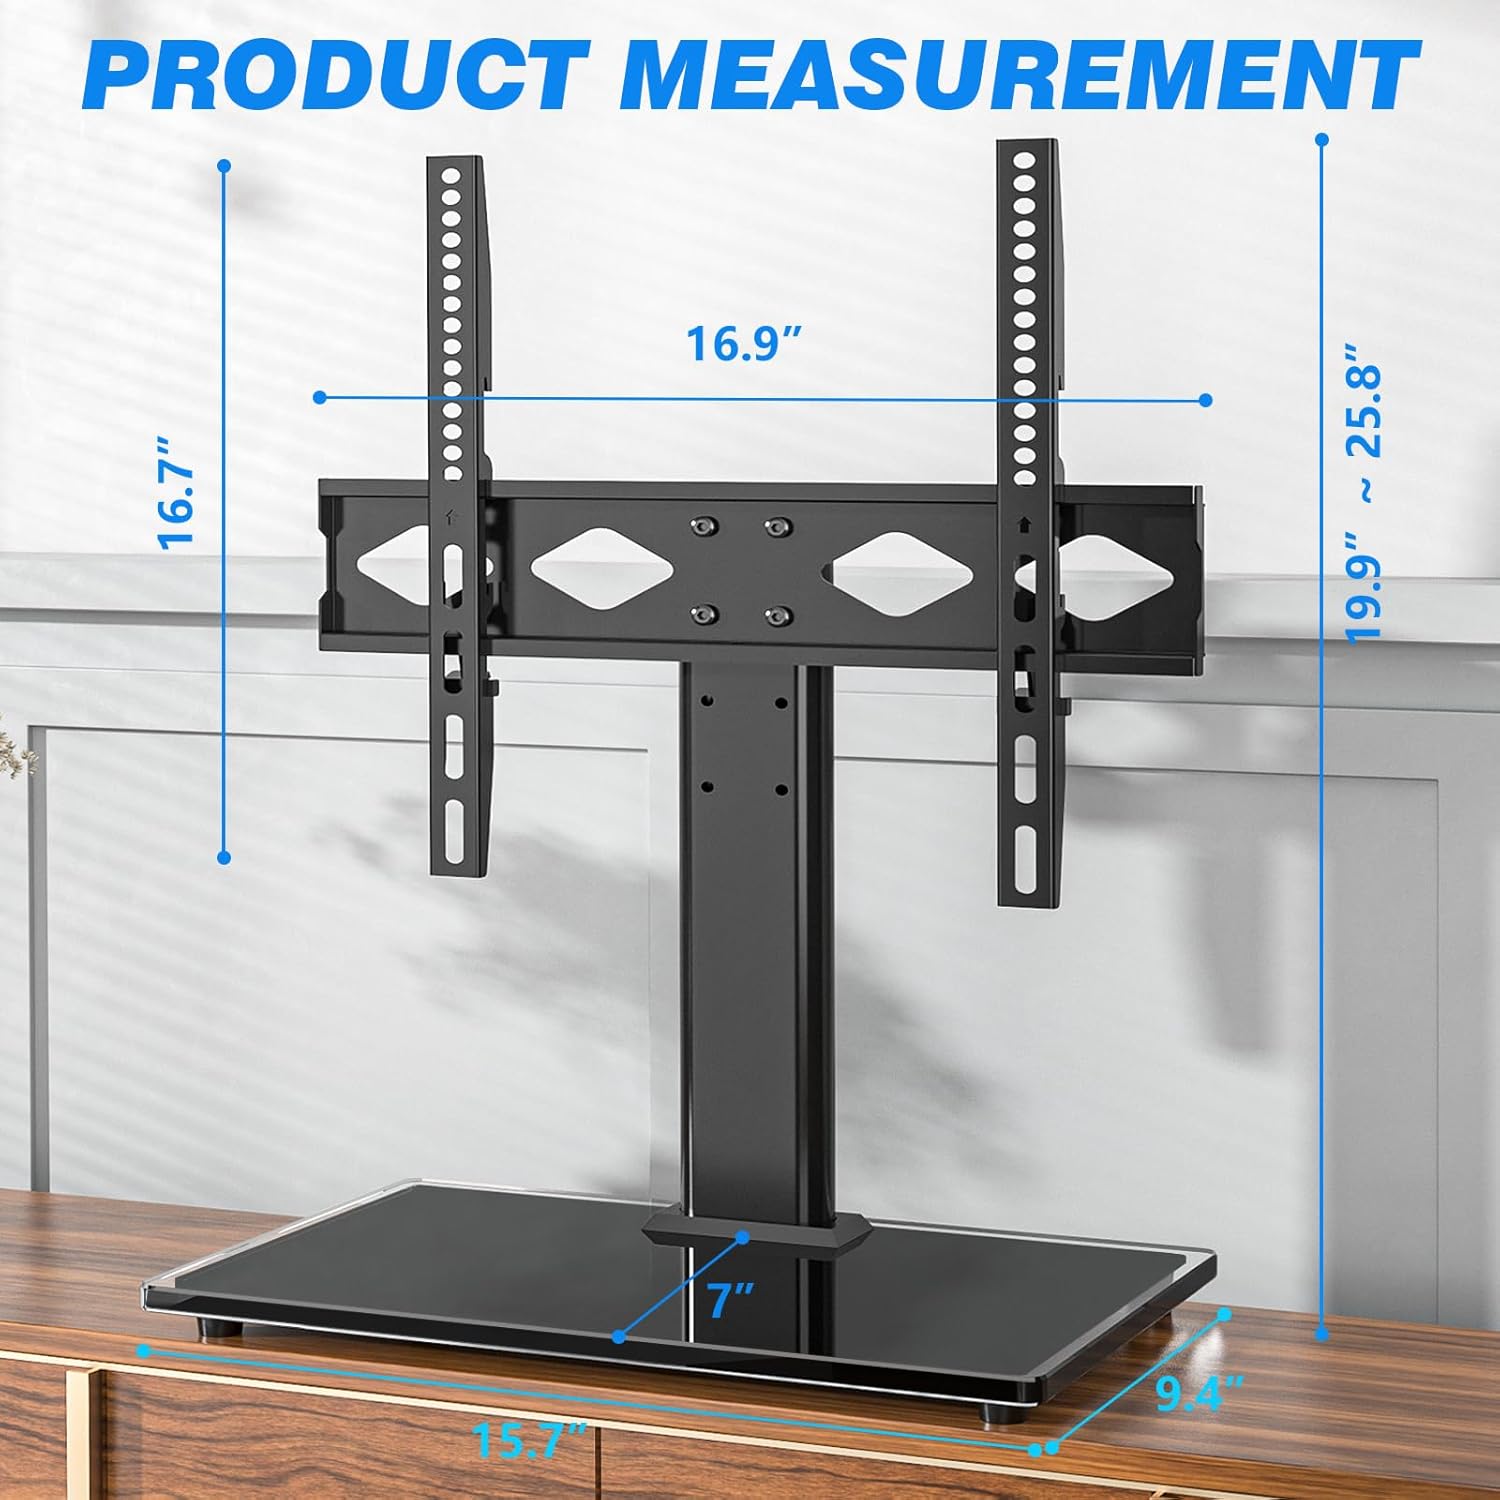
Image 8.1: Detailed product measurements including height, width, and depth.

Whakaahua 8.2: Kua mutu te hototahitangaview for TV size, load capacity, VESA patterns, and screen types.
9. Pūtāhui me te Tautoko Kiritaki
For warranty information or if you have any questions, concerns, or require assistance with your Rfiver Universal Table Top TV Stand, please contact Rfiver customer support. Details for contacting support are typically found on the product packaging or the official Rfiver webpae.
Tena koa pupurihia to tohu mo te hoko mo nga kereme whakamana.


