Pukapuka Kaiwhakamahi mō te Kāmera Whakaata Waka ACV 7.2-inihi (Tauira 771000-6513)
Comprehensive instructions for your ACV Mirror Car Camera.
Kupu Whakataki
This manual provides comprehensive instructions for the installation, operation, and maintenance of your ACV 7.2-inch Mirror Car Camera. Please read this manual thoroughly before using the product to ensure proper function and safety. This device integrates a high-resolution display into a rearview mirror, offering multiple camera inputs and advanced features for enhanced vehicle visibility.
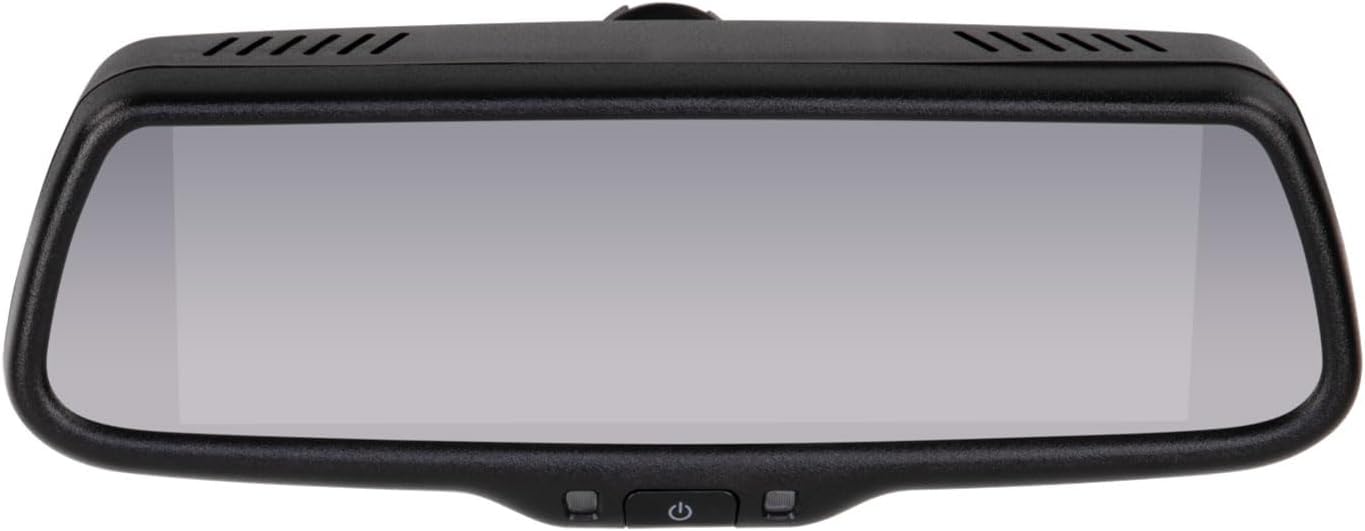
Whakaahua 1: Mua view of the ACV 7.2-inch Mirror Car Camera, showing the reflective surface and control buttons at the bottom.
Nga waahanga hua
- 7.2-inch mirror display with an OEM-style design.
- Split-screen functionality for simultaneous viewte whakamahi i ngā whāngai kāmera maha.
- Extremely bright display (2000-2600 Lux) with automatic brightness adjustment for optimal visibility in various lighting conditions.
- Automatic power-on via trigger function, ideal for integration with reverse gear.
- Kei roto he mana mamao mō te whakahaere watea.
- Deactivatable and adjustable guide lines to assist with parking maneuvers.
- Kāmera view switching via dedicated button or trigger function.
- Supports 4 standard video inputs (e.g., front, side cameras) and 1 AHD camera input for high-definition video.
- High resolution of 1280 x 480 pixels with a 16:9 aspect ratio.
- Compatible with PAL/NTSC video systems (automatic detection).
- Operates on a 12V DC power supply with a maximum current consumption of 800 mA.
- Designed for a wide operating temperature range: -20 °C to +75 °C.
- Awhe pāmahana rokiroki: -40 °C ki +85 °C.
- Compact dimensions (L x W x H): 270 mm x 85 mm x 50 mm (excluding mount).
Ihirangi mokete
Manatokohia ko nga mea katoa kei raro nei kei roto i to kete:
- ACV 7.2-inch Mirror Monitor (Model 771000-6513)
- Universal Mirror Mount with adhesive plate
- Mana Mamao
- Wiring Harness (for power and video connections)
- Installation Accessories (e.g., cable ties, small tools)

Whakaahua 2: Ka mutuview of the ACV Mirror Car Camera package contents, including the mirror, wiring, mount, and accessories.
Tatūnga me te Tāuta
Proper installation is crucial for optimal performance and safety. It is recommended to have this product installed by a qualified professional to ensure correct wiring and secure mounting.
Mounting the Mirror Monitor
The mirror monitor includes a universal rearview mirror mount designed for attachment to the windshield. Vehicle-specific mounts may be available separately for certain vehicle models. Ensure the mounting surface is clean, dry, and free of obstructions before attachment.
- Thoroughly clean the designated area on your windshield where the mirror will be mounted.
- Attach the universal mirror mount to the windshield using the provided adhesive plate. Apply firm pressure and allow sufficient time for the adhesive to cure as per the manufacturer's instructions (typically 24 hours).
- Once the mount is securely fixed, carefully attach the ACV mirror monitor to the installed mount. Ensure it clicks into place or is tightened securely.

Whakaahua 3: Whakamuri view of the mirror monitor, showing the attachment point for the universal mount.

Whakaahua 4: Te taha profile of the mirror monitor, illustrating the adjustable mount.
Hononga Waea
Connect the wiring harness according to your vehicle's electrical system and the cameras you intend to use. Refer to the wiring diagram provided with the product for detailed connections.
- Hononga Hiko: Connect the red wire to a switched 12V DC power source and the black wire to a reliable ground point in your vehicle.
- Ataata Ataata: Connect your standard video sources (e.g., front camera, side cameras) to the designated video input ports (typically RCA connectors).
- AHD Camera Input: If you are using an AHD (Analog High Definition) camera, connect it to the specific AHD input port for optimal image quality.
- Ngā Waea Whakaoho: Connect the trigger wires (e.g., to the reverse light circuit) to enable automatic camera switching when certain vehicle actions occur (e.g., shifting into reverse).
Route all cables carefully to prevent interference with vehicle operation, avoid pinching, and protect them from heat or sharp edges. Secure loose cables with cable ties to maintain a tidy and safe installation.
Nga Tohutohu Whakahaere
Familiarize yourself with the monitor's controls and functions for effective use.
Te Hia/Weto
- Mahi ā-ringa: Press the power button located on the bottom of the mirror or on the remote control to turn the monitor on or off.
- Mahi Aunoa: If connected to a trigger wire (e.g., reverse light), the monitor will automatically power on and display the corresponding camera feed when the trigger is activated.
Te Whakarite Tirohanga
The monitor features an automatic brightness adjustment function that adapts to ambient light conditions. For manual adjustments:
- Use the brightness control buttons on the remote control.
- Access the on-screen display (OSD) menu via the remote control to fine-tune brightness settings.
Huri Kāmera Views
To cycle through the connected camera inputs:
- Press the camera switch button on the mirror unit.
- Use the dedicated input selection buttons on the remote control.
- When a trigger wire is activated (e.g., reverse gear engaged), the monitor will automatically switch to the designated camera view.
Taumahi Mata Ritua
The 7.2-inch display supports split-screen functionality, allowing you to view feeds from multiple cameras simultaneously. To activate and configure split-screen:
- Access the OSD menu using the remote control.
- Navigate to the split-screen settings to select desired camera combinations and layout options.
Raina arataki
Parking guide lines can be enabled, disabled, and adjusted to assist with parking maneuvers. These settings are typically found within the OSD menu, accessible via the remote control. You can adjust their position and width to match your vehicle and camera perspective.
Te tiaki
Regular maintenance helps ensure the longevity and optimal performance of your ACV Mirror Car Camera.
- Te horoi i te whakaata: Use a soft, lint-free, dry cloth to gently wipe the mirror surface. For more stubborn marks, lightly dampen the cloth with water. Avoid using abrasive cleaners, solvents, or chemical sprays, as these can damage the display coating.
- Tirohanga taura: Periodically inspect all connected cables and wiring harnesses for any signs of wear, fraying, or damage. Ensure all connections remain secure.
- Whakahaere Pawera: Avoid exposing the device to extreme temperatures outside its specified operating range (-20 °C to +75 °C) for extended periods. Prolonged exposure to direct sunlight in a parked vehicle can also generate excessive heat.
Raparongoā
If you encounter issues with your ACV Mirror Car Camera, refer to the following common troubleshooting steps:
- Kore Mana:
- Check all power connections to ensure they are securely attached.
- Verify that the 12V DC power supply is active and providing power to the unit.
- Check the vehicle's fuse box for any blown fuses related to the power circuit.
- Karekau he atahanga e whakaatuhia ana:
- Ensure all camera connections are properly seated and secure.
- Verify that the connected cameras are powered on and functioning correctly.
- Confirm that the correct video input source is selected on the monitor (manual switch or remote control).
- Whakaahua e pīataata ana, e hē ana rānei:
- Ensure a stable 12V DC power supply to the monitor and cameras.
- Check the video system settings (PAL/NTSC) in the monitor's menu to ensure it matches your camera's output.
- Inspect video cables for damage or loose connections.
- Incorrect or Missing Guide Lines:
- Access the monitor's OSD menu via the remote control.
- Navigate to the guide line settings to activate, deactivate, or adjust their position and width.
- Mana Mamao Kaore i te Whakautu:
- Check and replace the battery in the remote control if necessary.
- Ensure there are no obstructions between the remote control and the monitor's infrared (IR) receiver.
If these steps do not resolve the issue, please contact ACV customer support for further assistance.
Whakatakotoranga Hangarau
| Āhuahira | Whakatakotoranga |
|---|---|
| Waitohu | ACV |
| Ingoa Tauira | 771000-6513 |
| Rahi Mata | 7.2 inihi |
| Whakatau | 1280 x 480 |
| Aspect Ratio | 16:9 |
| Tirohanga | 2000-2600 Lux |
| Pūnaha Ataata | PAL/NTSC (Automatic Detection) |
| Nga Whakauru Ataata | 4 (Standard Video) + 1 (AHD Camera) |
| Tuku Hiko | 12V DC |
| Kohi o naianei | Max. 800 ma |
| Te Waahi Mahi | -20 °C ki +75 °C |
| Paemahana Rokiroki | -40 °C ki +85 °C |
| Ahu (L x W x H) | 270 mm x 85 mm x 50 mm (without mount) |
| Tae | Pango |
| Tikanga Mana | Mana Mamao |
| Pūrere Hototahi | Aroturuki |
| Whakataunga Hopu Ataata | 480p (Note: This refers to the input resolution for standard video, AHD input will be higher quality) |
Pūtāhui me te Tautoko
For detailed warranty information, terms, and conditions, please refer to the warranty card or documentation included with your ACV Mirror Car Camera purchase. Keep your proof of purchase, such as your receipt or order confirmation, as it will be required for any warranty claims.
For technical support, troubleshooting assistance beyond what is provided in this manual, or inquiries about replacement parts, please contact ACV customer service. Contact information can typically be found on the product packaging, the official ACV webpaetukutuku, ō tuhinga hoko rānei.


