1. Hua Neke Atuview
This manual provides essential information for the safe assembly, operation, and maintenance of your HyperMotion Kids Tricycle Model 1. Please read all instructions carefully before use and retain this manual for future reference.

Whakaahua 1: HyperMotion Kids Tricycle Model 1, showcasing its design with a parent push handle, seat, handlebars, and wheels.
2. Nga korero haumaru
- Always supervise children when using the tricycle.
- Me whakarite kia mau nga waahanga katoa i mua i ia whakamahinga.
- Kaua e whakamahia ki runga i ngā rori tūmatanui, e tata ana ki ngā waka motuka, ki ngā pari pari rānei.
- A helmet should always be worn by the child when riding.
- The maximum weight capacity for the child is 25 kg (approximately 55 lbs).
- Regularly inspect the tricycle for wear and tear, especially on wheels and moving parts.
3. Tatūnga me te Runanga
Carefully unpack all components and ensure all parts are present before beginning assembly. Refer to the diagrams for visual guidance.
3.1 Components Checklist
- Main frame with seat
- Front wheel assembly with handlebars
- Nga wira o muri (2)
- Parent push handle
- Rear storage basket
- Footrests (if detachable)
- Ngā taputapu whakahiato (mēnā kei roto)
3.2 Nga Mahi Huihuinga
- Attach Front Wheel and Handlebars: Insert the front wheel assembly into the main frame's front fork. Secure the handlebars firmly. Ensure the steering mechanism operates smoothly.
- Tāutahia nga wira o muri: Slide each rear wheel onto its axle on the main frame. Ensure they click into place or are secured with the provided fasteners. Verify that the wheels spin freely and are firmly attached to prevent detachment during use.
- Whakaorangia te nohoanga: The seat is typically pre-attached or slides onto a post. Ensure it is locked into position.
- Attach Parent Push Handle: Insert the parent push handle into the designated slot at the rear of the tricycle. Ensure it is fully inserted and secured, often with a locking pin or lever.
- Attach Rear Storage Basket: Position the basket onto the rear frame and secure it using the provided attachment points or clips.

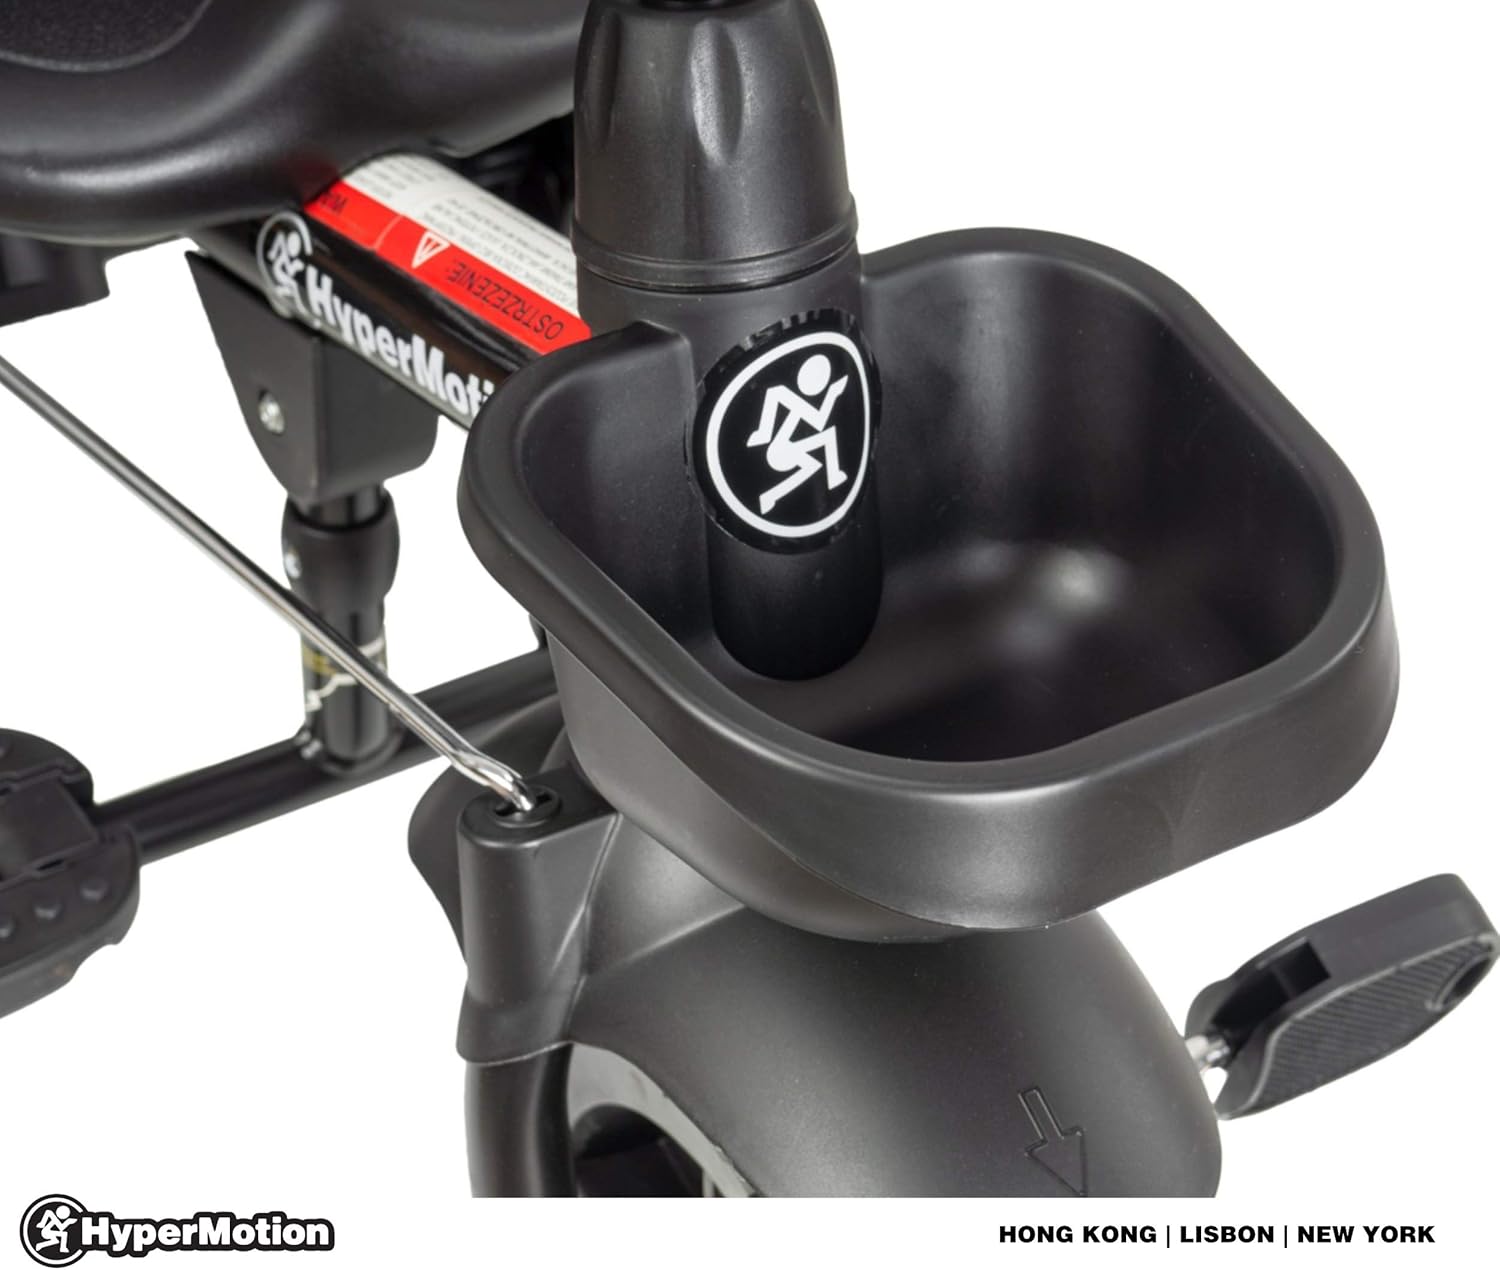
Whakaahua 2: Illustration of rear wheel assembly and the mechanism for adjusting the parent push handle height.
Whakaahua 3: Kati-ake view of the rear storage basket and its attachment point on the tricycle frame.
4. Nga Tohutohu Whakahaere
4.1 Using the Parent Push Handle
The parent push handle allows an adult to steer and control the tricycle, providing assistance to younger riders.
- urungi: Gently push the handle in the desired direction to guide the front wheel.
- Whakatikatika Teitei: The push handle can be adjusted to a comfortable height for the adult. Locate the adjustment mechanism (often a button or lever) on the handle's shaft, press it, and slide the handle to the desired height. Release to lock.
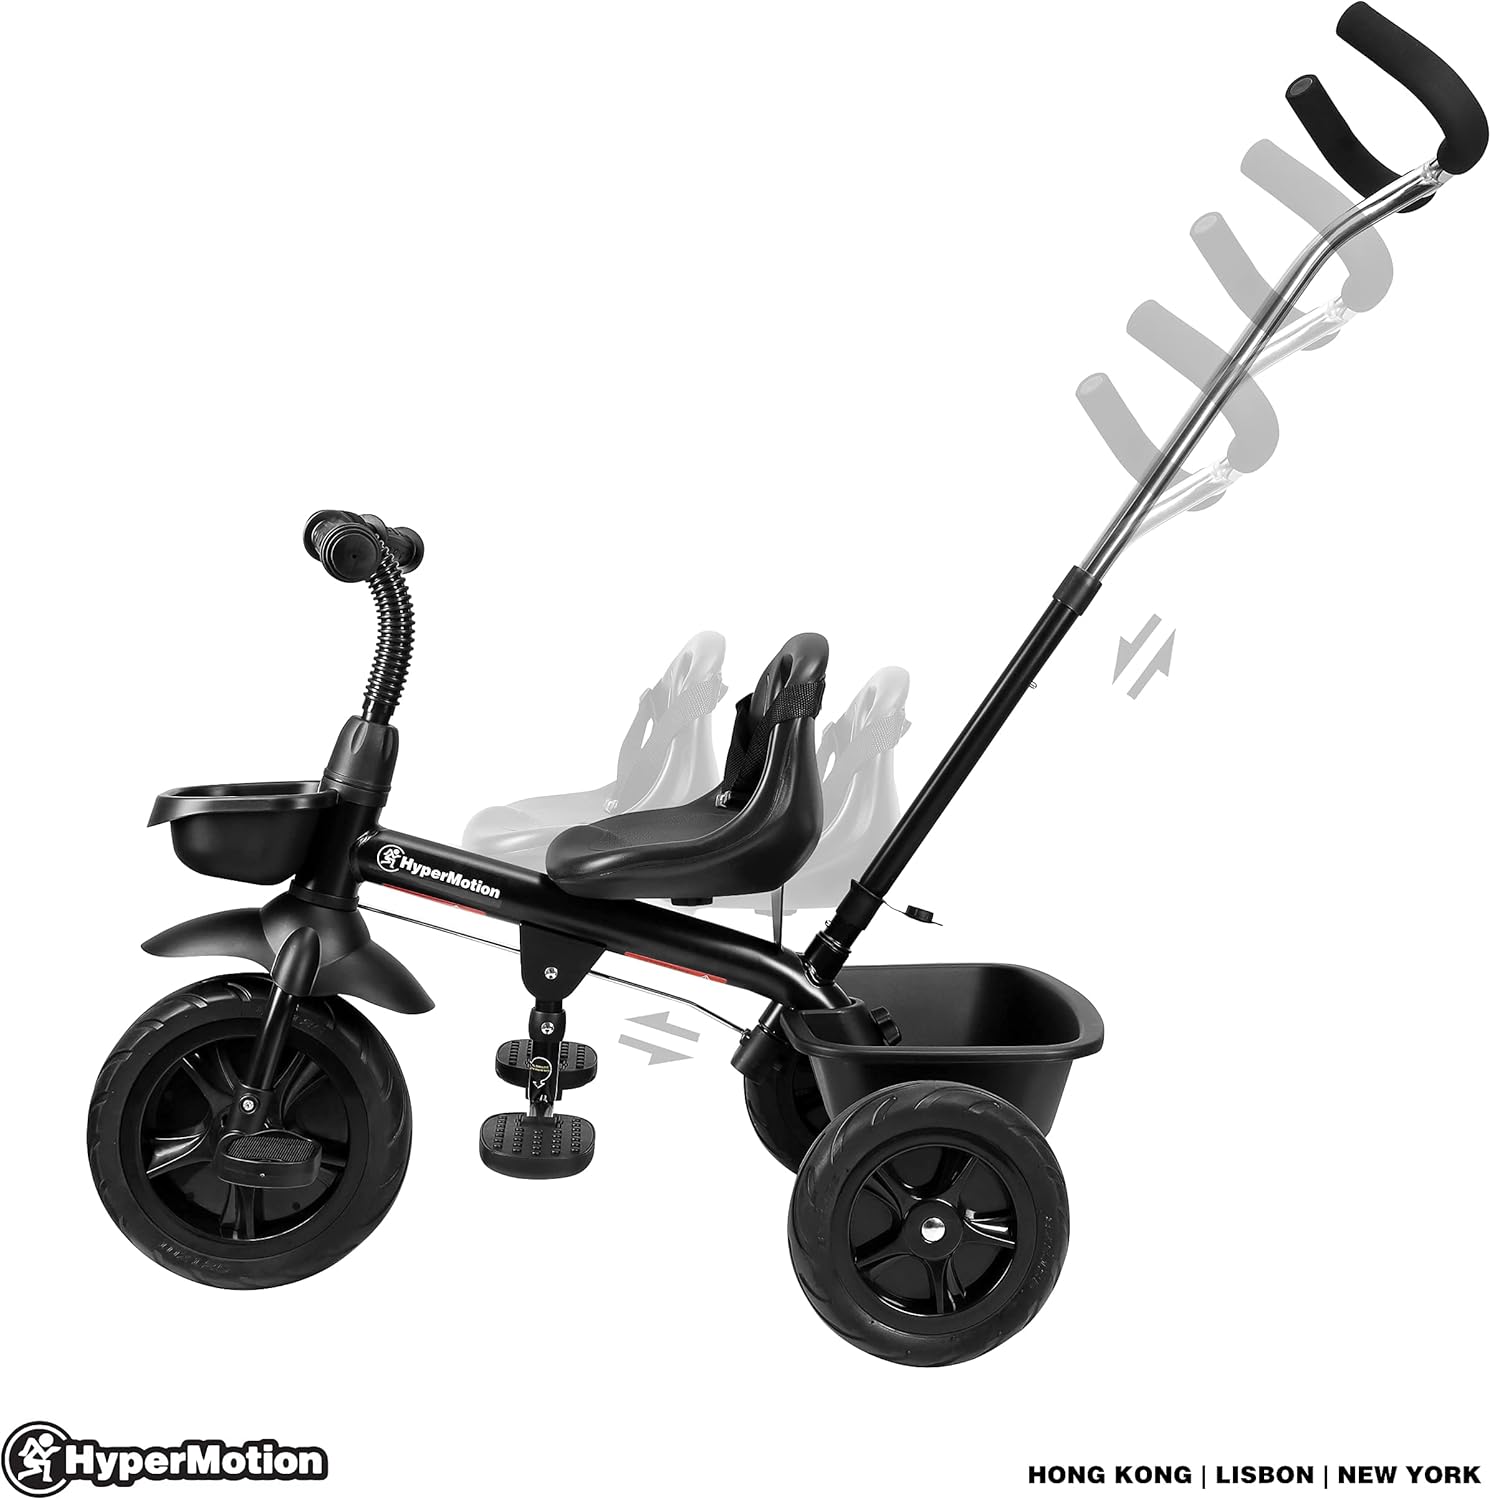
Whakaahua 4: Demonstrates the adjustable height feature of the parent push handle for ergonomic use.
4.2 Child Operation
For children learning to ride, the tricycle offers a stable platform.
- Te eke hoiho: Encourage the child to place their feet on the pedals and practice pedaling.
- Nga turanga waewae: For very young children or when the parent is pushing, ensure the child's feet are placed on the footrests to prevent them from interfering with the pedals or wheels.
- urungi: As the child gains confidence, they can begin to steer the handlebars independently.

Whakaahua 5: A child demonstrating the use of the HyperMotion Kids Tricycle, showing proper riding posture.
5. Tiaki
Regular maintenance ensures the longevity and safe operation of your tricycle.
- Te horoi: Wipe down the tricycle with a damp cloth and mild soap. Avoid harsh chemicals. Dry thoroughly.
- Whakahinuhinu: Periodically apply a small amount of lubricant to moving parts such as wheel axles and steering components to ensure smooth operation.
- Takitaki Tiaki: Regularly check all bolts, screws, and fasteners to ensure they are tight. Tighten any loose connections immediately.
- Tirohanga wira: Inspect wheels for damage, excessive wear, or any signs of looseness. Ensure they are securely attached to the axles.
- Rokiroki: Store the tricycle in a dry, covered area to protect it from weather elements.
6. Te Raru
If you encounter issues with your HyperMotion Kids Tricycle, refer to the following common problems and solutions.
- Problem: Rear wheels detach during use.
Rongoā: This indicates improper assembly or loose fasteners. Ensure the rear wheels are fully pushed onto their axles until they click or are secured by their locking mechanism. Regularly check these connections before each ride. If the issue persists, contact customer support. - Problem: Steering feels stiff or unresponsive.
Rongoā: Check for any obstructions around the front wheel or handlebars. Ensure all steering components are clean and free of debris. A small amount of lubricant on the steering pivot points may help. - Problem: Pedals are not turning smoothly.
Rongoā: Inspect the pedal mechanism for any foreign objects or debris. Ensure the pedals are securely attached and not bent. - Problem: Parent push handle is wobbly.
Rongoā: Ensure the push handle is fully inserted and its height adjustment lock is engaged. Check for any loose screws or pins at the connection point.
7. Whakatakotoranga
| Hunga Hua | 28.35 x 13.39 x 38.98 inihi |
| Taumaha Tūemi | 17.6 pauna |
| Tauira Tuemi | 1 |
| Kaihanga | HikuMotion |

Whakaahua 6: Detailed diagram illustrating the dimensions of the HyperMotion Kids Tricycle.
8. Pūtāhui me te Tautoko
For specific warranty information regarding your HyperMotion Kids Tricycle Model 1, please refer to the documentation included with your purchase or visit the official HyperMotion webpae. Ko nga kupu whakamana ka kapi i nga hapa hangahanga mo te waa kua tohua.
If you require technical assistance, have questions about assembly, or need to report a defect, please contact HyperMotion customer support through their official channels. Contact information can usually be found on the product packaging or the manufacturer's webpae.


