Kupu Whakataki
The StarTech.com 5U Vertical Wall Mount Rack (Model: RK519WALLV) is a versatile and space-saving solution designed for mounting 19-inch rack-mountable equipment such as servers, networking switches, patch panels, or AV equipment. Its low-profile design allows for vertical installation, making it ideal for environments where floor space is limited, including small offices and home offices. It can also be installed horizontally under desks or workbenches.

Image: StarTech.com 5U Vertical Wall Mount Rack, showing its L-shaped design and black finish.
Ngā āhuatanga
- Taumahinga Waahi: TAA compliant, multi-use low-profile 5U vertical rack mount bracket.
- Hoahoa pakari: Constructed to EIA-310 19-inch data rack standards with durable solid steel, supporting up to 200 lb (90 kg).
- Kaore he Huihuinga e hiahiatia ana: Open frame, L-shaped rack kit arrives fully assembled.
- Standardized Hole Sizing: Wall mounting holes are 16 inches center to center, matching standard wall studs for greater stability.
- Kōwhiringa Whakapuru Hangawari: Can be mounted vertically on a wall or horizontally under a desk or workbench.

Image: Diagram illustrating key advantages of StarTech.com Vertical Wall Mount Brackets, including durable construction, various U heights, lifetime warranty, and 24-hour support.
Ihirangi mokete
Manatokohia kei te noho nga waahanga katoa i roto i te kete i mua i te tiimata o te whakaurunga.
- 1 x Vertical Wall Mount Bracket
- 16 x M5 Cage Nati
- 16 x M5 Tiwiri
- 6 x Wood Screws (1 ½ inches)
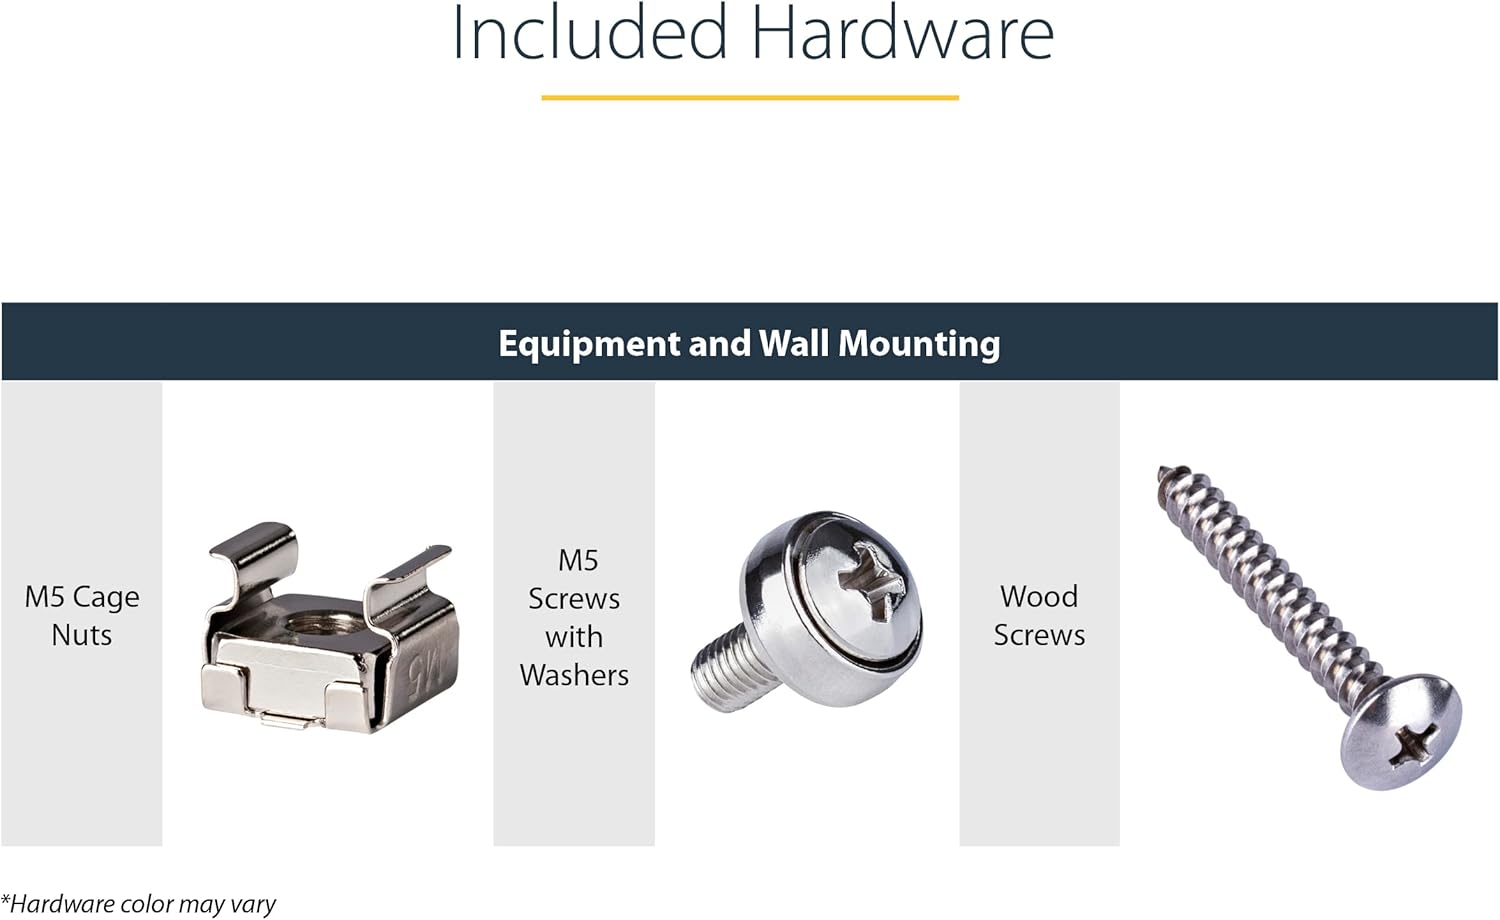
Image: Close-up of the included hardware: M5 Cage Nuts, M5 Screws with Washers, and Wood Screws. Note: Hardware color may vary.
Nga Korero Haumaru me nga Whakatupato
WHAKATŪPATO:
- Taumaha: Do not exceed the maximum weight capacity of 200 lb (90 kg). Overloading can cause tipping, collapse, and personal injury. The effective weight capacity is ultimately determined by the structure of the wall to which the rack is mounted.
- Punga Tika: Ensure the rack is securely anchored to the desk, floor, wall, or ceiling to prevent tipping or falling. The mounting surface must be capable of safely supporting the combined weight of the rack and all installed equipment.
- Tāutatanga: Incorrect installation can lead to equipment damage or personal injury. Follow all instructions carefully. If unsure, consult a qualified professional.
- Te whakahaere: Be cautious when handling the device, as some edges or components may be sharp.

Image: A warning label detailing important safety information regarding overloading, proper anchoring, installation, and handling of the product.
Tāutatanga
Kōwhiringa Whakapuru
The 5U Vertical Wall Mount Rack offers flexible installation options to suit various environments and space requirements.
Whakapuru Taiepa Poutū
For optimizing equipment storage when space is limited, the rack can be mounted vertically flush with a wall. The wall-mounting holes are spaced 16 inches (40.6 cm) center to center to align with standard wall studs, providing enhanced stability.

Image: The rack mounted vertically on a wall, with an inset showing the 16-inch (40.6 cm) spacing of the wall-mounting holes.
Horizontal Under-Desk or Workbench Mounting
Alternatively, the rack can be installed horizontally under a desk or workbench. This configuration allows for easy access to installed equipment such as KVM switches, routers, and other critical devices directly from your workspace.

Image: The rack mounted horizontally under a desk, holding a network switch for easy access.
Nga Waahi Whakataunga
- Tīpako Tauwāhi Whakapuru: Choose a sturdy wall stud or a solid surface (desk underside) capable of supporting the rack's weight plus the weight of all intended equipment. Ensure the mounting location allows for proper ventilation and cable management.
- Tohua nga Kohao Whakaeke: Using the rack as a template, mark the positions for the mounting screws. For wall mounting, ensure the 16-inch spacing aligns with wall studs.
- Drill Pilot rua: Drill appropriate pilot holes for the wood screws (for wood surfaces) or other suitable anchors (for drywall, concrete, etc. - additional hardware may be required).
- Tiakina te Rack: Attach the rack to the chosen surface using the provided wood screws or appropriate mounting hardware. Ensure the rack is level and securely fastened.
- Tāuta Taputapu: Use the provided M5 cage nuts and M5 screws to mount your 19-inch rack-mountable equipment into the rack. Insert cage nuts into the square holes of the rack rails, then align your equipment and secure it with the M5 screws.
Note: For mounting to materials other than wood, additional hardware (e.g., wall anchors, lag bolts) may be required and are not included.
Mahi
Once installed, the StarTech.com 5U Vertical Wall Mount Rack functions as a stable platform for your 19-inch rack-mountable equipment. Ensure that equipment is evenly distributed to maintain balance and prevent strain on the mounting points. Always use the appropriate M5 cage nuts and screws for securing devices to the rack rails.
The open frame design allows for easy access to the front and rear of your equipment for cabling, configuration, and maintenance.
Te tiaki
The StarTech.com 5U Vertical Wall Mount Rack requires minimal maintenance. Periodically inspect the mounting screws and equipment screws to ensure they remain tight and secure. Clean the rack with a soft, dry cloth as needed to remove dust and debris. Avoid using abrasive cleaners or solvents.
Raparongoā
Rack Stability Issues
- Putanga: The rack feels unstable or wobbly after installation.
- Rongoā:
- Verify that the mounting surface (wall or desk) is structurally sound and capable of supporting the total weight.
- Ensure that the mounting screws are fully tightened. If using the provided wood screws, confirm they are driven into solid wood studs.
- If mounting to drywall without studs, ensure appropriate heavy-duty wall anchors (not included) are used and correctly installed.
- Check that equipment is evenly distributed within the rack to prevent unbalanced loads.
Equipment Mounting Issues
- Putanga: Equipment does not fit or cannot be secured to the rack.
- Rongoā:
- Confirm that your equipment is standard 19-inch rack-mountable.
- Ensure M5 cage nuts are correctly inserted into the square holes of the rack rails before attempting to screw in equipment.
- Verify that you are using the correct M5 screws for mounting equipment.
Whakatakotoranga

Image: Detailed product dimensions for the StarTech.com 5U 19" Steel Vertical Wall-Mount Equipment Rack Bracket, showing height, length, and width.

Image: Technical drawing with precise measurements (in inches and millimeters) for the StarTech.com 5U rack, including back, top, and side views.
| Huanga | Uara |
| Tau tauira | RK519WALLV |
| U Height | 5U |
| Momo Rack | 2-Post Open Frame |
| Paerewa Ahumahi | EIA/ECA-310-E |
| Rauemi Hangahanga | Steel (Alloy Steel) |
| Tae | Pango |
| Rahi Hua (L x W x H) | 19.7 in [50.0 cm] x 9.3 in [23.5 cm] x 5.9 in [15.0 cm] |
| Taumaha Hua | 3.0 lb [1.4 kg] |
| Taumaha Taumaha | 198.9 lb [90 kg] |
| Mate-Mate | Ae |
| Momo Poka Whakapuru | Square (For Cage Nut) |
Pūtāhui me te Tautoko
Pūtāhui Hua
StarTech.com offers a lifetime product warranty for the 5U Vertical Wall Mount Rack. This warranty covers defects in materials and workmanship under normal use.
Tautoko Hangarau
Free lifetime technical support is available for this product. For assistance, please visit the official StarTech.com support website or contact their customer service. Refer to the product packaging or StarTech.com's official webpae mo nga korero whakapiri.
Mo etahi atu korero, ka taea e koe te toro ki te StarTech.com Store on Amazon.


