1. Kupu Whakataki
Ka mutu te huaview
The Maxxima 3-Way/Single Pole Digital Dimmer Wall Light Switch is designed to provide versatile lighting control for your home or commercial space. It features a button-controlled dimmer with green LED indicator lights to display brightness levels. This switch is compatible with incandescent, halogen, and dimmable LED/CFL bulbs, offering a flexible solution for various lighting needs.
- Hototahi maha: Supports both 3-way and single-pole wiring configurations.
- Tohu Tirohanga: Green LED lights clearly show the current dimming level.
- Raukaha Teitei: Handles up to 600W for incandescent/halogen and 150W for dimmable LED/CFL.
- No Neutral Wire Required: Simplifies installation in many existing setups.
- Mana Tika: Independent on/off button and dedicated dimming buttons for fine-tuning light levels.
- Tairongo Taea Whakaritea: Trim buttons allow for fine-tuning compatibility with various LED lamps.
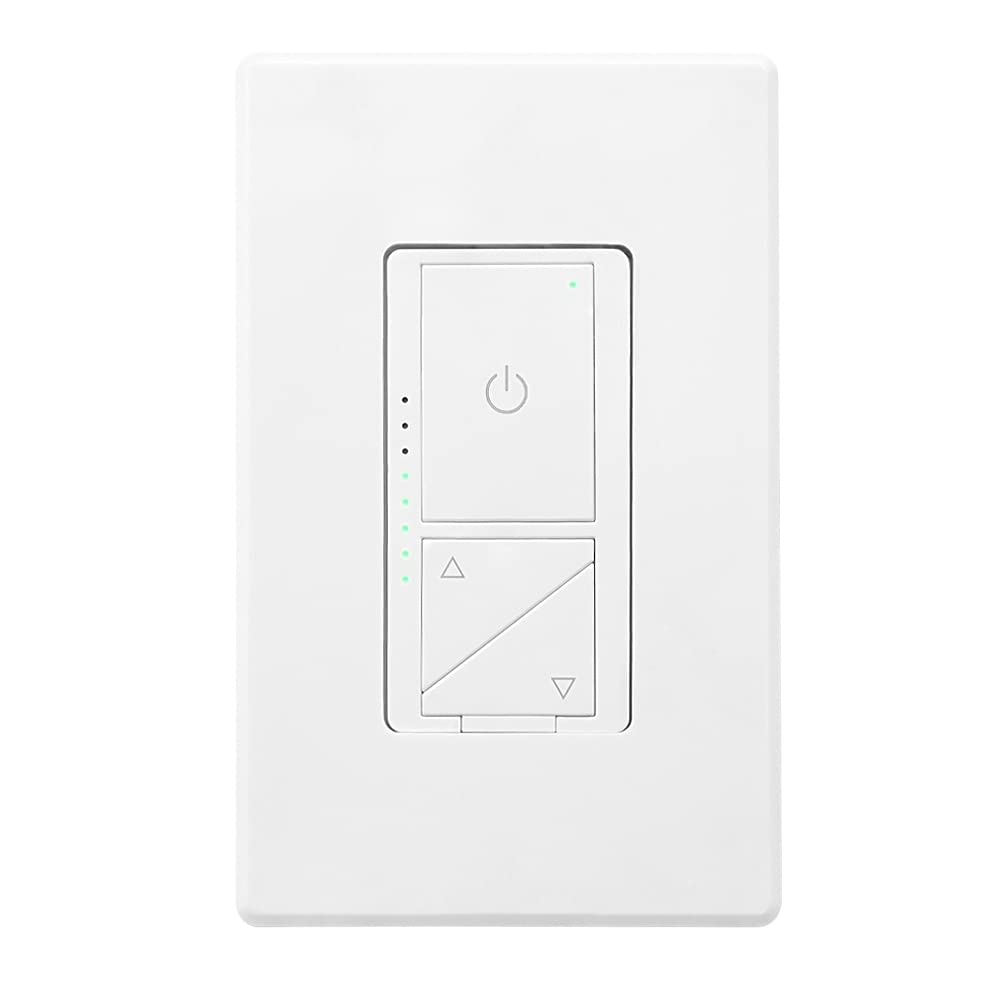
Whakaahua 1: Mua view of the Maxxima Digital Dimmer Wall Light Switch.
2. Tatūnga me te Tāuta
I mua i to tiimata
WHAKATŪPATO: To avoid fire, shock, or death, turn off power at the circuit breaker or fuse box and test that the power is off before wiring. Installation should be performed by a qualified electrician or a person with a thorough understanding of electrical wiring.
- Ensure the power is OFF at the circuit breaker before beginning installation.
- This dimmer is designed for use with 120VAC, 60Hz.
- Do NOT use with non-dimmable lighting or ceiling fans.
Utauta e hiahiatia ana
- Pouaka (Phillips me Flathead)
- Nga Kaipupuri Waea
- Ripene Hiko
- Voltage Kaiwhakamatautau
Hoahoa Waea
The Maxxima Digital Dimmer is compatible with both single-pole and 3-way wiring configurations. Refer to the detailed wiring instructions provided in the official installation manual for specific diagrams. The switch operates at 120VAC and does not require a neutral wire.

Whakaahua 2: Hoki view of the dimmer switch with wiring details.
Nga Waahi Whakataunga
- Whakaweto Hiko: Locate the circuit breaker controlling the switch location and turn it OFF. Verify power is off using a voltage Kaiwhakamatautau.
- Tango Whakawhiti Tawhito: Carefully remove the existing wall plate and switch from the wall box. Disconnect the wires.
- Wire the New Dimmer: Connect the wires from the wall box to the dimmer switch according to the wiring diagram in the full manual. Ensure all connections are secure.
- Maunga te Dimmer: Gently push the wired dimmer into the wall box. Secure it with the provided screws.
- Whakapiri Pereti Taiepa: Snap the screwless wall plate onto the dimmer for a clean finish.
- Whakaora i te Mana: Whakahokia te hiko ki te ON i te wehenga iahiko.

Figure 3: Maxxima Digital Dimmer Switch installed on a wall.
3. Mahi
Mana Taketake
The Maxxima Digital Dimmer features intuitive controls for easy light management:
- Pātene Kia/Weto: The large button with the power symbol (⏻) at the top controls the main power to the lights. Press once to turn lights ON or OFF.
- Ngā Pātene Whakaiti: The two triangular buttons below the power button control the brightness. The top triangle increases brightness, and the bottom triangle decreases brightness.
Figure 4: Controls of the Maxxima Digital Dimmer Switch.
Whakaritenga Tirohanga
Hei whakatika i te taumata wherikotanga:
- Ngarumaru Tonu: Press and hold the up (▲) or down (▼) arrow button to smoothly increase or decrease the light intensity. Release the button when the desired brightness is reached.
- Preset Levels: Short-click the up (▲) or down (▼) arrow button to cycle through preset brightness levels.
- Rama Tohu: The green LED lights on the left side of the switch illuminate to indicate the current brightness level. More lights mean brighter illumination.
Te Whakaritenga Whakaaetanga
For optimal performance with various LED lamps, the dimmer includes sensitivity adjustment trim buttons located below the cover plate. These allow you to fine-tune the dimmer's response to prevent flickering or ensure proper dimming range.

Figure 5: Trim buttons for sensitivity adjustment located under the cover plate.
4. Tiaki
The Maxxima Digital Dimmer Wall Light Switch requires minimal maintenance. Follow these guidelines to ensure its longevity and proper function:
- Te horoi: To clean the switch and wall plate, gently wipe with a soft, damp cloth. Do NOT use abrasive cleaners, solvents, or chemical sprays, as these can damage the finish or internal components.
- Tirotiro: Periodically inspect the switch for any signs of damage, loose connections, or unusual operation. If any issues are observed, turn off power at the circuit breaker and consult a qualified electrician.
- Karekau he waahanga e taea ana e te Kaiwhakamahi: There are no user-serviceable parts inside the dimmer. Do not attempt to open or repair the unit yourself.
5. Te Raru
If you experience issues with your Maxxima Digital Dimmer, refer to the table below for common problems and their solutions.
| Raruraru | Take pea | Rongoā |
|---|---|---|
| Kāore ngā rama e kā. | No power to the switch; Loose wiring connection; Burnt-out bulb. | Check circuit breaker; Verify wiring connections are secure; Replace bulb. |
| Kāore ngā rama e memeha, e kimo rānei. | Non-dimmable bulbs; Incompatible LED/CFL bulbs; Sensitivity not adjusted. | Ensure dimmable bulbs are used; Adjust sensitivity using trim buttons (refer to Section 3); Try different brand/type of dimmable LED/CFL. |
| He mahana te dimmer ina pā atu. | Mahi noa; Taumaha rawa. | Slight warmth is normal. If excessively hot, turn off power and check total wattage of connected bulbs. Do not exceed maximum capacity. |
| LED indicator lights are not working. | Hara o roto. | Contact Maxxima customer support for assistance. |
If the problem persists after attempting these solutions, please contact Maxxima customer support or a qualified electrician.
6. Whakatakotoranga
| Whakatakotoranga | Taipitopito |
|---|---|
| Tau tauira | MEW-DM680 |
| Hunga Hua | 1.74” W x 4.14” L x 1.28” D (4 x 2 x 1 inches) |
| Taumaha | 5.29 hekere |
| Whakauru Voltage | 120VAC, 60Hz |
| Max. Incandescent/Halogen Load | 600W |
| Max. Dimmable LED/CFL Load | 150W |
| Momo Waea | Single-Pole or 3-Way |
| Waea Neutral e hiahiatia ana | Kao |
| Aratau Mahi | ā-ringa |
| Tiwhikete | ETL kua raarangi |
| Nga taputapu kei roto | Pereti Taiepa Korekau |
7. Pūtāhui me te Tautoko
Nga korero Whakaputanga
The Maxxima Digital Dimmer Wall Light Switch (Model: MEW-DM680) comes with a 2-tau pūtāhui from the date of purchase. This warranty covers defects in materials and workmanship under normal use. It does not cover damage resulting from improper installation, misuse, abuse, or unauthorized modifications.
Tautoko Kiritaki
For technical assistance, troubleshooting, or warranty claims, please contact Maxxima customer support:
- Webpae: Visit the official Maxxima webpae mo nga rauemi tautoko me nga korero whakapā.
- Īmēra: Refer to your product packaging or the Maxxima webpaetukutuku mō te īmēra ratonga kiritaki.
- Waea: Refer to your product packaging or the Maxxima webpaetukutuku mō te nama waea ratonga kiritaki.
You can also find the official Installation Manual (PDF) for this product konei.


