1. Kupu Whakataki
This manual provides essential information for the safe and efficient operation, maintenance, and troubleshooting of your VEVOR 25.6-inch Walk-Behind Hand Push Floor Sweeper. This human-powered, non-electric sweeper is designed for effective cleaning of various surfaces, featuring a wide sweeping path and a large waste container. Please read this manual thoroughly before initial use and retain it for future reference.

Figure 1: VEVOR 25.6-inch Walk-Behind Hand Push Floor Sweeper, showcasing its compact design and dual side brushes.
2. Nga Tohutohu Haumaru
- Read all instructions before operating the sweeper.
- Wear appropriate personal protective equipment (PPE), such as gloves and safety glasses, during assembly, operation, and maintenance.
- Tiakina nga tamariki me nga kararehe mai i te waahi whakahaere.
- Use the sweeper only on appropriate surfaces as intended. Avoid uneven or excessively rough terrain that could damage the brushes or wheels.
- Do not use the sweeper to pick up hazardous materials, flammable liquids, or sharp objects that could cause injury or damage.
- Ensure the waste container is securely in place before operation.
- Store the sweeper in a dry, secure location when not in use.
3. Waenga Hua
Familiarize yourself with the various parts of your VEVOR Hand Push Floor Sweeper:

Figure 2: A detailed diagram labeling all major components of the sweeper.
- Wide Handle
- Height Adjusting Pole
- Large Waste Container
- Handle Folding Knob
- Wira Hurihuri
- Kakau Kawe
- Hidden Front Wheel
- Paraihe Taha
4. Tatūnga me te Runanga
The VEVOR Hand Push Floor Sweeper features a straightforward 5-step assembly process. Follow these steps to prepare your sweeper for use:

Figure 3: A visual guide illustrating the simple five-step assembly process for the sweeper.
- Place the main body on a flat surface.
- Insert and secure the handle into the slot.
- Install the brushes on the bottom and secure them.
- Mount the dustbin at the front and close the lid.
- Adjust the handle angle to set desired working height.
Ataata Whakaaturanga Huihuinga
Video 1: This video illustrates the basic functionality and ease of operation of a hand push sweeper, including assembly steps, similar to the VEVOR model.
5. Nga Tohutohu Whakahaere
The VEVOR Hand Push Floor Sweeper utilizes a human-powered sweeping mechanism, offering efficient cleaning without the need for electricity or fuel. Its large side brushes cover a 25.6-inch sweeping path, making cleaning faster than traditional brooms.
- Whakaritea te Kakau: The handle's angle and height are adjustable in two gears for comfortable operation by users of various heights. Adjust the handle to a comfortable position before starting.
- Pana Whakamua: Simply push the sweeper forward. The rotating side brushes will gather debris into the 5-gallon waste container.
- Surface Versatility: The sweeper moves effortlessly on various surfaces, including sidewalks, patios, garages, workshops, driveways, and roads. It effectively collects leaves, debris, garbage, weeds, and waste from concrete, asphalt, tile, marble, and linoleum.
- Mahi Haruru iti: Designed with a hidden front wheel and two large rear rolling wheels, the sweeper operates with low noise.

Figure 4: The sweeper effectively cleaning different surfaces and debris types, including leaves, wood chips, sawdust, and general dust.
Operation Demonstration Videos
Video 2: This video demonstrates the VEVOR Walk-Behind Hand Push Floor Sweeper in action, showcasing its effectiveness in cleaning various types of debris across different industrial and outdoor surfaces.
Video 3: A demonstration of the VEVOR Walk-Behind Hand Push Floor Sweeper's performance on different floor types, illustrating its ability to quickly clear debris with minimal effort.
6. Tiaki
Regular maintenance ensures the longevity and optimal performance of your sweeper.
- Empty Waste Container: Regularly empty the 5-gallon waste container to maintain optimal sweeping performance. The container is easily removable for disposal.
- Clean Brushes: After each use, inspect and clean the side brushes and main brush to remove any tangled debris or excessive dirt. This can be done by hand or with a damp kakahu.
- Tirohia mo te kakahu: Periodically check the brushes and wheels for signs of wear or damage. Replace worn parts as necessary to ensure effective operation.
- Rokiroki: The foldable handle allows for easy upright storage, taking up minimal space. Store the sweeper in a clean, dry environment away from extreme temperatures.

Figure 5: The sweeper's handle, demonstrating its adjustable and foldable features for user comfort and compact storage.
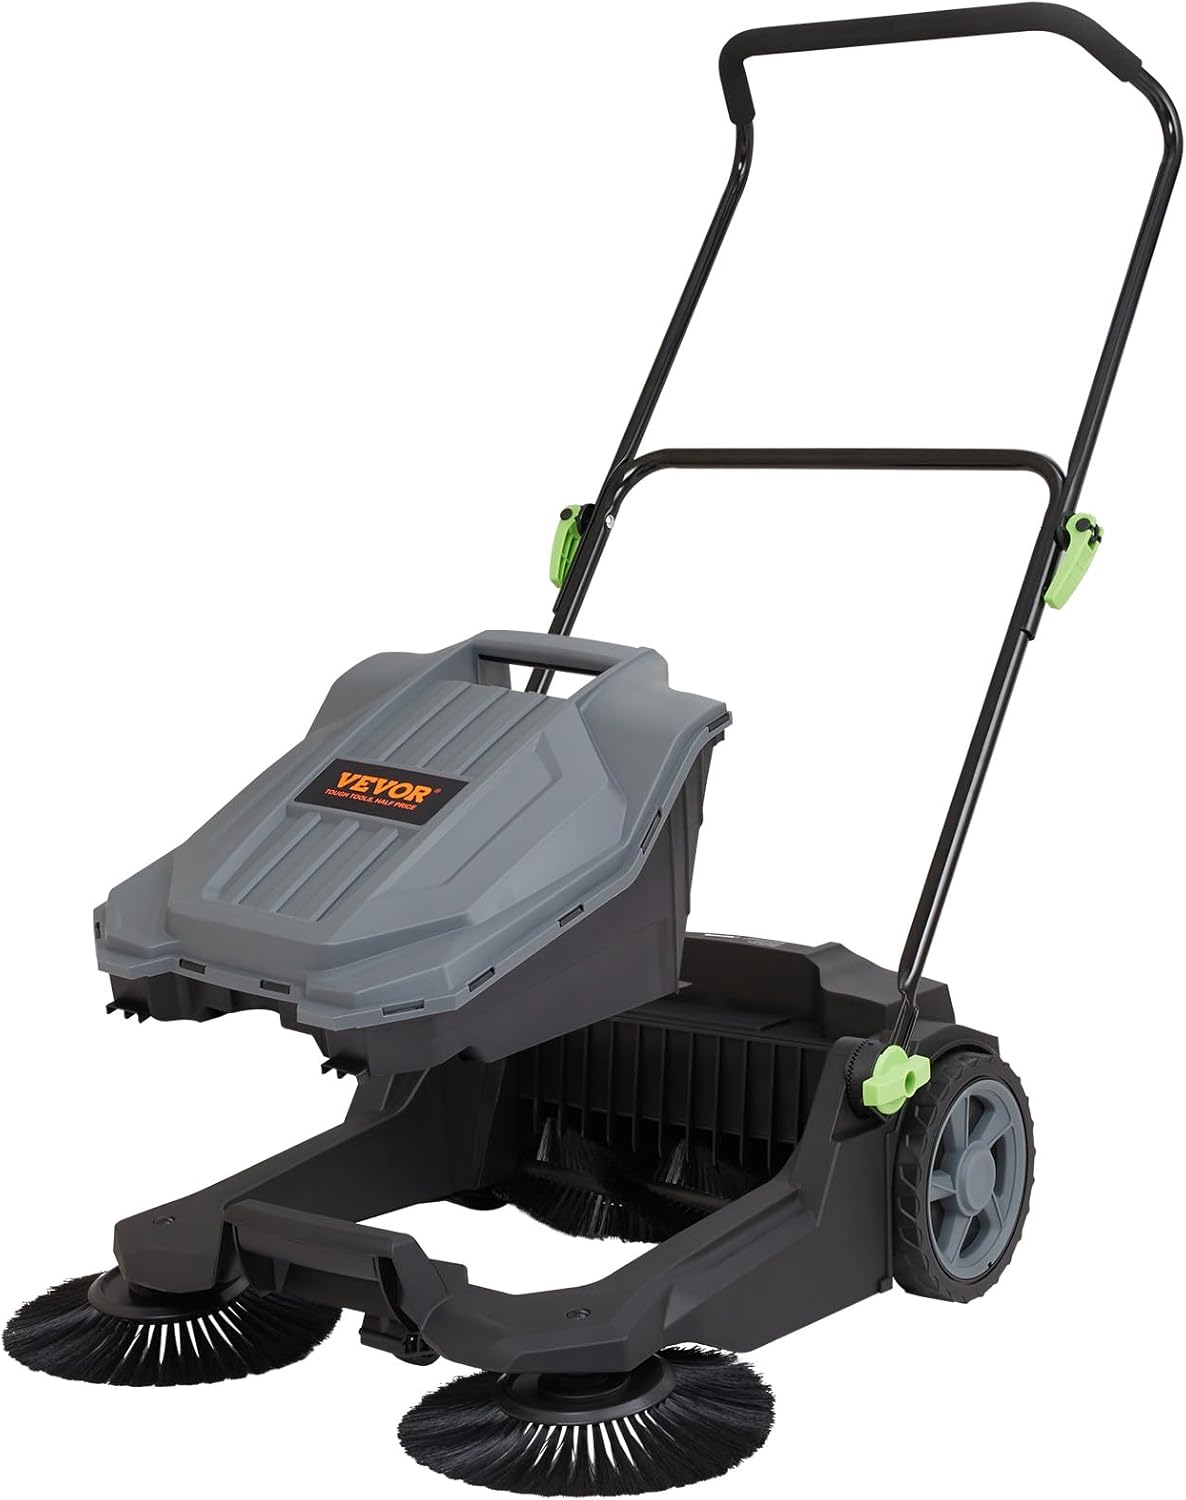
Figure 6: The sweeper shown in its folded position, emphasizing its compact design for easy storage.
7. Te Raru
If you encounter issues with your sweeper, refer to the following common troubleshooting tips:
- Sweeper not picking up debris effectively:
- Check if the waste container is full and empty it if necessary.
- Ensure the brushes are clean and free of tangled debris.
- Adjust the brush height to ensure proper contact with the surface.
- Inspect brushes for wear and replace if bristles are significantly worn.
- Difficulty pushing the sweeper:
- Check the wheels for any obstructions or debris.
- Ensure the handle is adjusted to a comfortable height and angle.
- Verify that the sweeper is being used on a suitable surface.
- Excessive dust during operation:
- Ensure the waste container is properly sealed and not overfilled.
- The sweeper is designed to minimize dust, but some fine dust may be unavoidable in very dry conditions.
8. Whakatakotoranga
| Āhuahira | Whakatakotoranga |
|---|---|
| Hunga Hua | 43.7 x 25.6 x 41.7 inihi (1110 x 650 x 1060 mm) |
| Taumaha Tūemi | 20 pauna (9.1 kg) |
| Kaihanga | VEVOR |
| Tauira Tuemi | S13-001A (Walk-behind Hand Push Floor Sweeper) |
| Te whanuitanga o te tahia | 25.6 inihi / 650 mm |
| Waste Container Capacity | 5 Karani / 18.9 L |
| Rauemi Matua | Carbon Steel + PP |
| Nga Pikohiko e hiahiatia ana | Kao |
9. Pūtāhui me te Tautoko
For warranty information, technical support, or replacement parts, please contact VEVOR customer service through the official VEVOR website or your retailer. Ensure you have your model number (S13-001A) and purchase details available when contacting support.


