Kupu Whakataki
Thank you for choosing the Rfiver Mobile TV Cart. This heavy-duty rolling TV stand is designed to provide a versatile and stable solution for displaying large flat or curved panel televisions from 65 to 120 inches, supporting up to 310 lbs. It features adjustable height, lockable wheels for easy mobility, and customizable shelves for media devices. This manual provides detailed instructions for assembly, operation, maintenance, and troubleshooting to ensure safe and optimal use of your TV cart.

Image: The Rfiver Mobile TV Cart, fully assembled with a large television, demonstrating its robust structure and the two integrated shelves below the screen.
Nga Korero Haumaru Nui
Please read all instructions carefully before assembly and use. Failure to follow these instructions may result in property damage, serious injury, or death. If you have any questions, please contact customer support.
- Raukaha Taumaha: Kaua e neke ake i te kaha o te taumaha o 310 lbs (140 kg) for the TV and 33 lbs (15 kg) per shelf.
- Rahi pouaka whakaata: This cart is designed for TVs between 65 me te 120 inihi.
- Hototahitanga VESA: Ensure your TV's VESA pattern is within the range of 100x100mm ki te 1000x600mm.
- Huihuinga: Assemble the product strictly according to the instructions. Two people are recommended for assembly and TV mounting.
- Pūmautanga: Always ensure all wheels are locked when the cart is stationary, especially when mounting or dismounting the TV.
- Nekehanga: When moving the cart, unlock the wheels and push slowly and carefully, especially over uneven surfaces. Avoid sudden stops or rapid movements.
- Tamariki: Keep children away from the assembly area. Do not allow children to climb on or play with the TV cart.
- Taiao: Use the TV cart on a flat, stable, and level surface. Avoid placing it in areas with high humidity or extreme temperatures.
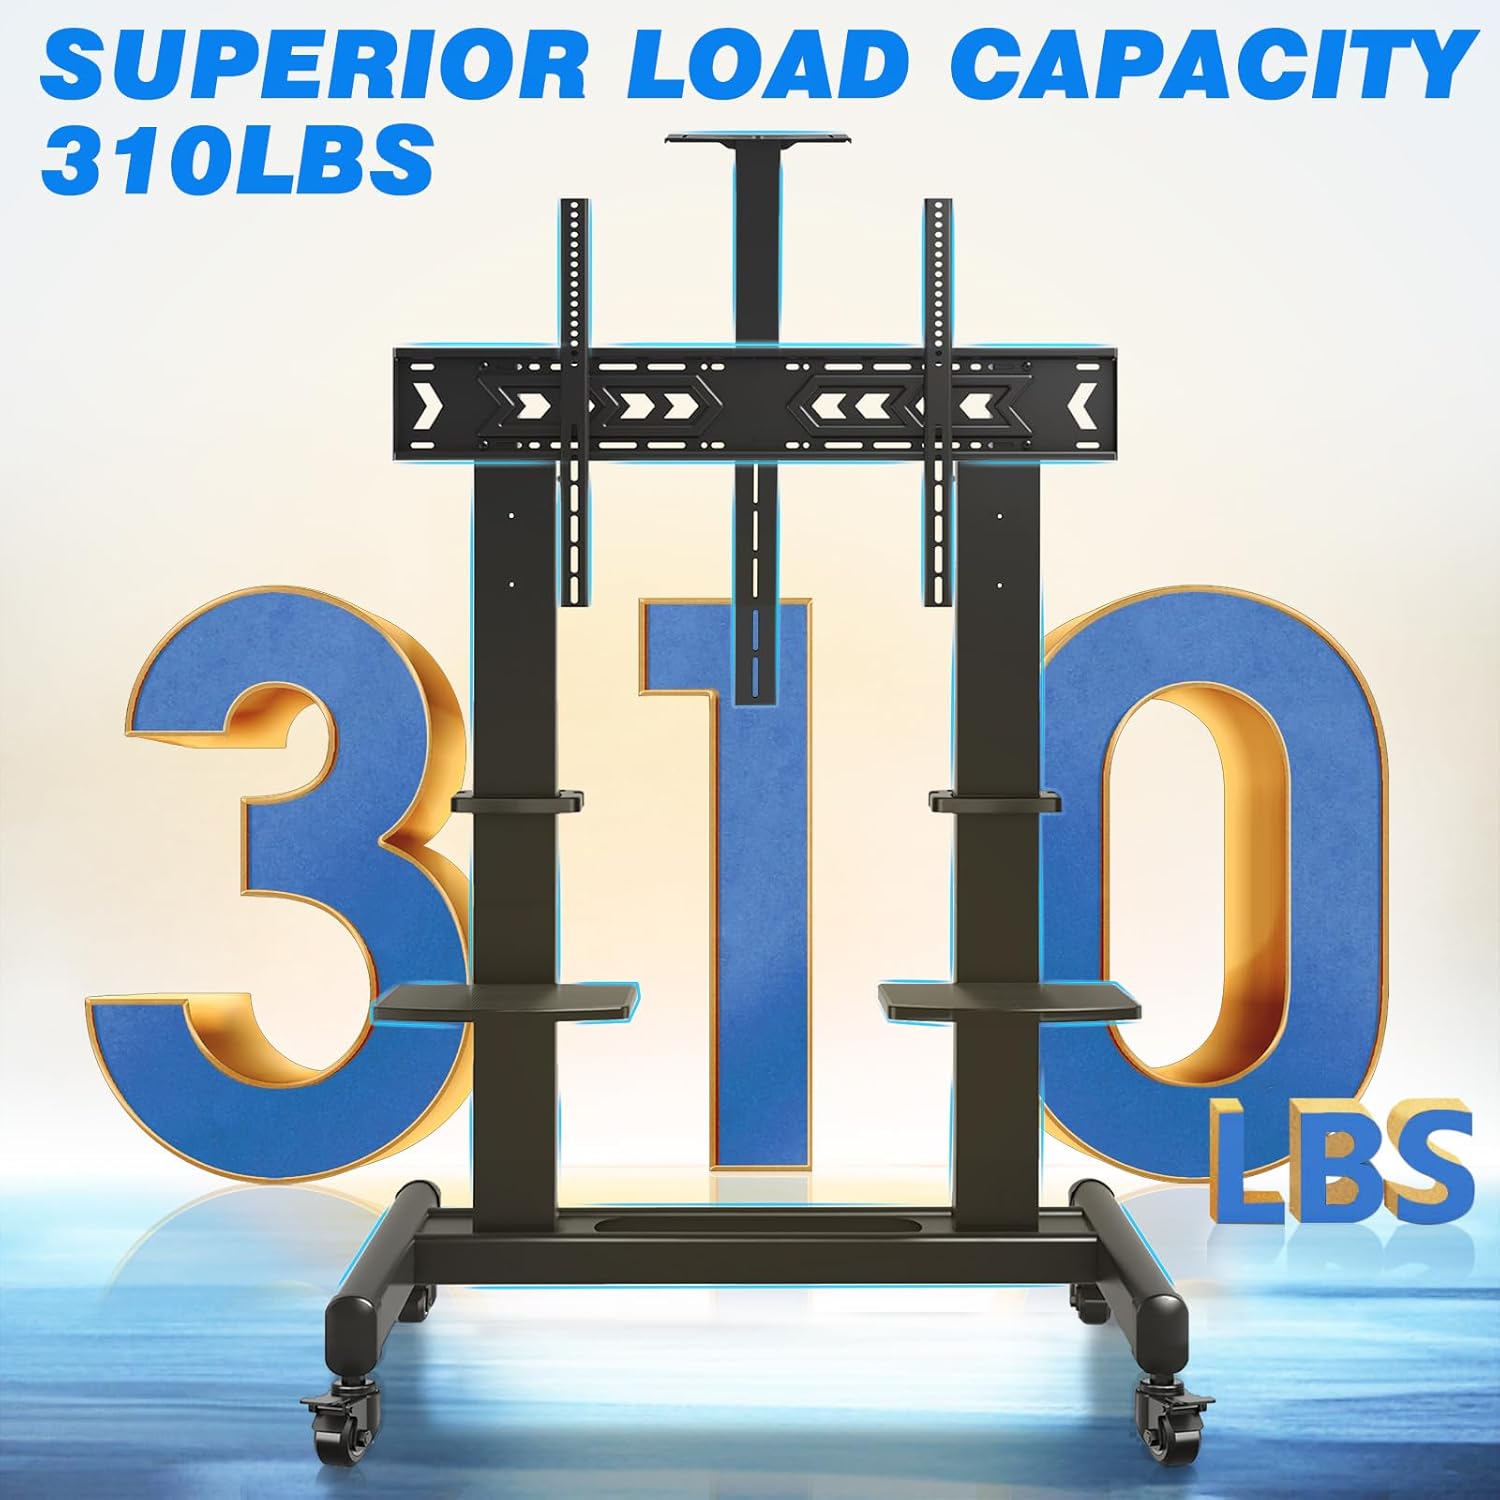
Image: Visual representation highlighting the impressive 310 lbs load capacity of the TV cart, emphasizing its heavy-duty construction.
Ihirangi mokete
Before starting assembly, verify that all parts listed below are present and undamaged. If any parts are missing or damaged, do not proceed with assembly and contact customer support immediately.
| Wahi | Whakaahuatanga | Te nui |
|---|---|---|
| Papa Taapapa | Main support structure with wheel mounts | 1 |
| Vertical Support Columns | Upright posts for TV mounting and shelf attachment | 2 |
| TV Whakauru | Horizontal bars that attach to the TV and vertical columns | 2 |
| Nga wira maukati | Casters with locking mechanism | 4 |
| Whata AV | Adjustable shelves for media devices | 2 |
| Maunga Kaupapa | Top-mounted or inverted shelf for projectors | 1 |
| Pae Tauhokohoko | Assorted screws, washers, nuts, and tools for assembly | 1 huinga |
| Cable Management Straps | For organizing cables | Kei roto |

Whakaahua: He pahū view diagram illustrating all the individual parts included in the Rfiver Mobile TV Cart package, aiding in component identification.
Tatūnga me te Runanga
Follow these steps carefully to assemble your Rfiver Mobile TV Cart. It is highly recommended to have two people for assembly, especially when mounting the TV.
Step 1: Assemble the Base and Attach Wheels
- Place the base frame on a soft, clean surface to prevent scratches.
- Attach the four lockable wheels to the designated holes on the base frame. Ensure they are securely tightened.
- Verify that the locking mechanism on each wheel functions correctly.

Image: Detail of the 360° rotating lockable wheels, showing the lever to engage or disengage the brake for mobility or stability.
Hipanga 2: Tāutahia ngā Pou Tautoko Poutū
- Securely attach the two vertical support columns to the base frame using the provided hardware. Ensure they are aligned and stable.
Step 3: Attach TV Mounting Brackets to TV
- Carefully lay your TV face down on a soft, clean surface.
- Tautuhia nga kohao whakapuru VESA kei muri o to pouaka whakaata.
- Select the appropriate screws, washers, and spacers from the hardware kit that fit your TV's VESA pattern.
- Attach the two TV mounting brackets to the back of your TV. Ensure they are centered and securely fastened. The brackets should extend slightly beyond the top edge of the TV for hanging.
Step 4: Mount TV to Cart
- With assistance, carefully lift the TV and hook the attached mounting brackets onto the top bar of the vertical support columns.
- Gently lower the TV until it rests securely on the support columns.
- Secure the TV to the cart using the safety screws or locking mechanisms provided on the mounting brackets.
Step 5: Install Shelves and Projector Mount
- Attach the AV shelves to the vertical support columns at your desired height. They can be adjusted by loosening and tightening the securing screws.
- Install the projector mount at the top of the central column, or invert it to place it below the TV if preferred.
- Use the cable management straps to organize and secure any loose cables along the vertical columns.

Image: The customizable shelves, demonstrating their use for holding a speaker and a DVD player, highlighting their versatility.

Image: The projector mount, designed for optimal heat dissipation, with a projector positioned on top.

Image: A cable management strap neatly securing cables along the vertical support column, promoting a tidy setup.
Nga Tohutohu Whakahaere
Adjusting TV Height
The TV cart allows for 3 levels of height adjustment, ranging from 65.5 inches to 75 inches (from the floor to the center of the screen). To adjust the height:
- Ensure the TV is securely mounted and all cables are managed.
- With assistance, carefully lift the TV slightly to disengage it from its current height setting.
- Adjust the TV mounting brackets on the vertical columns to the desired height level.
- Lower the TV back onto the new height setting and secure it with the safety screws.

Image: A visual guide demonstrating the three available height adjustment levels for the television, ranging from 65.5 to 75 inches from the floor to the screen center.
Moving the TV Cart
The Rfiver Mobile TV Cart is equipped with 360° rotating lockable wheels for easy mobility.
- Before moving, ensure all cables are clear and will not snag.
- Unlock all four wheels by disengaging their locking levers.
- Gently push the cart to your desired location. Avoid pushing too fast or over obstacles.
- Once in position, engage the locking levers on all four wheels to secure the cart in place.

Image: A user demonstrating the ease of moving the TV cart, with insets highlighting the 360° rotation and the locking feature of the wheels.
Using Customizable Shelves
The two durable plastic shelves can support up to 33 lbs each and are ideal for various media devices.
- Place devices such as DVD players, WiFi routers, speakers, laptops, streaming devices, or game consoles on the shelves.
- Adjust the height of the shelves along the vertical columns to suit your needs.
- Ensure devices are placed centrally and do not exceed the weight limit of 33 lbs per shelf.

Image: The customizable shelves of the TV cart, shown with examples of devices they can hold, such as a DVD player, WiFi router, speaker, and laptop.
Utilizing the Projector Mount
The versatile projector mount can be installed in two ways:
- Top Placement: Mount the projector on top of the central column for overhead projection.
- Inverted Placement: Mount the projector upside down under the TV for specific projection needs.
- The mount features heat dissipation holes to help reduce the projector's operating temperature. A strap is included to secure your projector.
Image: A detailed diagram illustrating the two installation options for the projector mount (top or inverted), along with features like heat dissipation and integrated cable management.
Te tiaki
- Te horoi: Wipe the TV cart with a soft, damp kakahu. Āta karohia te whakamahi i ngā kaihoroi whakakoi, i ngā whakarewa rānei ka kino pea te āhua o te peita.
- Tirotiro: Takitaki ia ia nga wa katoa nga wiri me nga hononga kia mau tonu, kia mau. Whakapaia ano mehemea e tika ana.
- Tiaki wira: Keep the wheels free of debris to ensure smooth rolling. If wheels become stiff, clean them and apply a small amount of silicone lubricant if needed.
- Rokiroki: If storing the cart for an extended period, ensure it is clean, dry, and stored in a stable position.
Raparongoā
| Raruraru | Take pea | Rongoā |
|---|---|---|
| Cart is unstable or wobbles. | Loose connections; uneven floor; TV weight imbalance. | Check and tighten all screws. Ensure the cart is on a level surface. Redistribute weight if possible. |
| Karekau nga wira e huri pai. | Wheels are locked; debris in wheels; damaged wheels. | Ensure all wheels are unlocked. Clean any debris from the wheels. If damaged, contact customer support for replacements. |
| TV cannot be mounted. | Incorrect VESA pattern; TV too heavy/large. | Verify your TV's VESA pattern is within 100x100mm to 1000x600mm. Confirm TV weight is under 310 lbs and size is 65-120 inches. |
| Shelves are not level or secure. | Improper installation; loose screws. | Re-install shelves ensuring they are correctly aligned and screws are tightened. Do not exceed 33 lbs per shelf. |
Whakatakotoranga
| Āhuahira | Taipitopito |
|---|---|
| Waitohu | Rfiver |
| Tauira | B0CLRG4WC3 |
| Rauemi | Korotahi Steel |
| Tae | Pango |
| Rahi TV Hototahi | 65 - 120 Inihi |
| Te Taumaha Mōrahi o te Pouaka Whakaata | 310 lbs (140 kg) |
| VESA Hototahi | Min: 100x100mm, Max: 1000x600mm |
| Height Adjustment (Floor to Screen Center) | 65.5'' - 75'' (3 levels) |
| Te Taumaha Papa | 33 pauna (15 kg) mō ia whata |
| Taumaha Tūemi | 72.8 pauna |
| Ahu mōkihi | 46 x 20 x 7 inihi |
| Momo Nekehanga | Fixed (TV mount), Mobile (Cart) |
| Momo Whakaeke | Maunga Papa |

Image: Comprehensive dimensional drawing of the TV cart, providing precise measurements for all components and overall structure.
Pūtāhui me te Tautoko Kiritaki
Rfiver is committed to providing high-quality products and excellent customer service. For warranty information, technical assistance, or any questions regarding your Rfiver Mobile TV Cart, please contact our customer support team.
Please refer to the product packaging or the official Rfiver webpaetukutuku mō ngā mōhiohio whakapā hou me ngā taipitopito pūtāhui.
Tautoko Kiritaki: Visit Amazon Customer Service


