Kupu Whakataki
This manual provides detailed instructions for the OWC Gemini Thunderbolt (USB-C) Docking Station and External RAID Storage Solution. It covers setup, operation, maintenance, troubleshooting, and technical specifications to ensure optimal performance and longevity of your device.
Nga korero haumaru
- Me ata panui nga tohutohu katoa i mua i te whakamahi i te taputapu.
- Kaua e tukuna te taputapu ki te makuku, ki te wera nui ranei.
- Whakamahia te urutau hiko anake me te taputapu.
- Kaua e ngana ki te whakatuwhera, ki te whakatika ranei i te taputapu. Tukuna atu nga ratonga katoa ki nga kaimahi whai tohu.
- Me whakarite kia tika te hau huri noa i te taputapu kia kore ai e wera rawa.
Ihirangi mokete
Manatokona kei roto katoa nga mea kei roto i to kete:
- OWC Gemini Thunderbolt (USB-C) Docking Station
- Pūurutau Hiko
- Thunderbolt (USB-C) Cable
- Pukapuka Kaiwhakamahi (tenei tuhinga)
- Drives (pre-installed for 32TB model)
Ka mutu te huaview
The OWC Gemini is a versatile docking station and external storage solution designed for high-performance data management and expanded connectivity.

Whakaahua: Mua view of the OWC Gemini Thunderbolt Docking Station, showcasing its sleek black design and OWC branding.
Nga waahanga matua
- Ngā Wāhi Puku Takirua: Supports 2.5-inch and 3.5-inch SATA drives for flexible storage configurations.
- RAID Pūmārō: Offers RAID 0, RAID 1, SPAN, and JBOD modes for optimized performance or data redundancy.
- Thunderbolt (USB-C) Connectivity: Two Thunderbolt 3 (USB-C) ports for host connection, daisy-chaining, and power delivery (up to 27W).
- Hononga Rorohia: Includes two USB 3.2 Gen 2 Type-A ports, one HDMI port, one 2.5 Gigabit Ethernet port, and one SD 4.0/UHS-II media slot.
- High-Resolution Display Support: HDMI 2.1 supports up to 8K @ 120Hz, and Thunderbolt 3 supports up to 8K @ 60Hz or 4K @ 120Hz.
Tahora Tauranga
The OWC Gemini provides a comprehensive set of ports for various connectivity needs.

Whakaahua: Rear view of the OWC Gemini Docking Station, highlighting the 7 ports of connectivity including Thunderbolt, USB, HDMI, and Ethernet.
- Thunderbolt 3 (USB-C) Host Port: Ka hono atu ki tō rorohiko.
- Thunderbolt 3 (USB-C) Downstream Port: For daisy-chaining, additional displays, or charging USB-C devices.
- Tauranga Momo-A USB 3.2 Gen 2 (x2): Mo te hono i nga taputapu USB.
- Tauranga HDMI 2.1: Hei hono i tētahi mata o waho.
- Tauranga Itarangi 2.5 Gigabit: For high-speed network connectivity.
- Mokamoka Pāpāho SD 4.0/UHS-II: Located on the front panel for convenient access.
- DC 12V Whakauru Mana: Ka hono ki te urutau hiko.

Image: Close-up of the front panel of the OWC Gemini, showing the easily accessible SD card slot.
Tatūnga
1. Drive Installation (if applicable)
For models without pre-installed drives, follow these steps to install 2.5-inch or 3.5-inch SATA drives.

Image: The OWC Gemini unit illustrating its two flexible drive bays, compatible with both 2.5-inch and 3.5-inch drives.
- Ensure the device is powered off and disconnected from your computer.
- Open the drive bay door(s) according to the product's physical design.
- Insert your 2.5-inch or 3.5-inch SATA drives into the bays, ensuring they are securely seated.
- Close the drive bay door(s).
2. Whirihoranga RAID
The OWC Gemini supports hardware RAID. Refer to the specific RAID configuration utility or physical switches on the device (if present) to set your desired RAID level (RAID 0, RAID 1, SPAN, or JBOD).
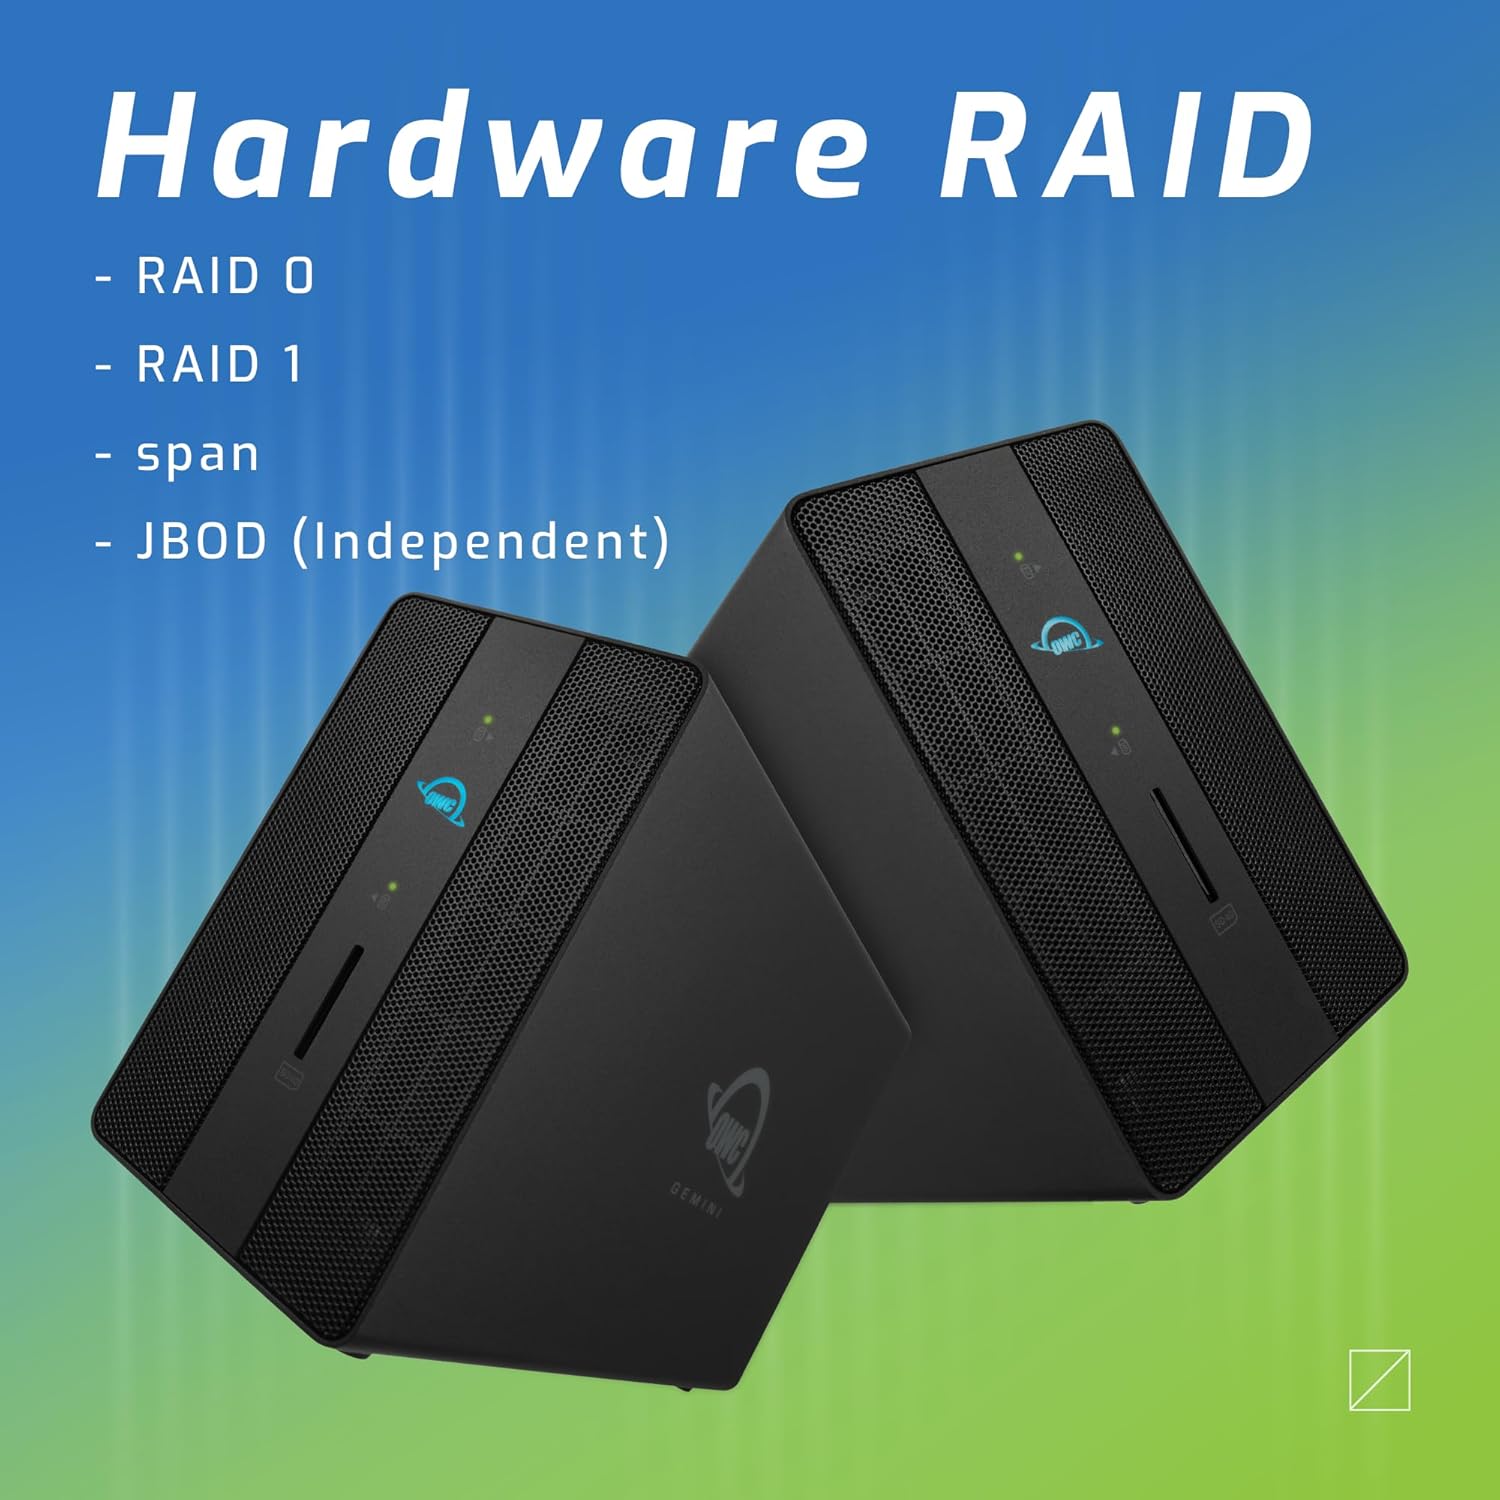
Image: Two OWC Gemini units, emphasizing the hardware RAID capabilities for configurations like RAID 0, RAID 1, SPAN, and JBOD.
RAID Levels Explained:
- RAID 0 (Whakatakotoranga): Ka whakakotahi i ngā puku mō te tere me te kaha mōrahi, engari kāore e tuku i te tāruarua raraunga.
- RAID 1 (Whakaata): Duplicates data across drives for redundancy, sacrificing half the total capacity for data protection.
- SPAN (Concatenation): Combines drives into a single large volume without striping or mirroring.
- JBOD (He Puranga Kōpae Noa): Treats each drive as an independent volume.
3. Te hono ki to Rorohiko
- Connect the power adapter to the DC 12V power input on the OWC Gemini and then to a power outlet.
- Connect one end of the Thunderbolt (USB-C) cable to the host port on the OWC Gemini.
- Connect the other end of the Thunderbolt (USB-C) cable to a Thunderbolt (USB-C) port on your computer.
- The device should power on automatically.
4. Initializing Drives
After connecting, your operating system may prompt you to initialize and format the new drives. Follow the on-screen instructions. For macOS, use Disk Utility. For Windows, use Disk Management.
Nga Tohutohu Whakahaere
Whakawhiti Raraunga
Once the drives are initialized and formatted, they will appear as accessible volumes on your computer. You can drag and drop files to and from these volumes as you would with any other storage device.
Te whakamahi i nga Tauranga USB
Connect USB peripherals such as external drives, keyboards, or mice to the two USB 3.2 Gen 2 Type-A ports. These ports support data transfer speeds up to 10 Gb/s.
Te hono i tetahi Whakaaturanga Waho
Use the HDMI 2.1 port to connect an external monitor. The Gemini supports resolutions up to 8K @ 120Hz via HDMI.
Hononga Whatunga
Connect an Ethernet cable from your network router or switch to the 2.5 Gigabit Ethernet port on the Gemini for high-speed wired network access.
Using the SD Card Slot
Insert an SD 4.0/UHS-II compatible SD card into the front-facing slot for quick data transfer from cameras or other devices.
Daisy-Chaining and Power Delivery

Image: A close-up of the OWC Gemini's Thunderbolt ports, illustrating their use for daisy-chaining, connecting additional displays, and charging USB-C devices.
The second Thunderbolt 3 (USB-C) port allows you to:
- Taimana-mekameka additional Thunderbolt devices.
- Honoa he additional display (up to 8K @ 60Hz or 4K @ 120Hz).
- Charge USB-C devices with up to 27 watts of power.
Te tiaki
- Te horoi: Whakamahia he kakahu ngohengohe, maroke hei horoi i waho o te taputapu. Kaua e whakamahia nga kai horoi wai, aerosol ranei.
- Whakahau: Kia tino mohio kei te āraia ngā mata whakapūhauhautanga kia kore ai e wera rawa.
- Whakahōu Firmware: Tirohia te OWC i ia wā webpae tukutuku mō ngā whakahōu pūmanawa hei whakarite i te mahi tino pai me te hototahi.
- Te Peke Haumaru: Always safely eject the OWC Gemini from your operating system before disconnecting it or powering it off to prevent data corruption.
Raparongoā
Kaore te Pūrere i te Mohiotia
- Ensure all cables are securely connected, especially the Thunderbolt cable to both the Gemini and your computer.
- Verify the power adapter is correctly connected and the device is receiving power.
- Try connecting the Gemini to a different Thunderbolt port on your computer.
- Tīmataria anō tō rorohiko.
- Check your operating system's Disk Utility (macOS) or Disk Management (Windows) to see if the drives are detected but uninitialized or unformatted.
Nga Tere Whakawhiti Raraunga Puturi
- Ensure you are using a Thunderbolt 3 compatible cable and port.
- Check the RAID configuration. RAID 1 (mirroring) will have slower write speeds than RAID 0 (striping).
- Katia nga tono koretake ka pau pea i nga rauemi punaha.
- Me whakarite kei te hōu tonu ngā taraiwa o tō rorohiko.
Whakaatu Take
- Verify the HDMI cable is securely connected to both the Gemini and your monitor.
- Check your display settings in your operating system.
- Ensure your monitor supports the resolution and refresh rate you are attempting to use.
- Whakamātauria tētahi atu taura HDMI, tētahi atu mata rānei mēnā e wātea ana.
Nga raruraru Hononga Whatunga
- Ensure the Ethernet cable is securely connected to both the Gemini and your network device.
- Tirohia nga tautuhinga whatunga o to rorohiko.
- Tīmata anō i tō pouara/modem.
Whakatakotoranga
| Āhuahira | Taipitopito |
|---|---|
| Waitohu | OWC |
| Tau tauira | OWCTB3GM000H32 |
| Raukaha Rokiroki | 32.0TB (as configured) |
| Peia Bays | 2 (supports 2.5" and 3.5" SATA drives) |
| Nga taumata RAID | SPAN, RAID 0, RAID 1, JBOD (Hardware RAID) |
| Atanga Kaihautū | Whatitiri 3 (USB-C) |
| Rere Whakawhiti Raraunga | Up to 40 Gb/s (Thunderbolt 3), Up to 10 Gb/s (USB 3.2 Gen 2) |
| Tauranga | (1) Thunderbolt 3 (USB-C) Host, (1) Thunderbolt 3 (USB-C) Downstream, (2) USB 3.2 Gen 2 Type-A, (1) HDMI 2.1, (1) 2.5 Gigabit Ethernet, (1) SD 4.0/UHS-II |
| Whakaatu Tautoko | HDMI 2.1: Up to 8K @ 120Hz; Thunderbolt 3: Up to 8K @ 60Hz or 4K @ 120Hz |
| Tukunga Mana | Tae atu ki te 27W ma te Thunderbolt 3 |
| Pūrere Hototahi | Desktop, Laptop, Tablet (with Thunderbolt/USB-C port) |
| Tae | Pango |
| Taumaha | 9.35 lbs (approx.) |
| UPC | 810100983697 |
Pūtāhui me te Tautoko
Nga korero Whakaputanga
OWC products are covered by a limited warranty. Please refer to the official OWC website or your purchase documentation for specific warranty terms and conditions. Keep your proof of purchase for warranty claims.
Tautoko Hangarau
For technical assistance, troubleshooting, or further inquiries, please visit the official OWC support webpaetukutuku, whakapā atu ranei ki ta raatau ratonga kaihoko.


