Kupu Whakataki
This manual provides essential instructions for the safe and effective installation, operation, and maintenance of your Aublinto TTT-QB0393X-HH Universal Iron Tire Changer Bead Breaker Cylinder Kit. Please read this manual thoroughly before use and retain it for future reference.
Nga korero haumaru
WARNING: Always wear appropriate personal protective equipment (PPE) including safety glasses and gloves when handling or operating this equipment. Ensure the tire changer machine is disconnected from power and air sources before performing any maintenance or installation.
- Pānuihia, kia mārama hoki ngā tohutohu katoa i mua i te huihuinga me te whakamahinga.
- Me whakarite kia ma, kia marama te waahi mahi, kia kore e aukati.
- Do not operate the equipment if any parts are damaged or missing.
- Kia matara atu nga tamariki me te hunga e noho tata ana ki te waahi mahi.
- Whakamahia anake nga waahanga whakakapinga pono.
Ihirangi mokete
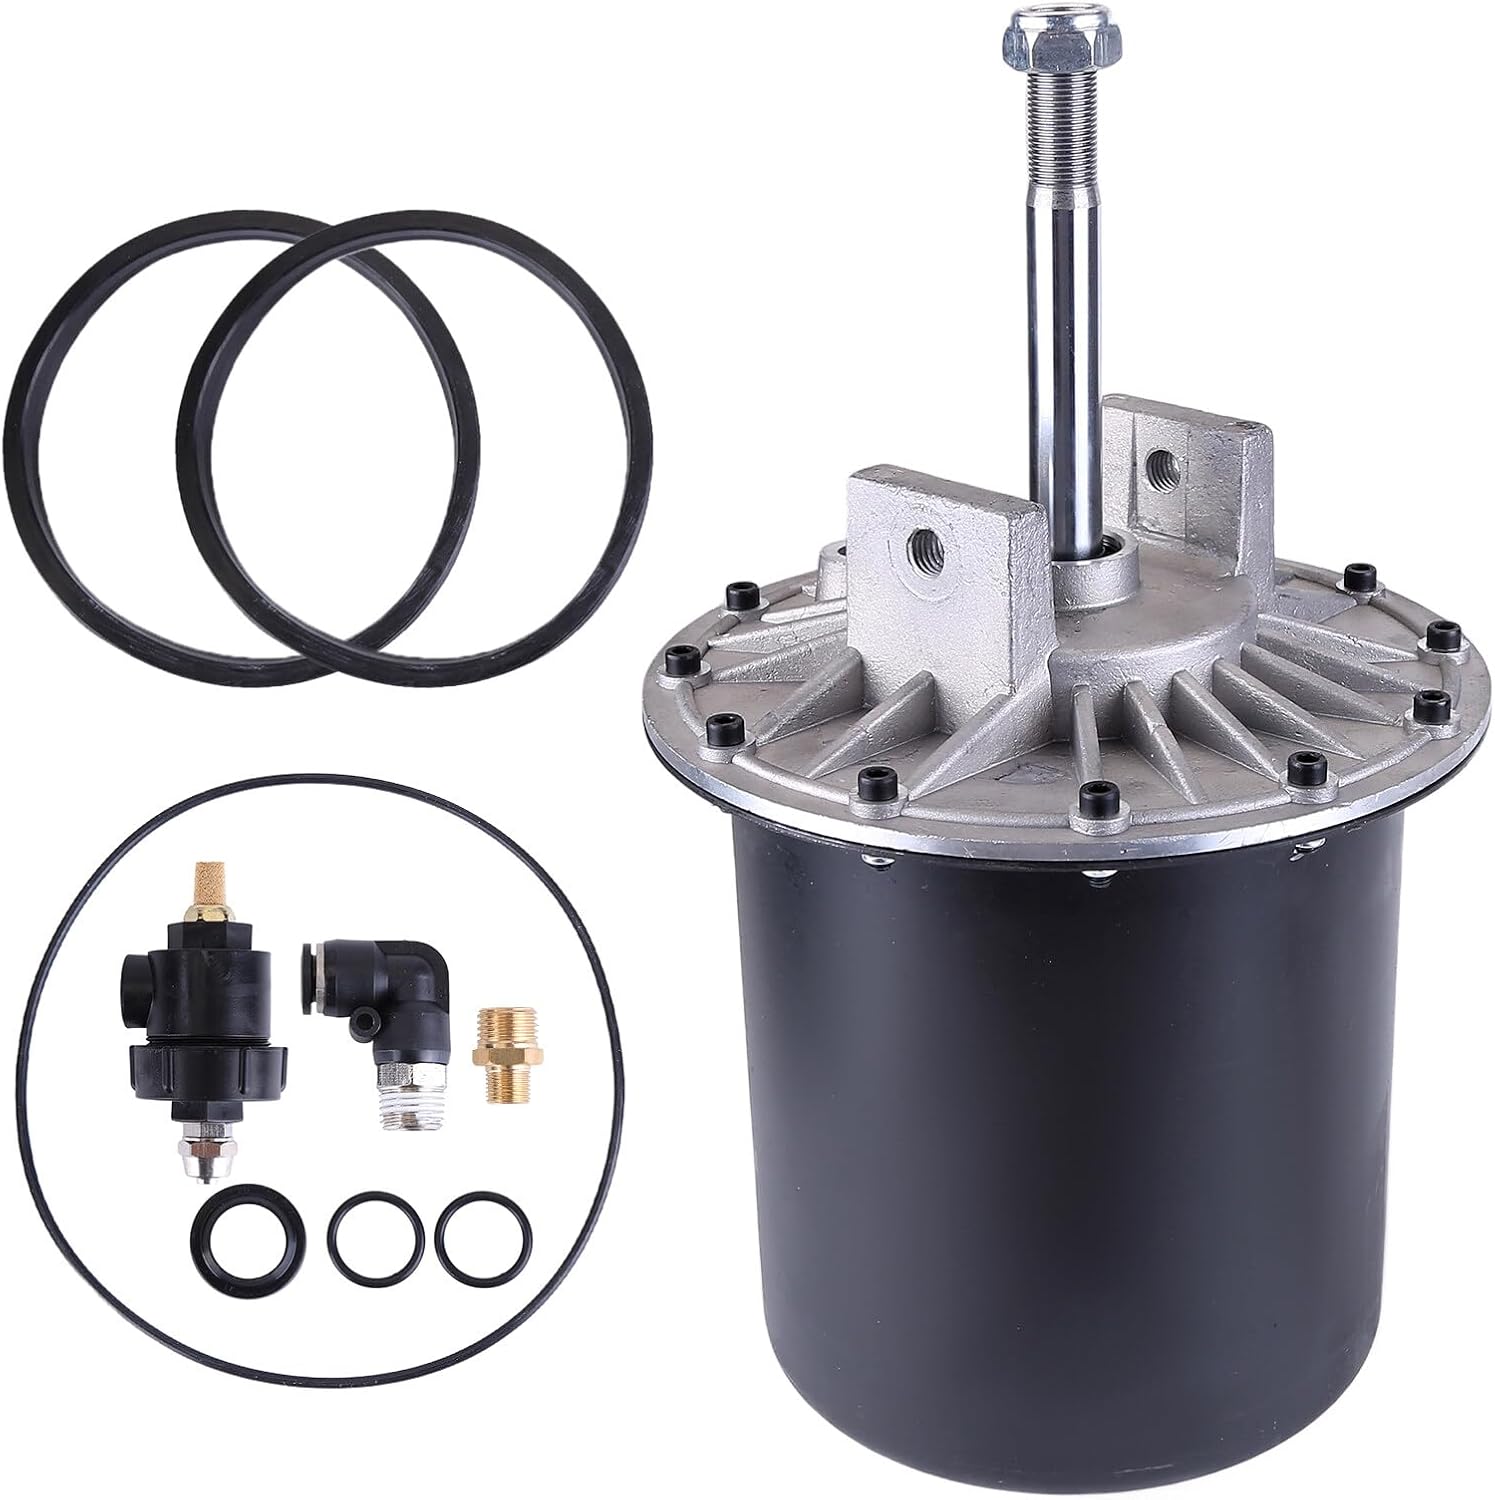
Manatokohia kei te noho katoa nga waahanga me te kore e pakaru i te wa e wetewete ana:
- 1 × Tire Changer Bead Breaker Cylinder
- 1 × Valve
- 1 × Set Ring
- Additional seals and small components as pictured.

Whakaahua: Ka mutuview of the bead breaker cylinder kit components.

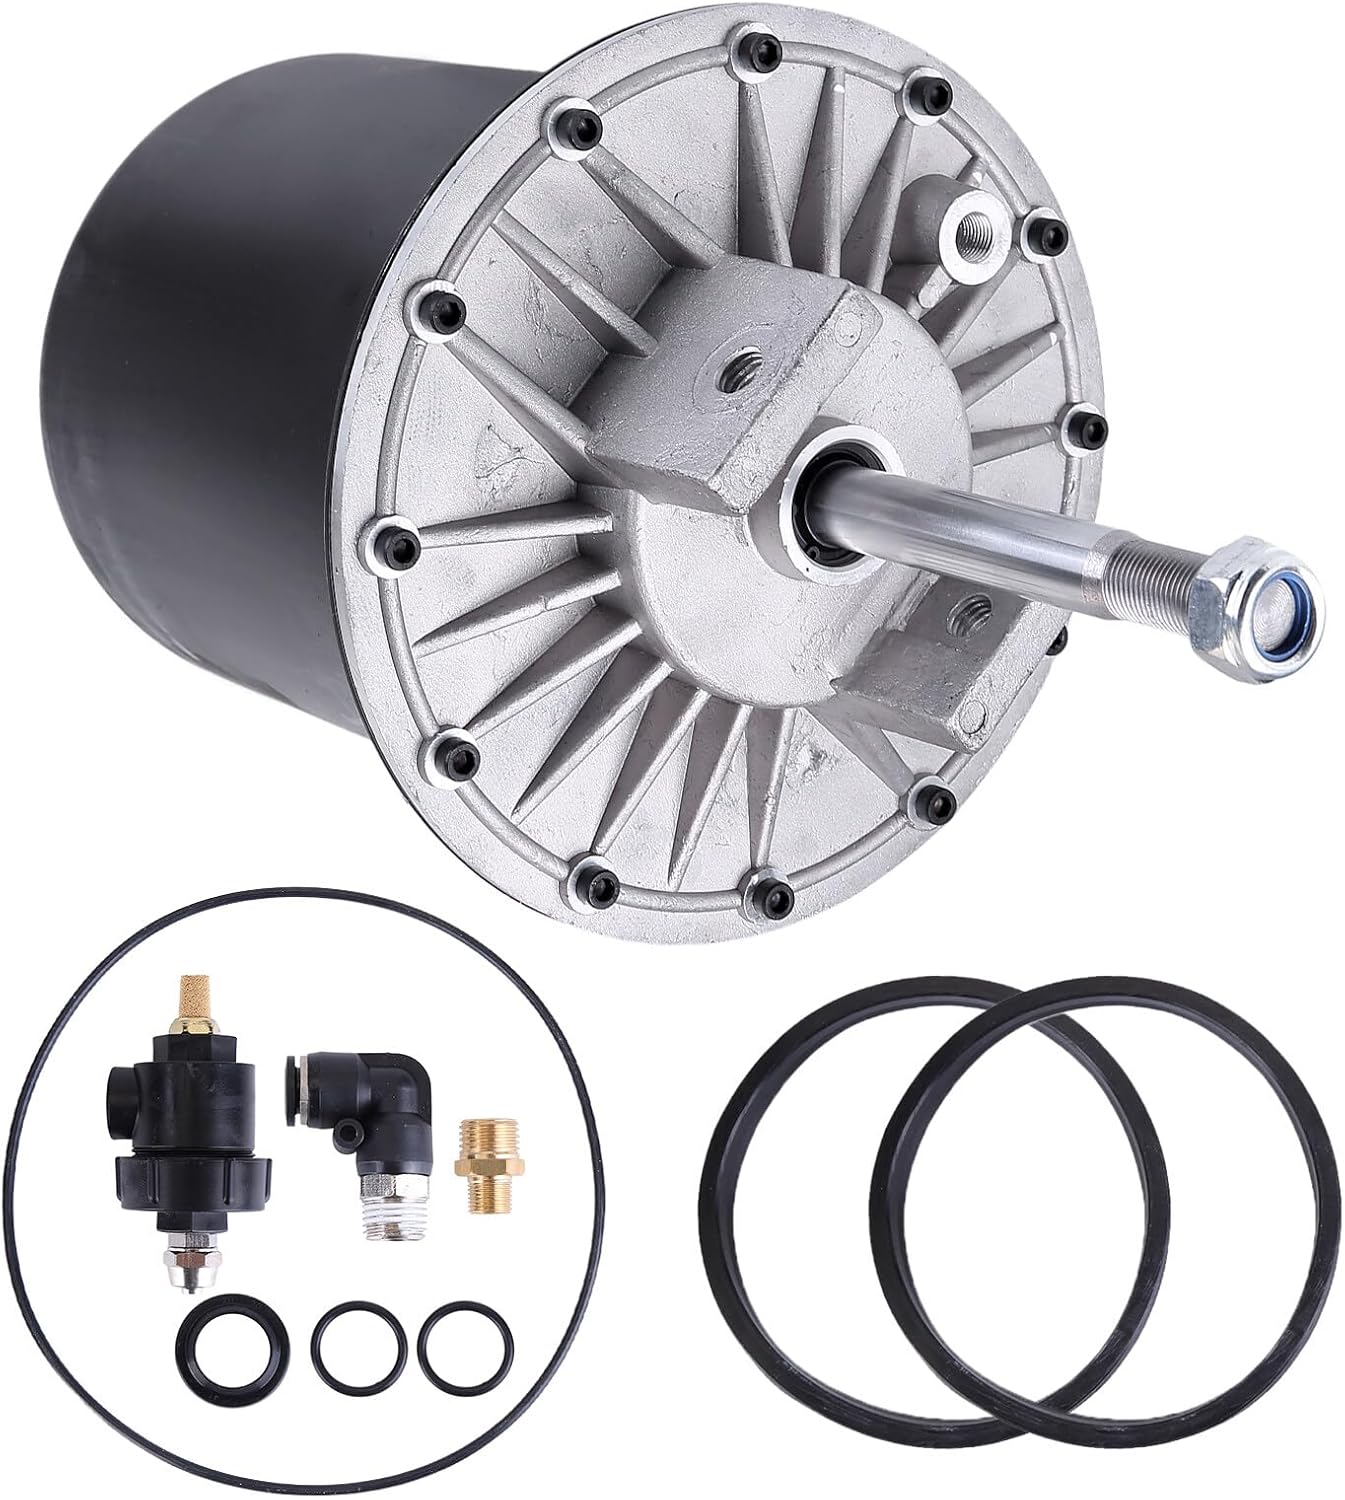
Whakaahua: Taipitopito view of the cylinder, valve, and seals.
Whakatakotoranga
| Tae | Hiriwa & Pango |
| Rauemi | Stainless steel, Aluminum Cap |
| Maximum Piston Rod Extension Length | 28 cm (11") |
| Inner Cylinder Diameter | 186 mm (7.3") |
| Inner Cylinder Ear Distance | 79 mm (3.11") |
| Screw Hole Diameter | M14 (Normal) |
| Taumaha Tūemi | 6.3 kg |
| Tau tauira | TTT-QB0393X-HH |
Tatūnga me te Tāuta
This bead breaker cylinder kit is designed for integration into existing tire changer machines. Ensure compatibility with your specific machine model (e.g., Coats/Hunter compatible) before proceeding.
- Whakaritenga: Disconnect the power supply and air source from your tire changer machine. Ensure the work area is clear and stable.
- Remove Old Cylinder: Carefully remove the existing bead breaker cylinder from your machine, noting the connections and mounting points.
- Install New Cylinder: Position the new Aublinto bead breaker cylinder into the designated mounting location on your tire changer machine.
- Whakaeke Haumaru: Use appropriate fasteners (not included, typically from your existing machine) to securely attach the cylinder. Ensure all bolts are tightened to the manufacturer's specifications for your tire changer.
- Hononga Rererangi: Connect the air lines to the valve on the new cylinder. Ensure connections are tight and leak-free.
- Taki Taumahi: Reconnect the air source and power supply to the tire changer. Perform a test cycle of the bead breaker function to ensure smooth operation and proper sealing. Check for any air leaks.
Whakaahua: Taha view of the cylinder, highlighting potential mounting areas.

Whakaahua: Runga view of the cylinder, showing the piston rod mechanism.
Nga Tohutohu Whakahaere
Once the bead breaker cylinder is correctly installed and tested, operate your tire changer machine according to its original manufacturer's instructions. The new cylinder will perform the bead breaking function as intended.
- Position Tire: Place the tire on the turntable of the tire changer machine.
- Engage Bead Breaker: Position the bead breaker arm against the tire sidewall, close to the rim.
- Activate Cylinder: Activate the bead breaker mechanism on your tire changer. The cylinder will extend, applying pressure to the tire bead to separate it from the rim.
- Te Pehenga Tuku: Once the bead is broken, release the pressure and retract the cylinder.
- Tukurua mo tera taha: Flip the tire and repeat the process for the other bead.
Te tiaki
Regular maintenance ensures optimal performance and extends the lifespan of your bead breaker cylinder kit.
- Disconnect Power and Air: Always disconnect the power supply and air source before performing any maintenance.
- Whakapai ia rā: After each day of operation, wipe the cylinder and surrounding areas carefully to remove dirt and debris.
- Whakahinuhinu: Frequently lubricate sliding and transfer parts of the tire changer machine, including the piston rod of the bead breaker cylinder, to ensure smooth movement.
- Tirotiro Pūnaha Hau: Regularly check the gas-water separator and oil mist lubricator (if applicable) on your air supply system.
- If excessive water is present, drain it promptly.
- If the oil level is insufficient, replenish it in a timely manner.
- Tirohanga Hiri: Periodically inspect the seals for wear or damage. The cylinder features a one-piece structure for good sealing performance, but seals can degrade over time. Replace worn seals promptly to prevent air leaks and maintain efficiency.
- Reduction Box Oil: Ensure there is sufficient lubricating oil in the reduction box of the tire changer machine (if applicable). The oil level can typically be observed through an oil window.
Whakaahua: Raro view of the cylinder, illustrating its durable construction for long-term use.
Related Video: Air Cylinder Repair Seals for Tire Changers
Video: This video demonstrates the repair and sealing process for air cylinders in tire changers, which can be helpful for understanding the internal components and maintenance of your bead breaker cylinder.
Raparongoā
If you encounter issues with your bead breaker cylinder, refer to the following common problems and solutions:
- Problem: Bead breaker cylinder not extending or retracting smoothly.
Rongoā: Check air pressure supply. Inspect air lines for kinks or damage. Ensure adequate lubrication of the piston rod and moving parts. Verify that the valve is functioning correctly.
- Problem: Air leaks from the cylinder.
Rongoā: Inspect all air line connections for tightness. Check the cylinder seals for wear or damage and replace if necessary. Refer to the related video for seal repair guidance.
- Problem: Insufficient bead breaking force.
Rongoā: Verify that the air pressure is set to the recommended level for your tire changer machine. Ensure the cylinder is fully extending. Check for internal damage or wear within the cylinder (may require professional inspection).
Pūtāhui me te Tautoko
For warranty information or technical support, please contact Aublinto customer service through your purchase platform. Keep your purchase receipt and model number (TTT-QB0393X-HH) handy for faster service.


