1. Kupu Whakataki
This manual provides detailed instructions for the installation, configuration, and operation of the HGLRC SPECTER F722 Pro Flight Controller. Designed for FPV drone applications, this flight controller integrates advanced features for enhanced performance and reliability. Please read this manual thoroughly before use to ensure proper setup and safe operation.
Note: This flight controller does not support INAV firmware.

Whakaahua 1.1: Ka mutuview of the HGLRC SPECTER F722 Pro Flight Controller. This image displays the compact design and various connection points of the flight controller board.
2. Nga waahanga matua
- Whakanuia te Pumautanga: Utilizes the MPU6000 gyroscope for improved flight stability and precise control.
- High-Performance Processing: Equipped with an STM32F722 processor operating at up to 216 MHz for smoother control and responsiveness.
- Ample Data Recording: Features a 16MB black box for comprehensive flight data recording and analysis.
- Versatile Camera Integration: Provides dual camera signal outputs, allowing switching between front and rear cameras via Betaflight settings.
- Hoahoa Tauira: Offers a full module direct plug-in connection system, eliminating the need for soldering pads for easier setup.
- Integrated Barometer: Includes a DPS310 barometer for accurate altitude readings.
- Dual BEC Output: Provides 10V2A and 5V2.5A BEC outputs for powering peripherals.
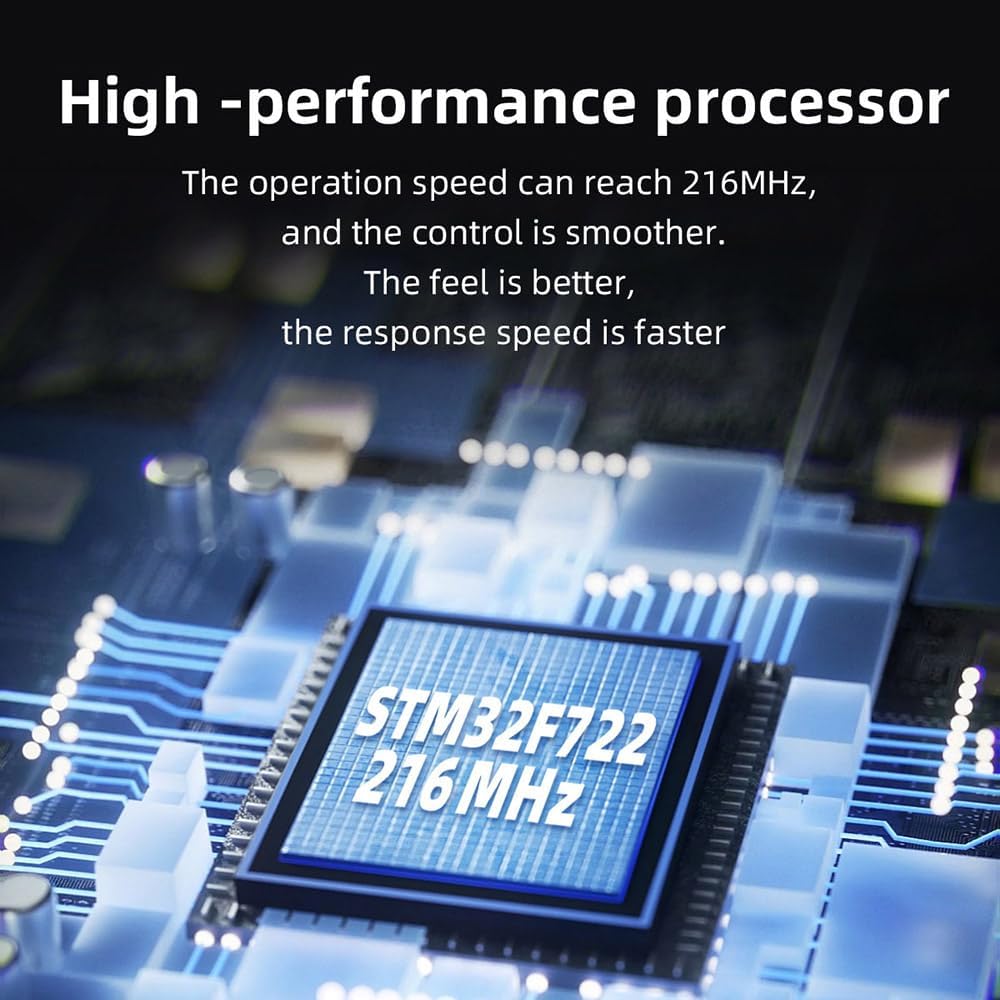
Image 2.1: High-performance STM32F722 processor. This image highlights the central processing unit, indicating its 216 MHz operating speed for efficient flight control.

Image 2.2: MPU6000 gyroscope for enhanced stability. The image shows the MPU6000 chip, crucial for precise motion sensing and flight stabilization.

Image 2.3: Modular direct insertion connection system. This view illustrates the plug-and-play connectors, simplifying wiring and installation without soldering.

Image 2.4: 16MB black box for flight data recording. The image points to the 16MB flash memory chip used for storing flight logs.

Image 2.5: 10V electronic switch for peripherals. This image shows the component responsible for the 10V output, which can be controlled via Betaflight.
3. Ihirangi mokete
Manatokona kei roto katoa nga mea kei roto i to kete:
- 1x HGLRC SPECTER F722 PRO Flight Controller
- 1x 30AWG 25mm double-ended SH1.0-8P cable
- 1x 30AWG 70mm single-head SH1.0-7P/single-head SH1.0-6P cable
- 1x 30AWG 70mm single-head SH1.0-7P/single-head GH1.25-6P VTX cable
- 2x 30AWG 60mm single-head SH1.0-3P/single-head 1.25-3P camera cable
- 1x 30AWG 100mm single-head SH1.0-4P receiver cable
- 4x M3*22 hexagon socket screws
4. Whakatakotoranga
| Waehanga | Whakatakotoranga |
|---|---|
| Flight Controller Firmware | HGLRCF722 MINI |
| MCU | STM32F722 |
| Gyroscope | MP6000 |
| OSD | AT7456E |
| Barometer | DPS310 |
| Pouaka Pango | 16MB |
| Nga UART | 5 |
| Putanga BEC | 10V2A / 5V2.5A |
| Whakauru Voltage | 7.4V-22.8V (2-6S LIPO) |
| Ahu | 37mm x 34mm x 9.8mm |
| Turanga Poka Whakapuru | 30.5mm x 30.5mm, M3 |
| Taumaha | 8.5g |
5. Tatūnga me te Tāuta
Careful installation is crucial for the proper functioning of your flight controller. Follow these general guidelines:
- Whakapiki: Secure the flight controller to your drone frame using the provided M3 screws. Ensure proper isolation from vibrations. The mounting hole pattern is 30.5mm x 30.5mm.
- Waea waea: Connect the flight controller to your Electronic Speed Controllers (ESCs), receiver, VTX (Video Transmitter), camera, and other peripherals using the included cables. Refer to the wiring diagram below for specific connections. The modular plug-in system simplifies this process.
- Hononga Hiko: Connect your LiPo battery (2-6S) to the main power input of your ESCs, which will then power the flight controller.
- Maamaa te Rorohiko: Connect the flight controller to your computer via USB. Use the Betaflight Configurator software to flash the HGLRCF722 MINI firmware. Ensure you select the correct target.
- Whirihoranga Tuatahi: After flashing, perform initial configuration in Betaflight Configurator. This includes setting up your receiver, ESC protocol, OSD, modes, and PID tuning.
5.1 Wiring Hoahoa
The following diagram illustrates typical connections for the HGLRC SPECTER F722 Pro Flight Controller with various drone components. Always cross-reference with your specific component manuals.

Image 5.1: Detailed wiring diagram for the HGLRC SPECTER F722 Pro Flight Controller. This diagram shows connections to ESCs, receiver, VTX, camera, and other common FPV drone components.
6. Nga Tohutohu Whakahaere
Once the flight controller is installed and configured, follow these steps for operation:
- Takitaki i mua i te Rererangi: Before each flight, ensure all connections are secure, propellers are correctly installed, and battery is fully charged. Verify that your radio transmitter is powered on and bound to the receiver.
- Arming the Drone: With the drone on a stable, level surface, arm the motors using the designated switch on your radio transmitter. Ensure no obstacles are near the propellers.
- Mana Rererangi: Use your radio transmitter to control the drone. The F722 Pro's MPU6000 gyroscope and STM32F722 processor provide stable and responsive flight characteristics.
- OSD Monitoring: Monitor flight data such as battery voltage, current, flight time, and RSSI through the On-Screen Display (OSD) in your FPV goggles or monitor.
- Whakakorea: After landing, disarm the motors using the designated switch on your radio transmitter.
- Black Box Data: After flights, you can download and analyze the 16MB black box data using Betaflight Blackbox Explorer for performance review and tuning adjustments.
7. Tiaki
Regular maintenance helps ensure the longevity and reliable performance of your flight controller:
- Tirotiro Ataata: Periodically inspect the flight controller for any signs of physical damage, loose connections, or debris.
- Te horoi: Gently clean the board with a soft brush or compressed air to remove dust and dirt. Avoid using liquids directly on the board.
- Hononga Tikanga: Ensure all plug-in connections are firm and secure.
- Whakahōu Firmware: Check the official HGLRC website or Betaflight resources for any available firmware updates. Update only if necessary and follow instructions carefully.
- Rokiroki: When not in use, store the flight controller in a dry, anti-static environment.
8. Te Raru
If you encounter issues with your HGLRC SPECTER F722 Pro Flight Controller, consider the following troubleshooting steps:
- Kore Mana:
- Check battery connection and voltage.
- Verify continuity of power cables.
- Inspect for short circuits on the board.
- No Connection to Betaflight Configurator:
- Ensure correct USB cable is used (data cable, not just charging).
- Install necessary VCP (Virtual COM Port) drivers.
- Whakamātauria he tauranga USB rerekē, rorohiko rānei.
- Motors Not Arming:
- Check Betaflight 'Modes' tab for correct arming switch setup.
- Verify receiver input in Betaflight 'Receiver' tab.
- Check for pre-arm conditions (e.g., accelerometer calibration, low battery warning, motor protocol errors).
- Rererangi Kore-Pūmau:
- Ensure flight controller is mounted securely and isolated from vibrations.
- Perform accelerometer calibration in Betaflight.
- Review PID tuning settings.
- Check for bent or damaged propellers.
- OSD Not Displaying:
- Verify OSD settings in Betaflight.
- Check VTX and camera connections.
For more advanced troubleshooting, consult online FPV communities or the official HGLRC support channels.
9. Pūtāhui me te Tautoko
For warranty information and technical support, please refer to the official HGLRC webpae, whakapā atu ranei ki to kaihoko. Puritia to tohu hoko mo etahi kereme whakamana.
HGLRC Official Webpae: www.hglrc.com


