1. Kupu Whakataki
This manual provides essential instructions for the safe and efficient operation of your RadioShack Home Projector. Please read this manual thoroughly before using the device and retain it for future reference.
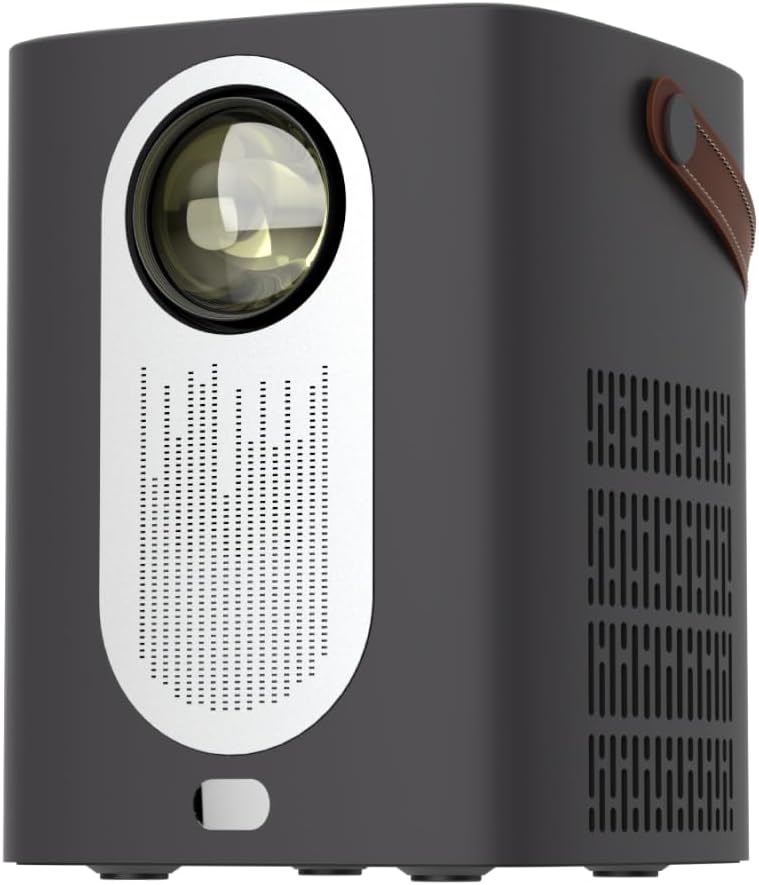
Whakaahua 1.1: Mua view of the RadioShack Home Projector, showcasing its lens and speaker grille.
2. Ihirangi mokete
Manatokona kei roto katoa nga mea kei roto i te kete:
- 1 x RadioShack Home Projector
- 1 x Mana Mamao
- 1 x Waea Mana
- 1 x Manual Kaiwhakamahi (tenei tuhinga)

Image 2.1: Illustration of the package contents, including the projector, remote control, power cable, and user manual.
3. Hua Neke Atuview
3.1. Nga waahanga matua
- Whakaaturanga Whakataunga teitei: Supports full HD resolution for clear and detailed images.
- Bright and Long-Lasting: Features impressive brightness and a durable light source.
- Hononga maha: Includes Bluetooth, WiFi, Android Miracast, and iOS Cast for streaming.
- Whakanuia Viewkei: Digital focus and keystone correction for optimal image alignment.
- Kiato me te Kawe: Lightweight design with a handle for easy transport.
3.2. Tauranga me nga Mana
Familiarize yourself with the projector's input/output ports and controls.

Whakaahua 3.1: Whakamuri view of the projector showing USB input for media playback, AV input for DVD players, and HDMI input for various devices like video game consoles, streaming sticks, cell phones, tablets, and laptops.

Whakaahua 3.2: Taha view illustrating the compact dimensions (approximately 7 inches tall, 5.3 inches wide) and the integrated leather handle for portability.
4. Aratohu Tatūnga
4.1. Hia Tuatahi
- Connect the power cable to the projector and a suitable power outlet.
- Press the power button located on the top of the projector or on the remote control to turn on the device. The indicator light will illuminate.
- The RadioShack logo will appear on the projection surface, indicating successful power-on.
Video 4.1: A short demonstration showing the unboxing, connecting the power cable, powering on the projector, and the initial display of the RadioShack logo.
4.2. Te Whakatakotoranga me te Arotahi
- Place the projector on a stable, flat surface, ensuring the lens is unobstructed.
- Adjust the distance from the projection surface (wall or screen) to achieve the desired image size.
- Use the digital focus adjustment (refer to the remote control or on-screen menu) to sharpen the image.
- Utilize keystone correction if the image appears trapezoidal, to achieve a rectangular projection.
5. Nga Tohutohu Whakahaere
5.1. Pūrere hono
Ka tautokohia e te pūwhiti nga puna whakauru maha:
- HDMI: Connect devices such as laptops, gaming consoles, streaming boxes, or Blu-ray players using an HDMI cable. Select HDMI as the input source from the projector's menu.
- USB: Insert a USB drive to play compatible video or audio files. Select USB as the input source.
- O: Connect older devices like DVD players using an AV cable. Select AV as the input source.
- Nihokikorangi: Pair with Bluetooth audio devices for wireless sound output.
- WiFi / Casting: Connect to a Wi-Fi network to enable Android Miracast or iOS Cast for screen mirroring from compatible smartphones and tablets.

Image 5.1: A couple enjoying content projected by the RadioShack Home Projector, demonstrating its use in a home cinema setting.
5.2. Nga Mahi Whakamao Mamao
The included remote control allows for convenient operation:
- Mana: Whakakā/whakaweto te pūwhiti.
- Puna: Select input sources (HDMI, USB, AV, etc.).
- Whakaterenga: Arrow keys to navigate menus, OK button to confirm.
- Rōrahi: Whakatikatikahia te taumata putanga oro.
- Arotahi/Kohatu Matua: Access digital focus and keystone correction settings.

Image 5.2: The RadioShack Home Projector placed on a table next to its remote control, ready for use.
6. Tiaki
- Te horoi i te Arotahi: Whakamahia he kakahu ngohengohe, kore-raro i hangaia mo nga arotahi whatu hei muru ata i te arotahi kaupapa. A ape i nga mea abrasive me nga matū kino.
- Te horoi i waho: Horoia a waho o te pūwhiti ki te kakahu ngohengohe, maroke. Kaua e whakamahi tika i nga horoi wai ki runga i te taputapu.
- Whakahau: Ensure the projector's ventilation openings are clear of dust and obstructions to prevent overheating.
- Rokiroki: Ki te kore e whakamahia mo te wa roa, penapena te puwhitiwhiti ki te waahi matao, maroke, kia matara atu i te ra me te wera nui.
7. Te Raru
| Raruraru | Take pea | Rongoā |
|---|---|---|
| Karekau he whakaahua i whakaatuhia | Power cable disconnected; incorrect input source selected; lens cap on. | Check power connection; select correct input source (HDMI, USB, AV); remove lens cap. |
| He koretake te whakaahua | Kāore i whakaritea te arotahi; he tata rawa/he tawhiti rawa te pūwhakaata i te mata. | Adjust digital focus; reposition projector for optimal distance. |
| Karekau he tangi | Volume too low; external audio device not connected/paired; incorrect audio output selected. | Increase volume; ensure Bluetooth device is paired or wired audio is connected; check audio output settings. |
| Ko te mana mamao kaore e mahi | Batteries depleted; obstruction between remote and projector. | Replace remote control batteries; ensure clear line of sight to the projector's IR receiver. |
8. Whakatakotoranga
- Waitohu: RadioShack
- Tauira: Home Projector (ASIN: B0DP1GFG9L)
- Whakaatu Whakatau: 1280 x 720 (Supports Full HD)
- Hangarau Hononga: AV, HDMI, USB, Bluetooth, WiFi (Android Miracast, iOS Cast)
- Nga waahanga motuhake: Portable, Digital Focus, Keystone Correction
- Whakamahi Manakohia: Kiriata Kainga
- Rahi Hua: 5.31 x 5.31 x 7.09 inihi
- Taumaha Tūemi: 3.91 pauna

Image 8.1: The projector displaying content, highlighting its support for full HD resolution and high-quality sound.
9. Pūtāhui me te Tautoko
For warranty information and technical support, please refer to the official RadioShack webpaetukutuku, whakapā atu ranei ki ta raatau ratonga kaihoko. Puritia to riiki hoko hei tohu mo te hoko.
Tautoko Aipurangi: www.radioshack.com


